DataFlex and Continuous Integration
Lesson 2 - Installing Jenkins
In this lesson we will focus on how to install Jenkins and set it up for use with Gitea, along with some important configurations:
Install Java
- Before installing Jenkins, ensure you have Java 11 or a higher version installed. You can use OpenJDK, which is recommended for Jenkins.
- Run the downloaded installer and follow the installation prompts.
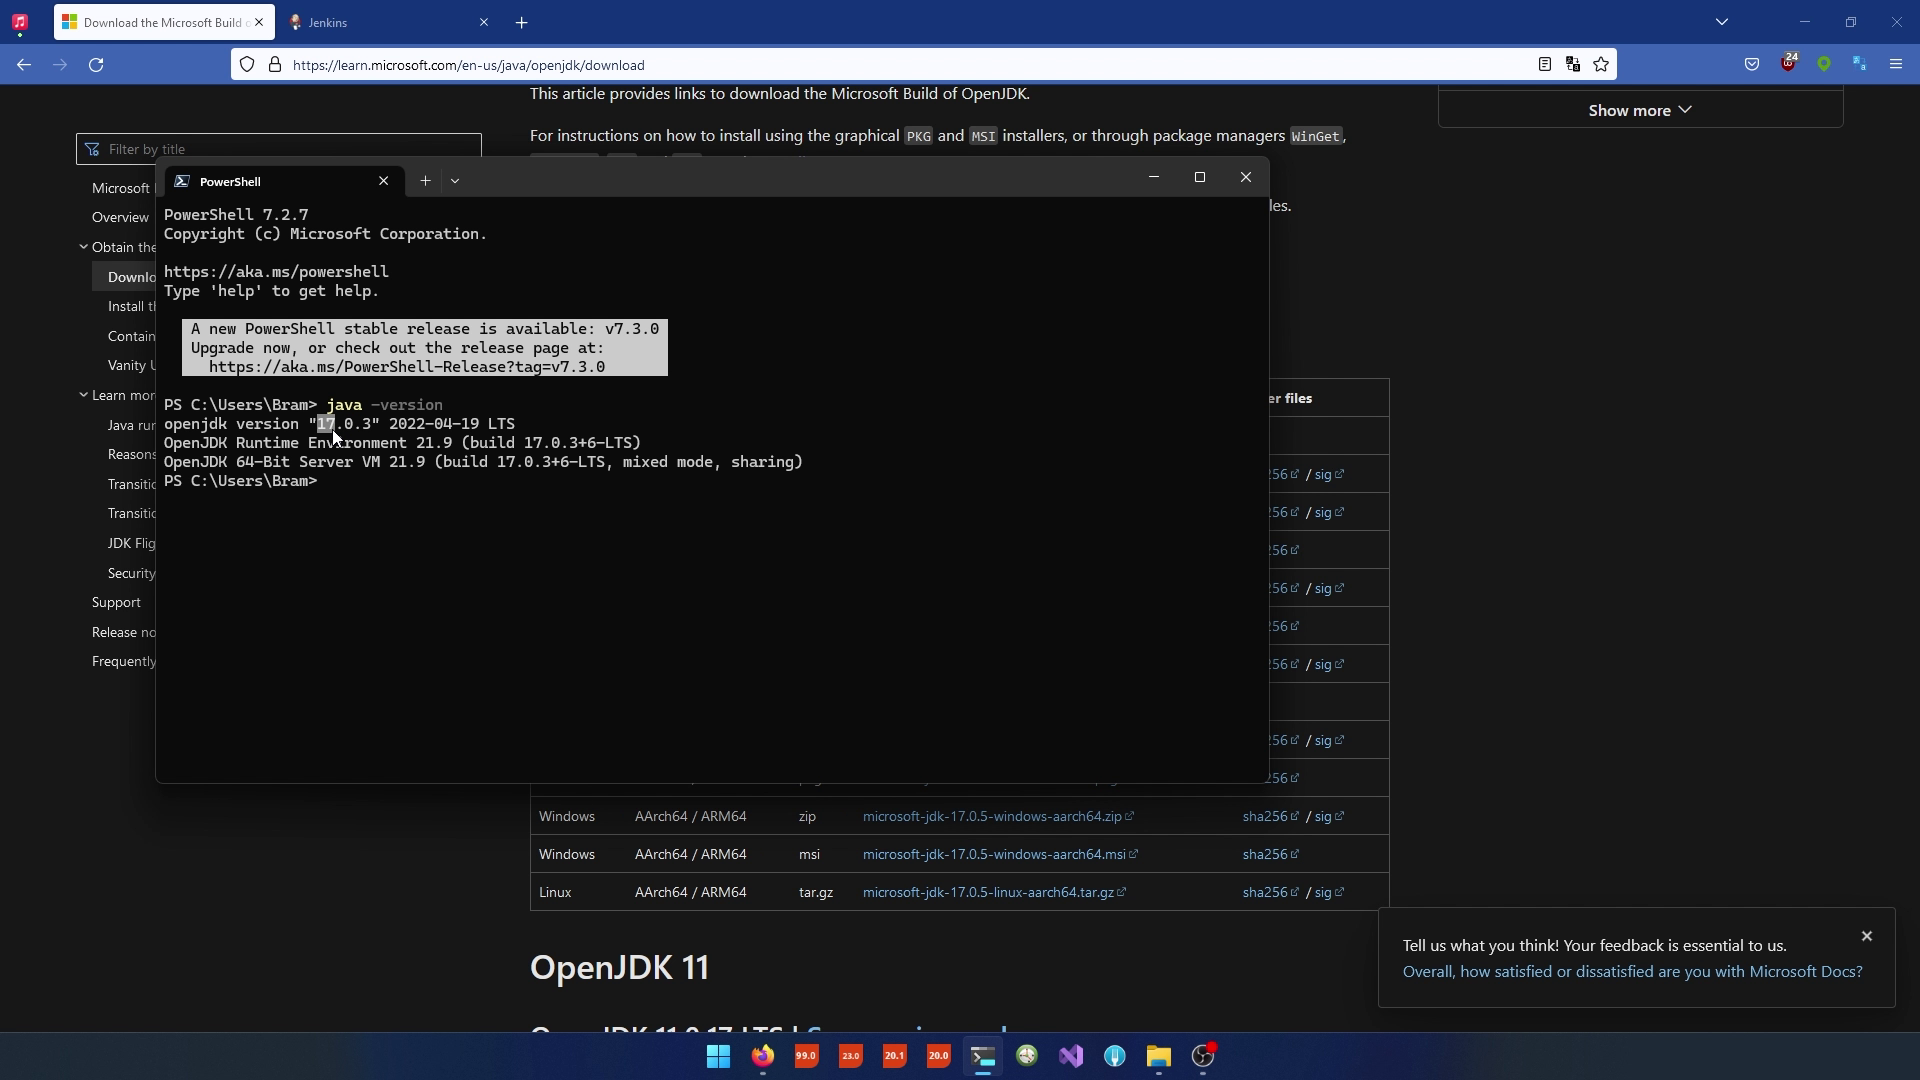
- After installation, open a command prompt and type java -version to verify that Java is correctly installed and the version is 11 or higher.
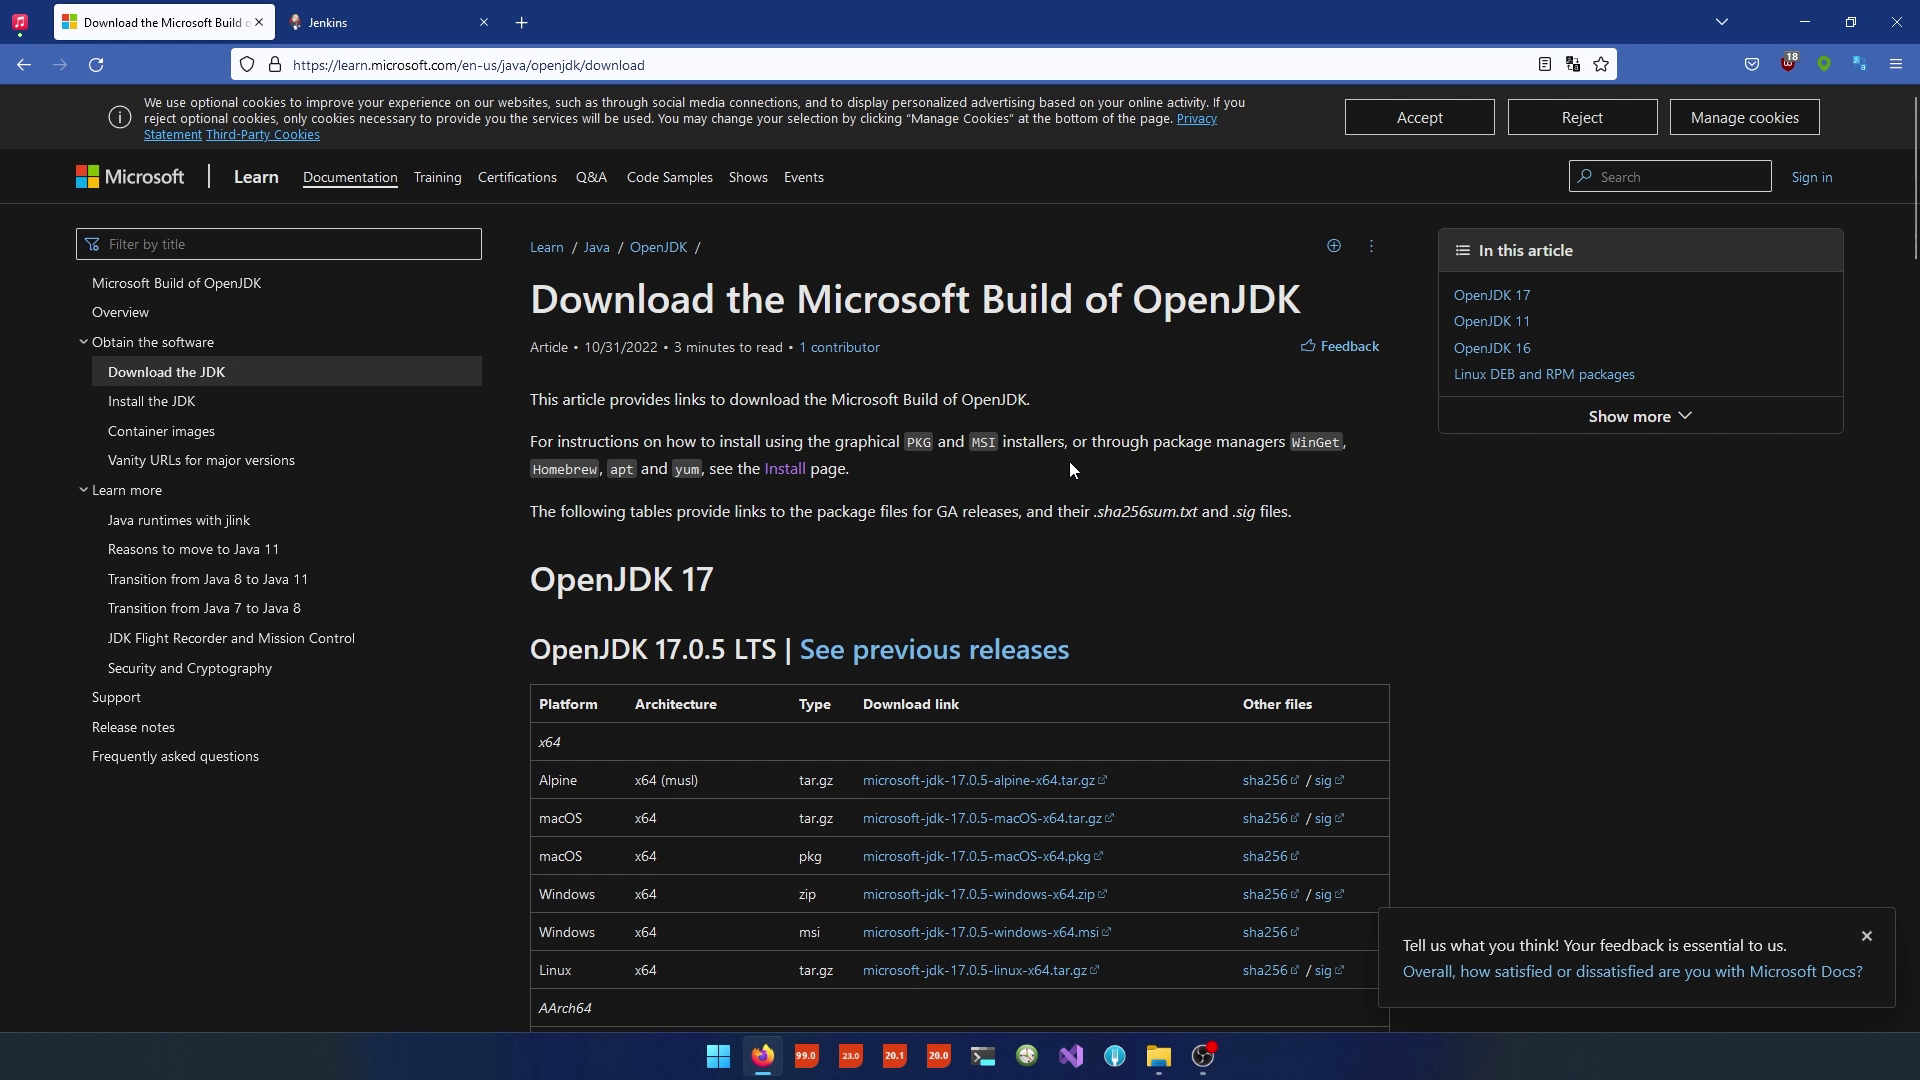
Install Jenkins
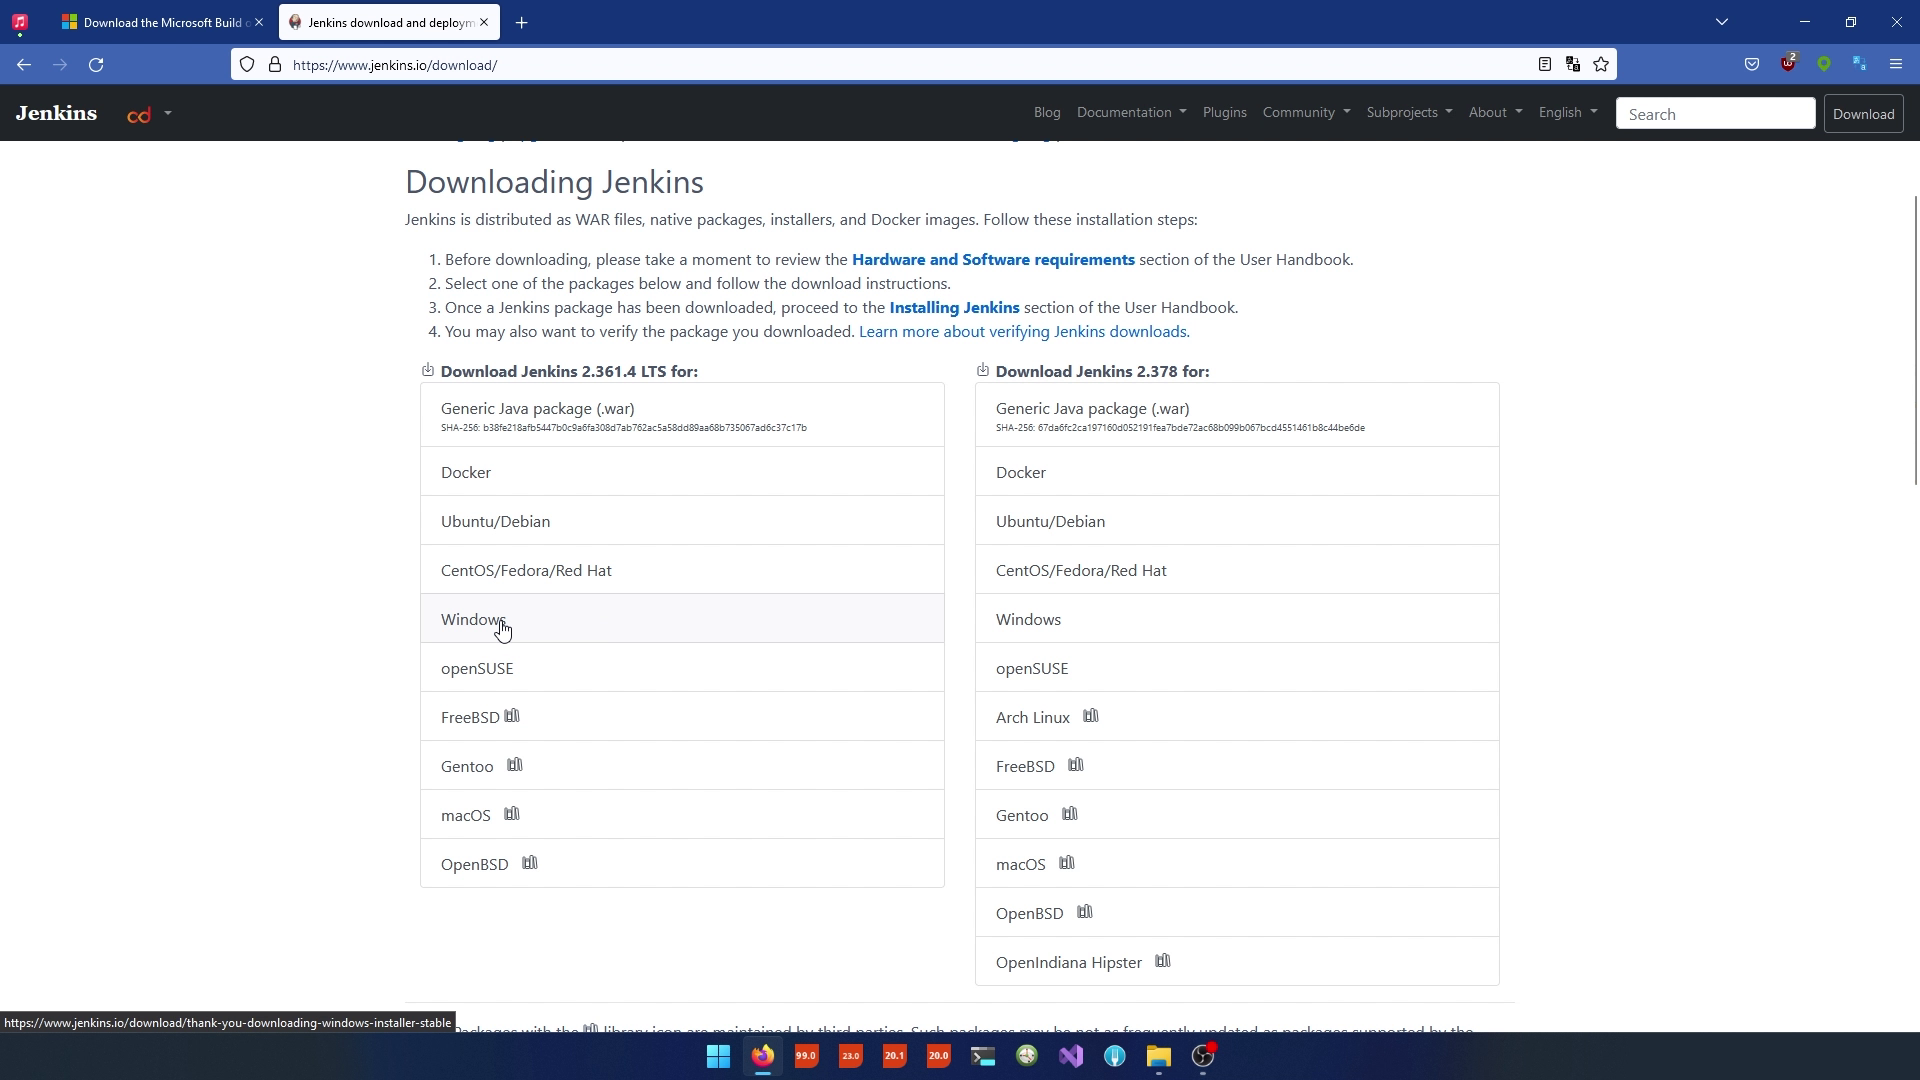
- Visit the Jenkins website at https://www.jenkins.io/download/.
- Download the Windows installer for the LTS (Long Term Support) version, which is recommended for stability.
- Run the downloaded Jenkins installer. During the installation process:
- Choose the installation directory for Jenkins, e.g., C:\build\Jenkins.
- Set the "Log on type" to "Local System" (you can configure a different user account later if needed).
- Specify a port number for Jenkins. The default is 8080, but you can use 3001 to avoid conflicts with Gitea(which uses port 3000).
- Ensure the installer adds a firewall exception for Jenkins.
- Complete the installation by following the prompts.
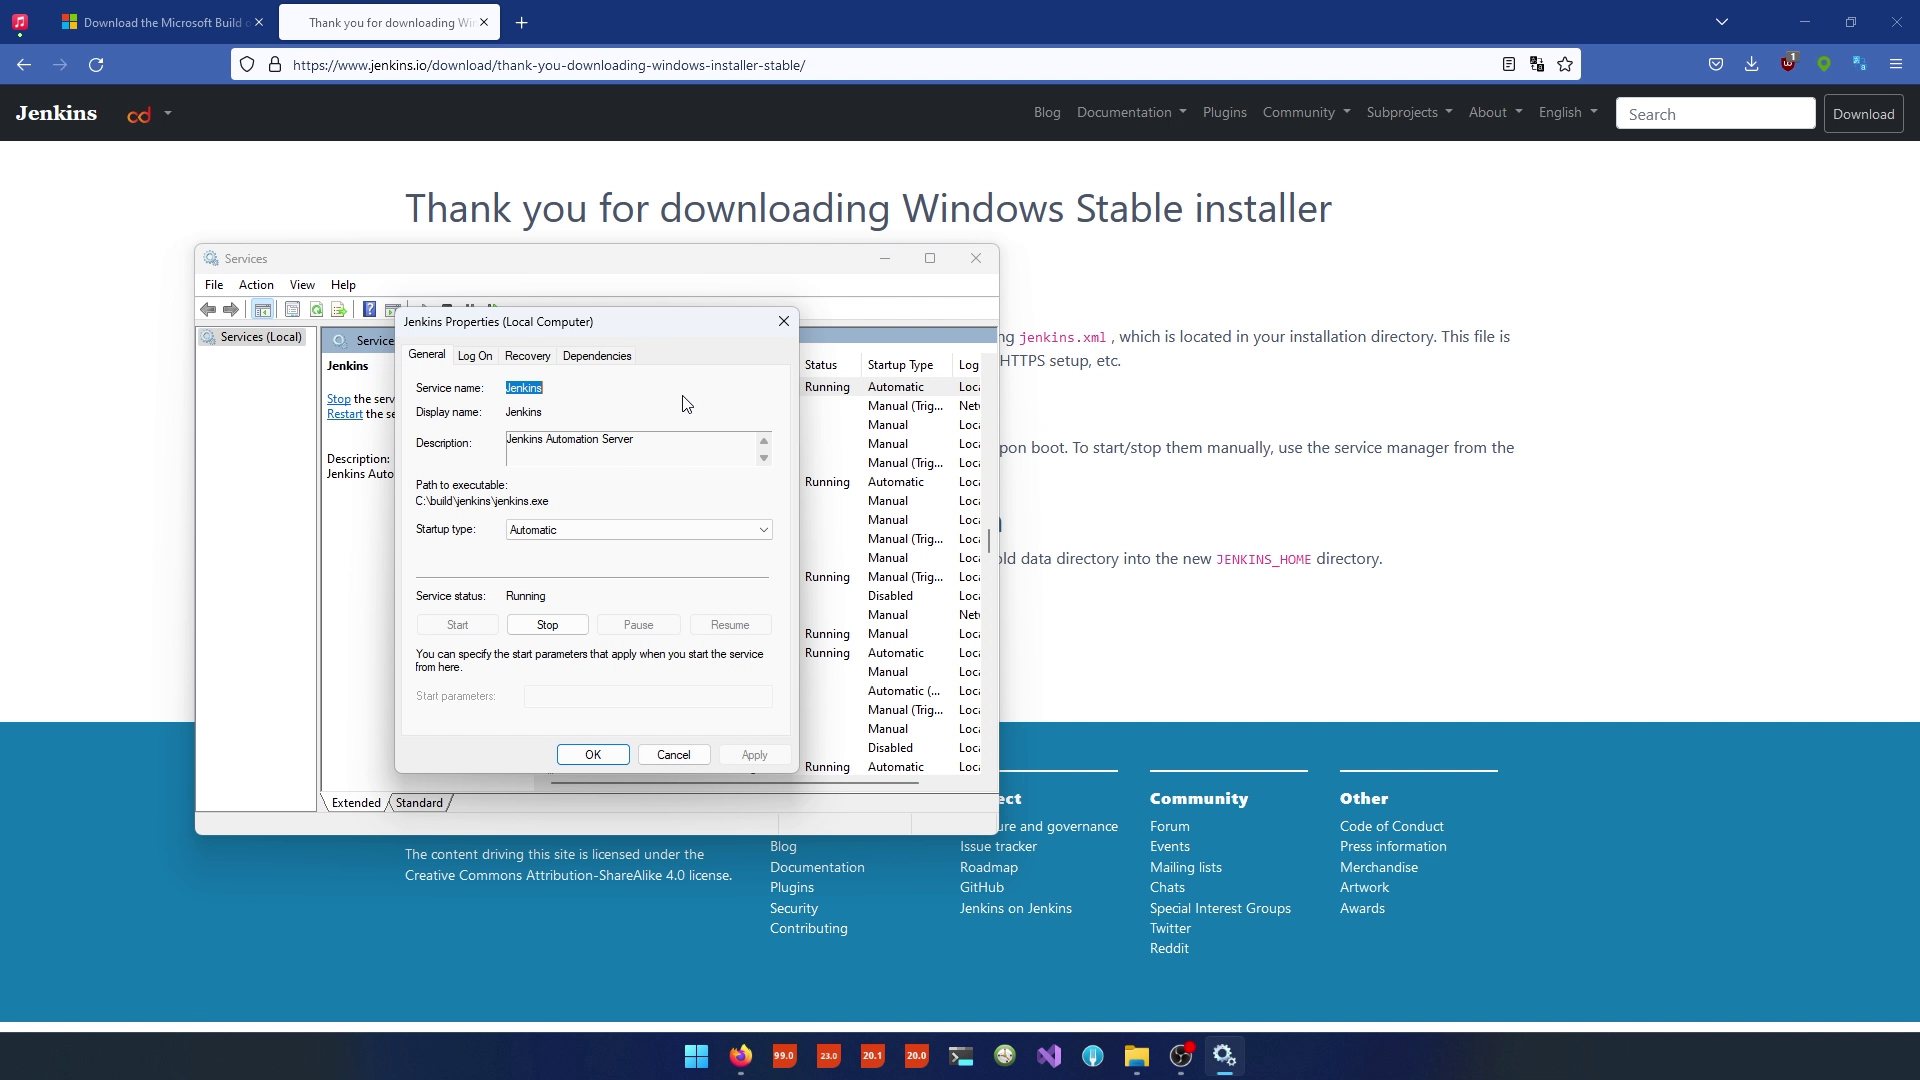
Initial Jenkins Setup
- After the installation is complete, Jenkins should automatically start as a Windows service. You can check its status in the Windows Services panel.
- Open a web browser and access Jenkins at http://localhost:3001 (or the configured port).
- You'll be prompted to unlock Jenkins using an initial admin account. To obtain the initial admin password:
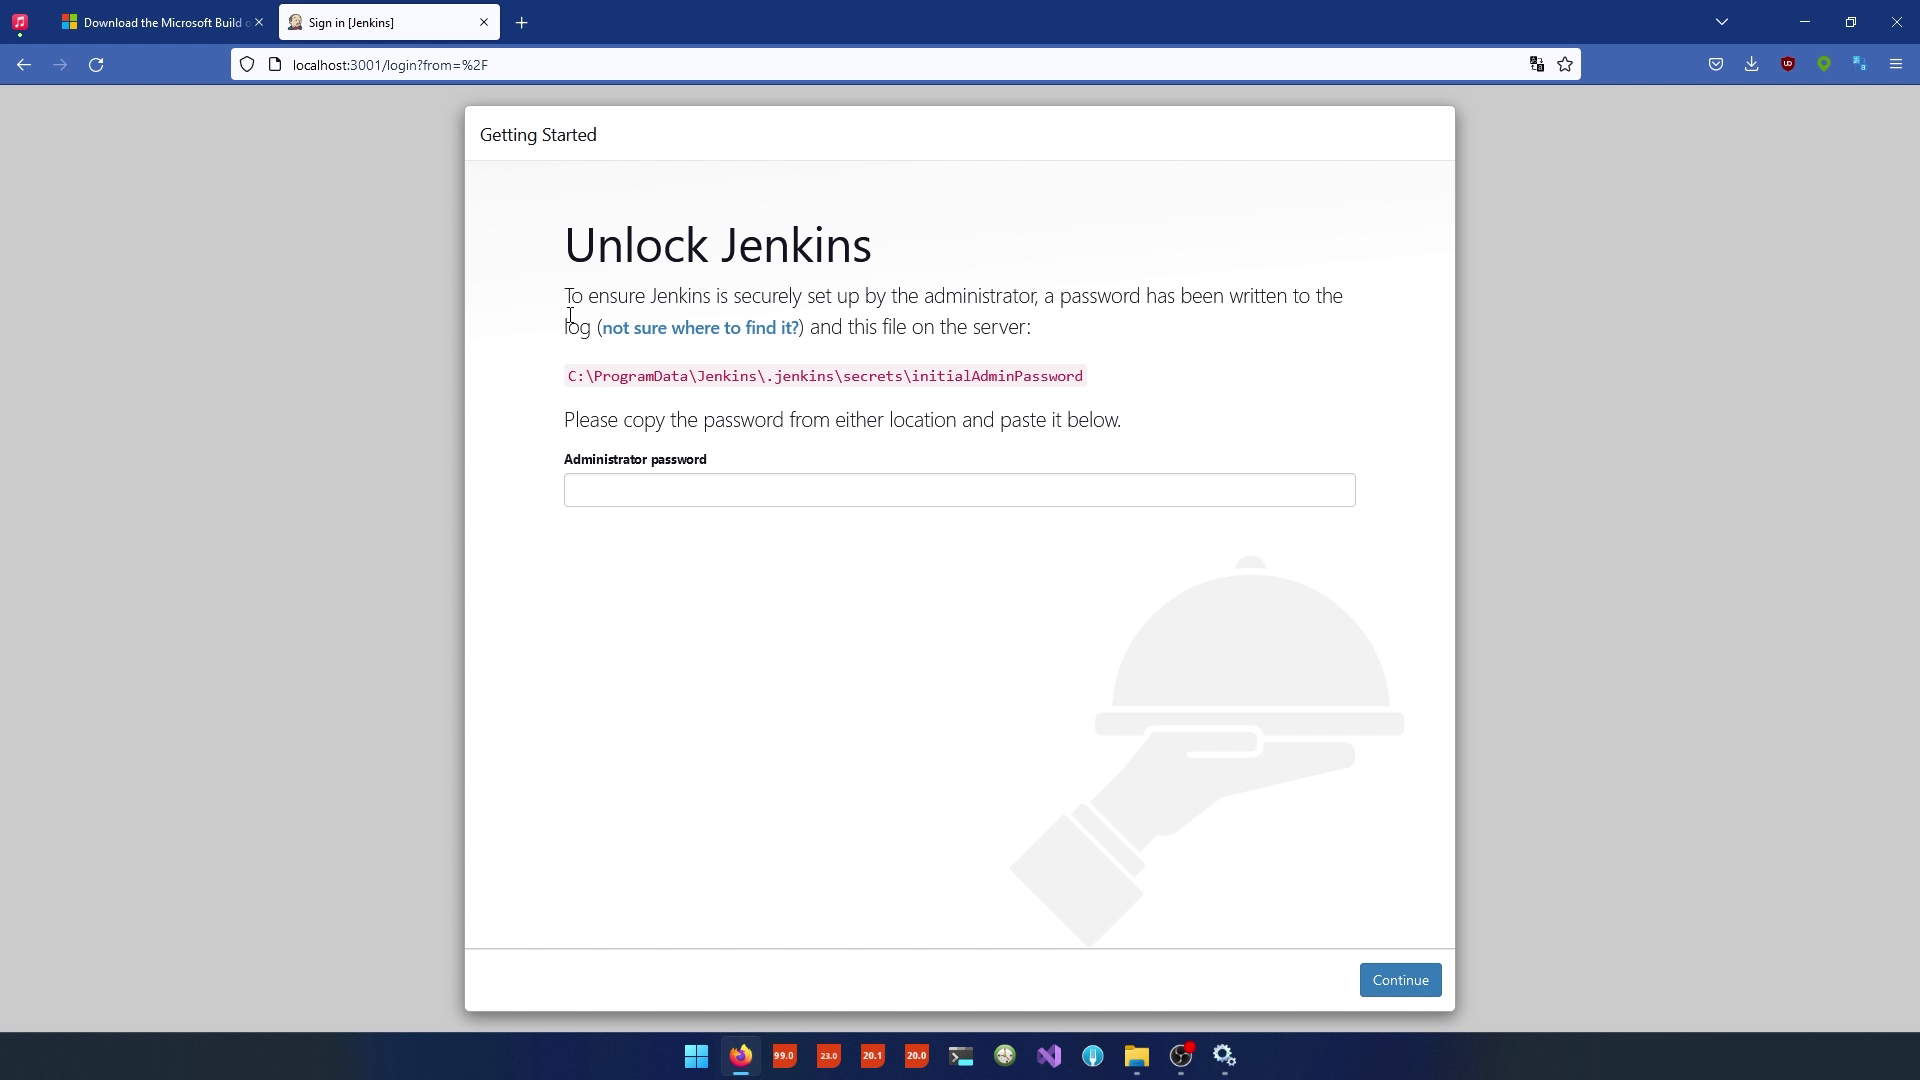
- Navigate to the location specified on the unlock screen (e.g., C:\build\Jenkins\secrets\initialAdminPassword).
- Use the cat command or open the file to retrieve the password.
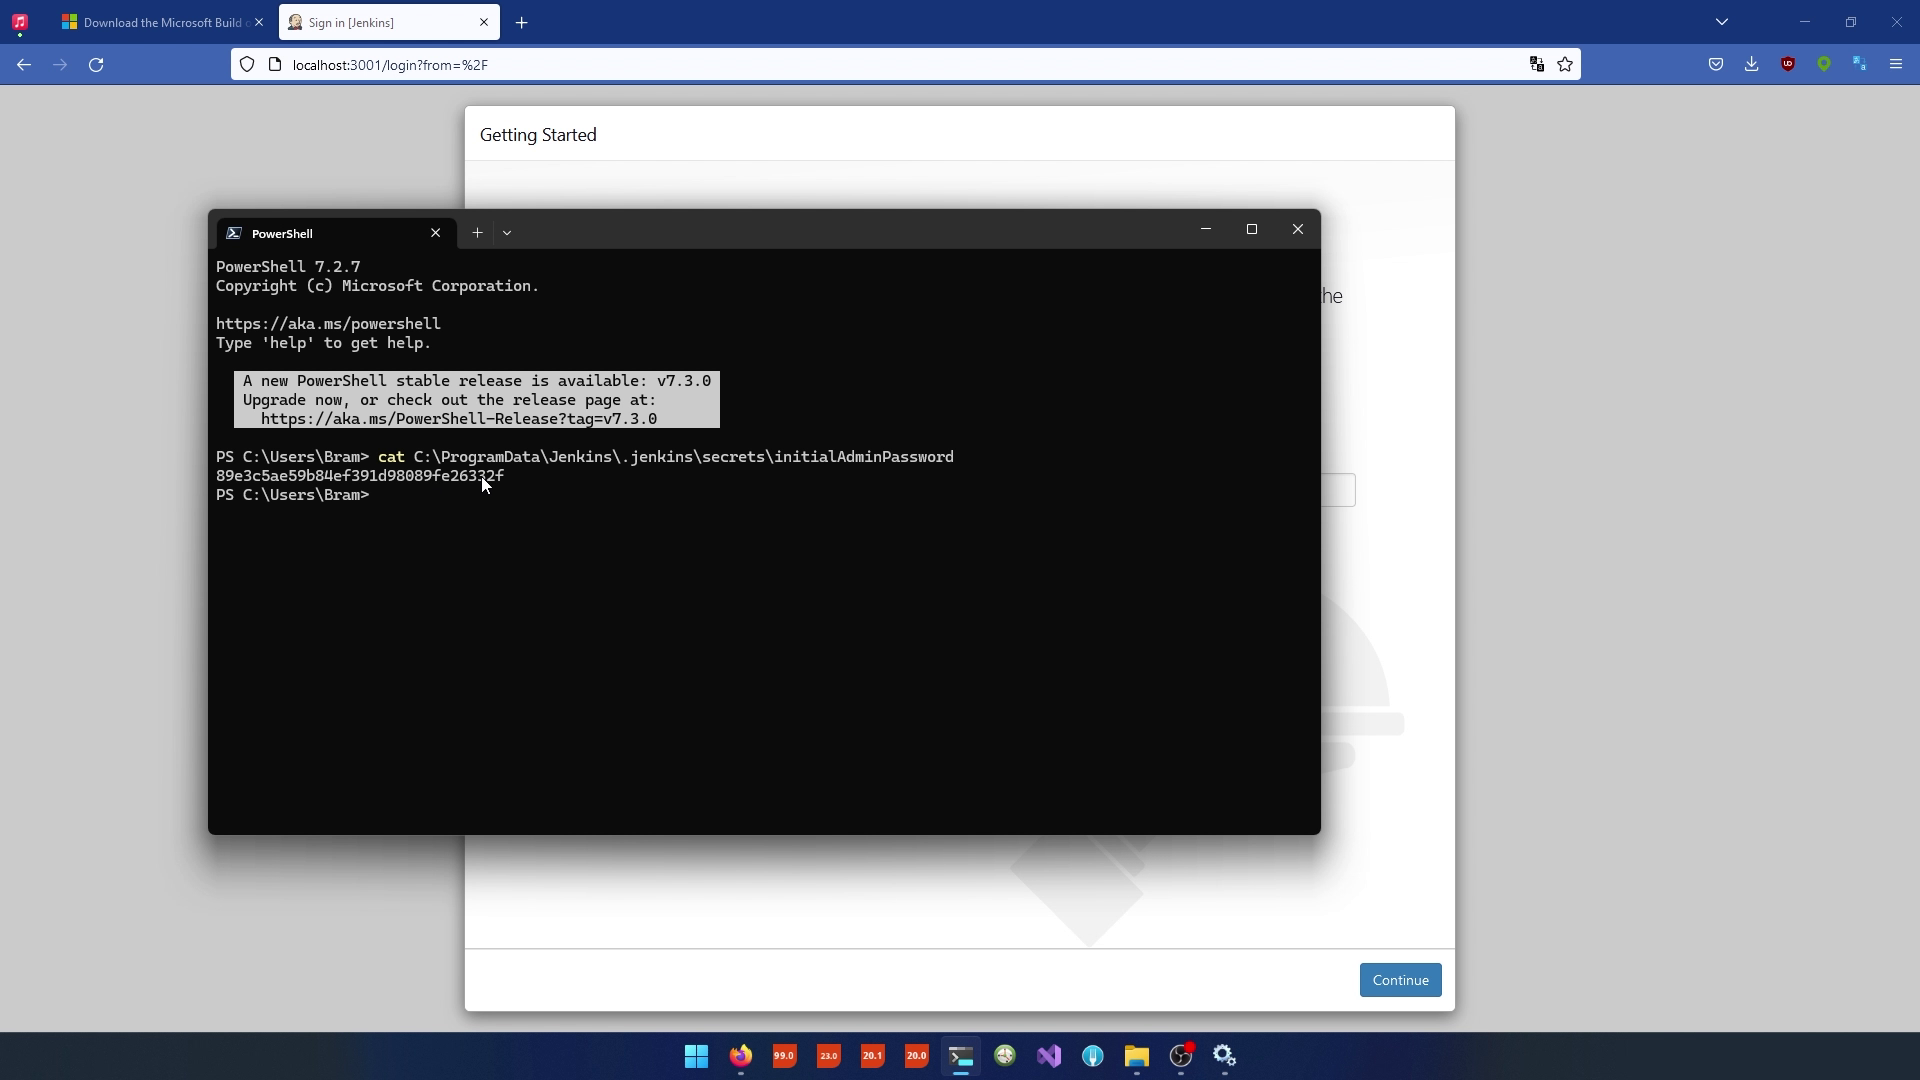
- Copy and paste the initial admin password into the Jenkins unlock screen and click "Continue."
Customize Jenkins Plugins
- Jenkins is plugin-based and allows you to customize its functionality. You can choose to install suggested plugins or select specific plugins.
- Choose "Select plugins to install" to customize your plugin selection.

- Install the following plugins:
- Dashboard View (under "Organization and Administration")
- Folders (under "Organization and Administration")
- OWASP Markup Formatter (under "Organization and Administration")
- Build Timeout (under "Build Features")
- Credentials Binding (under "Build Features")
- Timestamper (under "Build Features")
- Workspace Cleanup (under "Build Features")
- JUnit (under "Build Analysis and Reporting")
- Pipeline (under "Pipelines and Continuous Delivery")
- Pipeline: Stage View (under "Pipelines and Continuous Delivery")
- Copy Artifact (under "Pipelines and Continuous Delivery")
- Git (under "Source Code Management")
- SSH Build Agents (under "Distributed Builds")
- Matrix Authorization Strategy (under "User Management and Security")
- PAM Authentication (under "User Management and Security")
- LDAP (under "User Management and Security")
- Role-based Authorization Strategy (under "User Management and Security")
- Email Extension (under "Notifications and Publishing")
- Mailer (under "Notifications and Publishing")
- Locale (under "Locale")
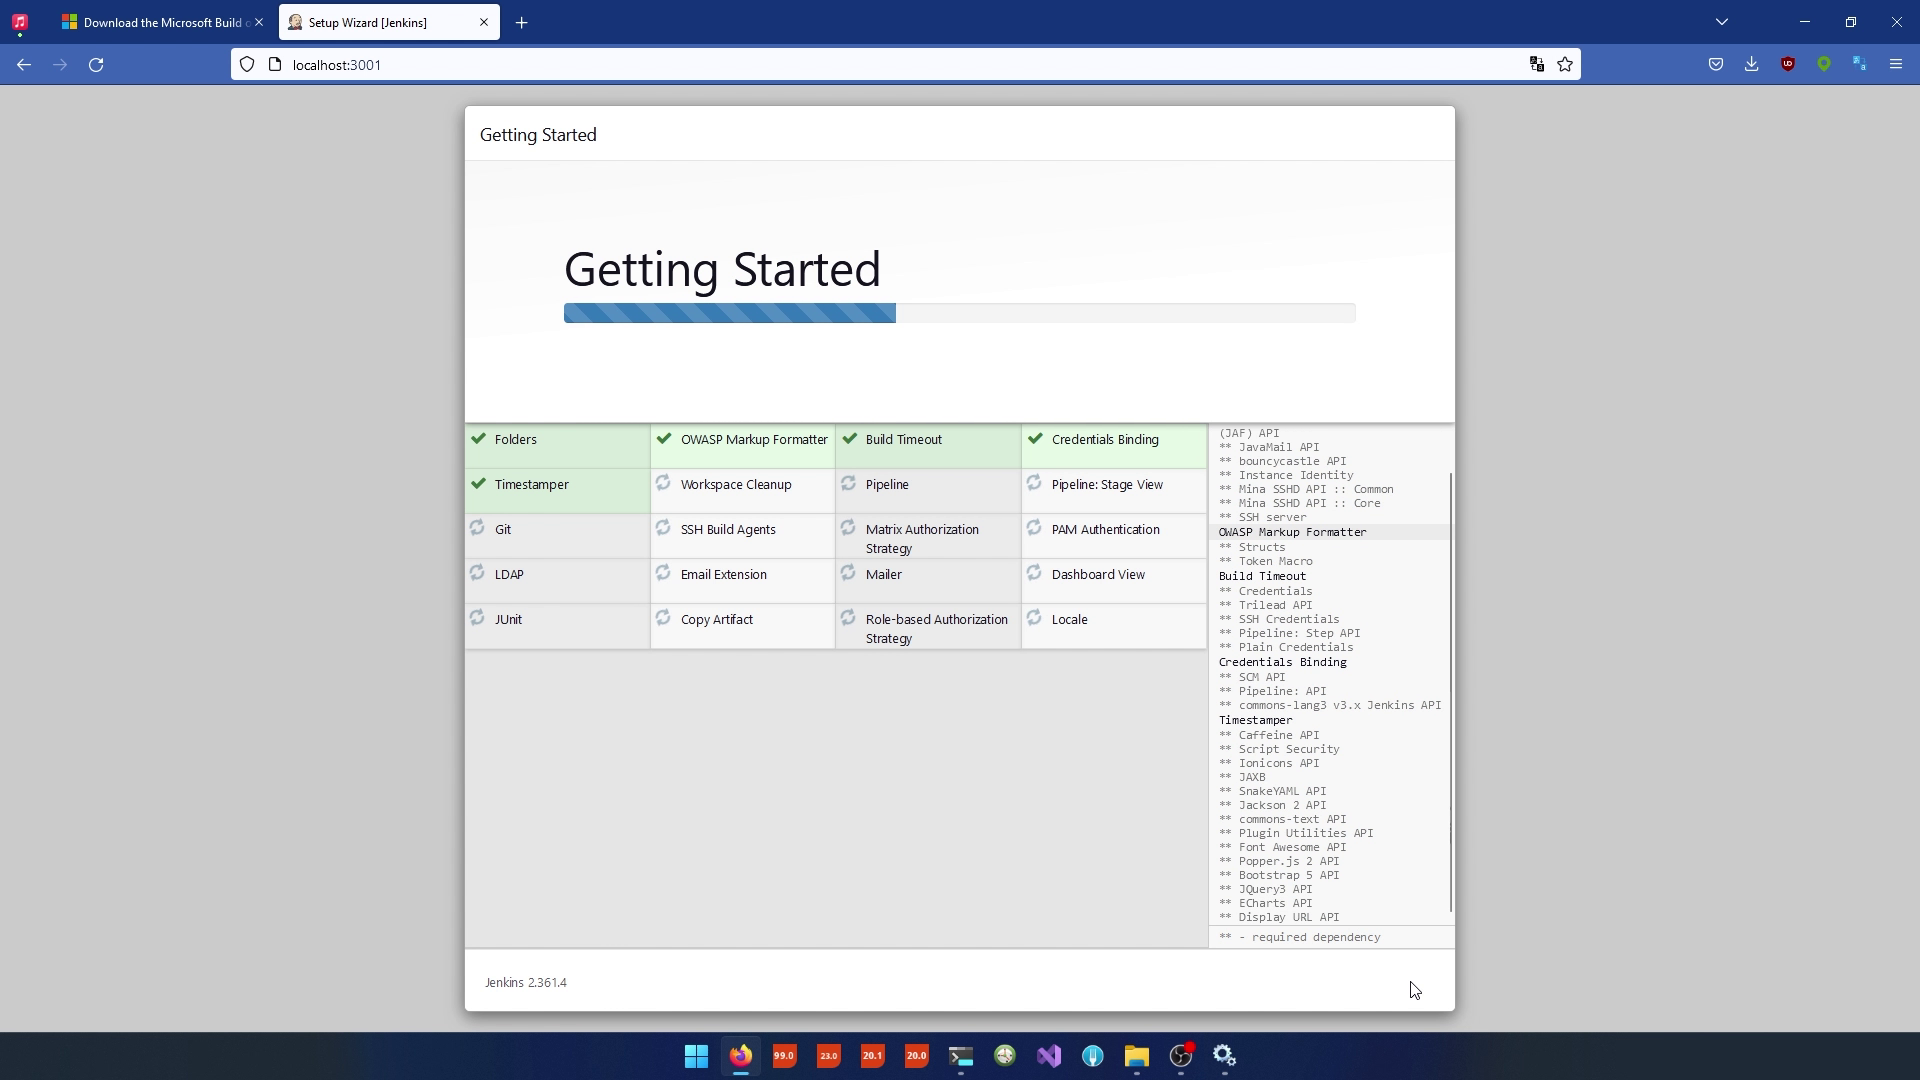
Complete Jenkins Setup
- Wait for the selected plugins to install.
- Create an initial admin user. Use a secure username and password, and specify an email address.
- Configure the Jenkins URL. If you have a domain name, you can specify it here. Otherwise, leave it as http://localhost:3001.
- Once configured, Jenkins will be ready for use. Click "Save and Finish."
- Start using Jenkins
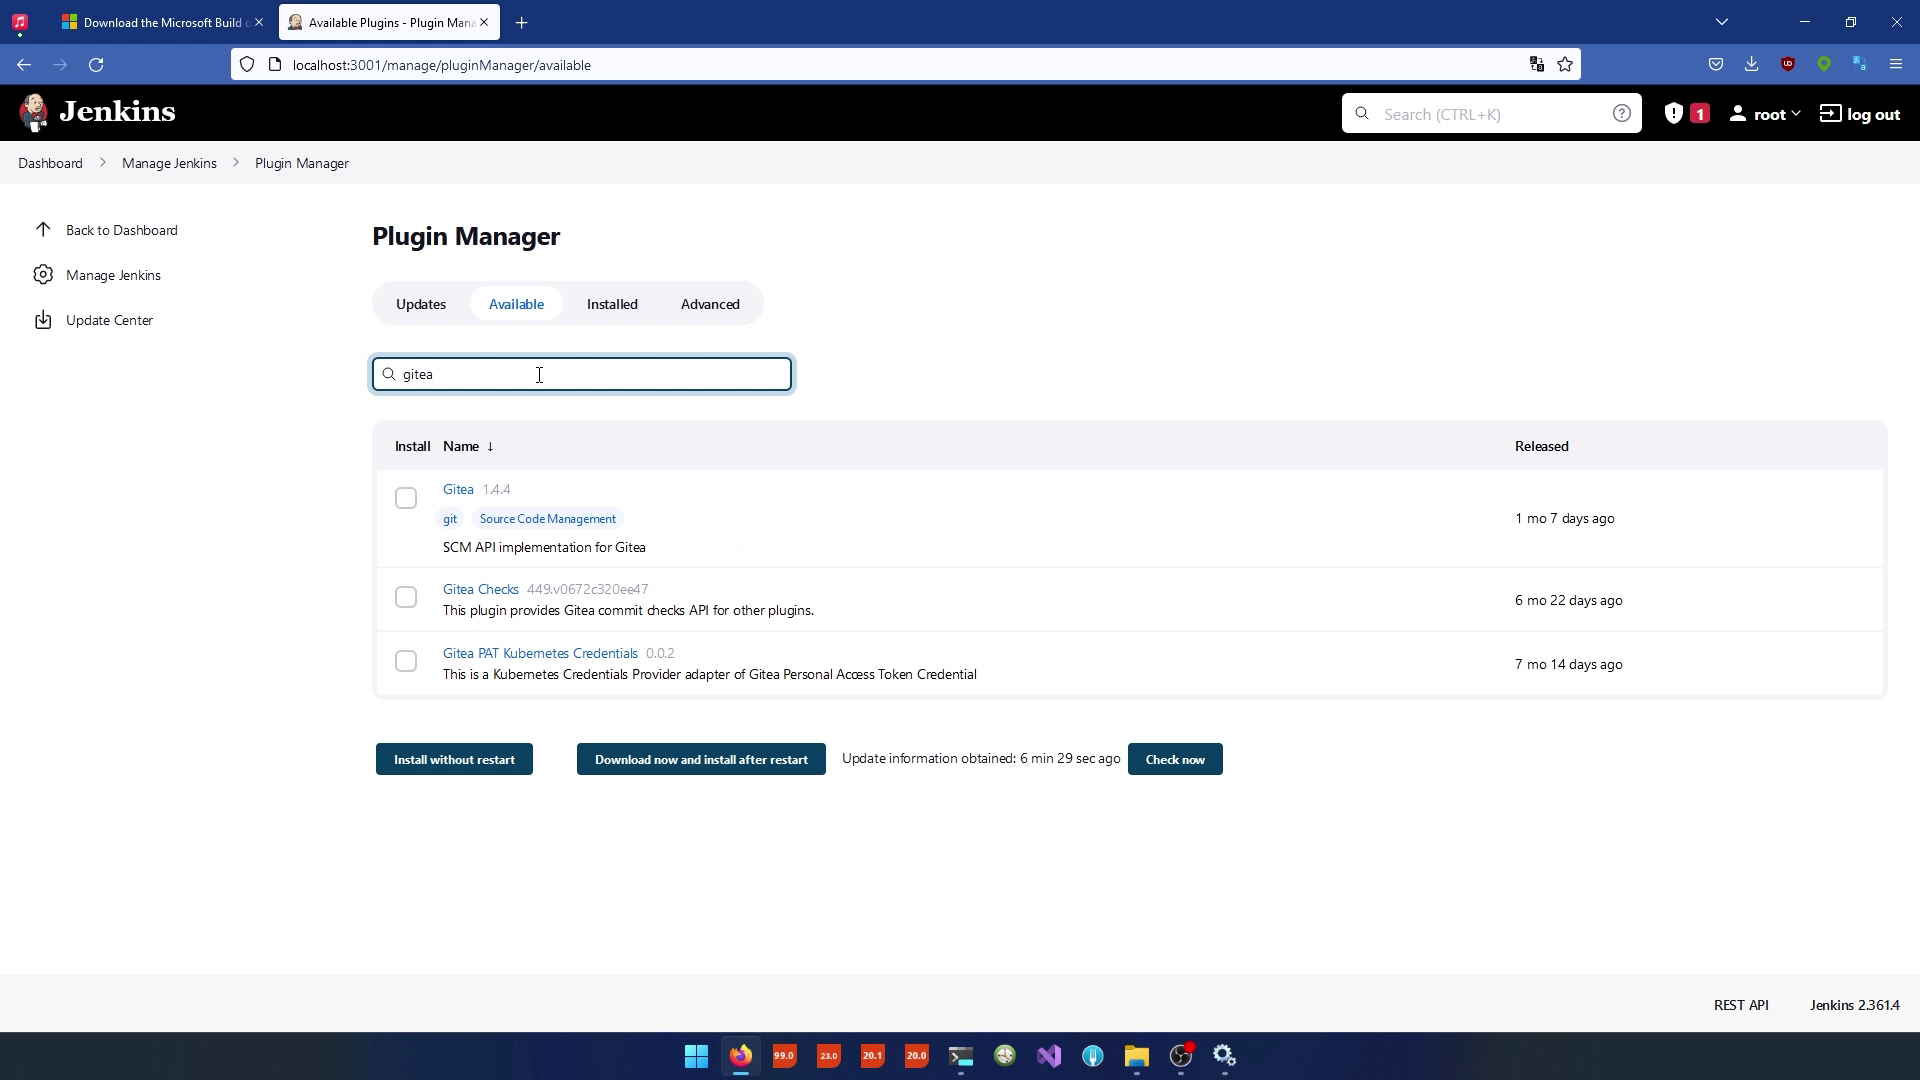
Install Gitea Plugin (Optional)
- To integrate Giteawith Jenkins, you'll need to install the Gitea plugin. Go to "Manage Jenkins" > "Manage Plugins."
- In the "Available" tab, search for "Gitea" and select the plugin.
- Also select "Blue Ocean", a better and nice UI than Jenkins usually has to offer.

- Click "Download & Install after restart"
- After installation login with your Jenkins credentials
That's it! You've successfully installed and configured Jenkins on your Windows system and customized it to work with Gitea. You can now use Jenkins to manage your builds and automation tasks. In the next lesson, you'll learn how to connect Gitea and Jenkins to streamline your development workflow.