DataFlex and Continuous Integration
Lesson 3 - Connecting and creating our first Gitea Team
In this lesson, we're going to connect Jenkins and Gitea using the Gitea plugin we installed in the last lesson.
Configure Gitea for Loopback Authorization
Access the computer where Gitea is installed.
- Navigate to the C:\Get directory.
- Locate the config file and open it.
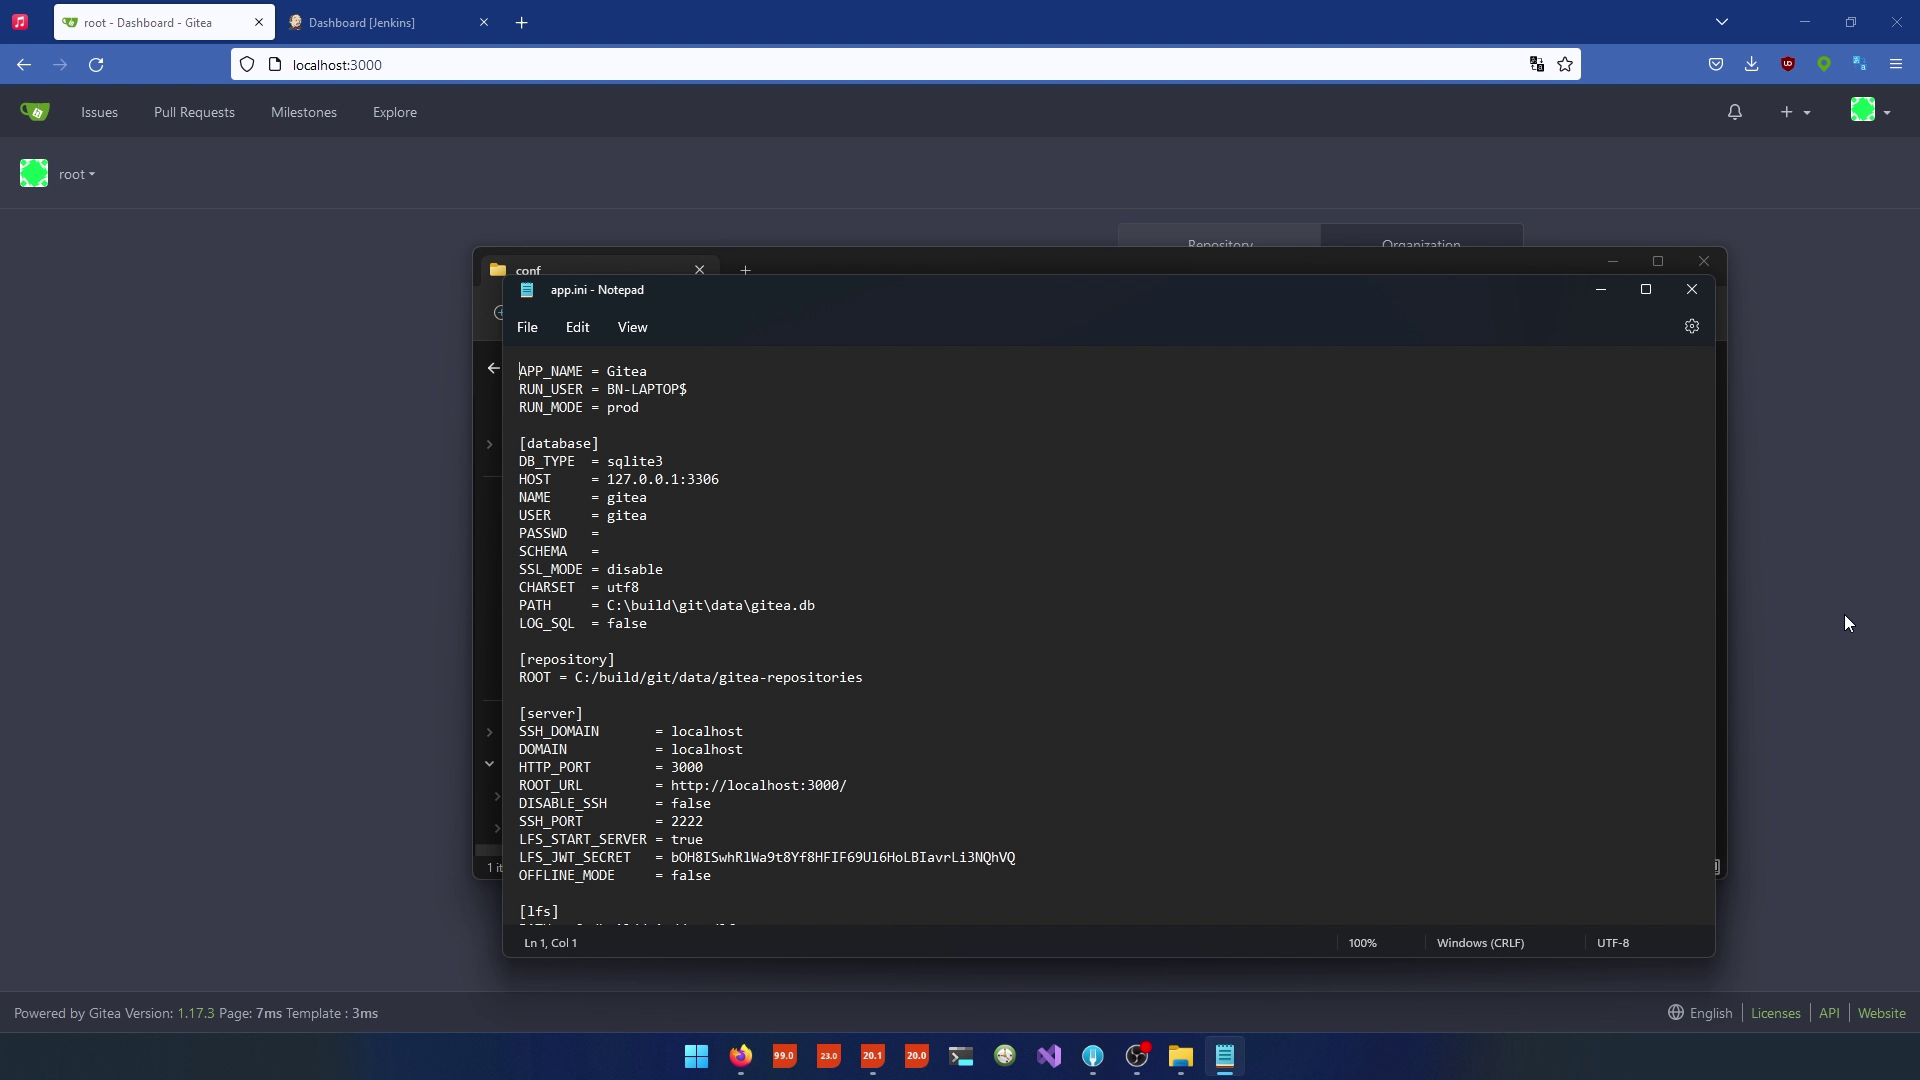
- In the allowed host list, add "localhost" to enable loopback authorization.
- If you have an external domain name, add it to the list as well.
- Save the changes to the config file.
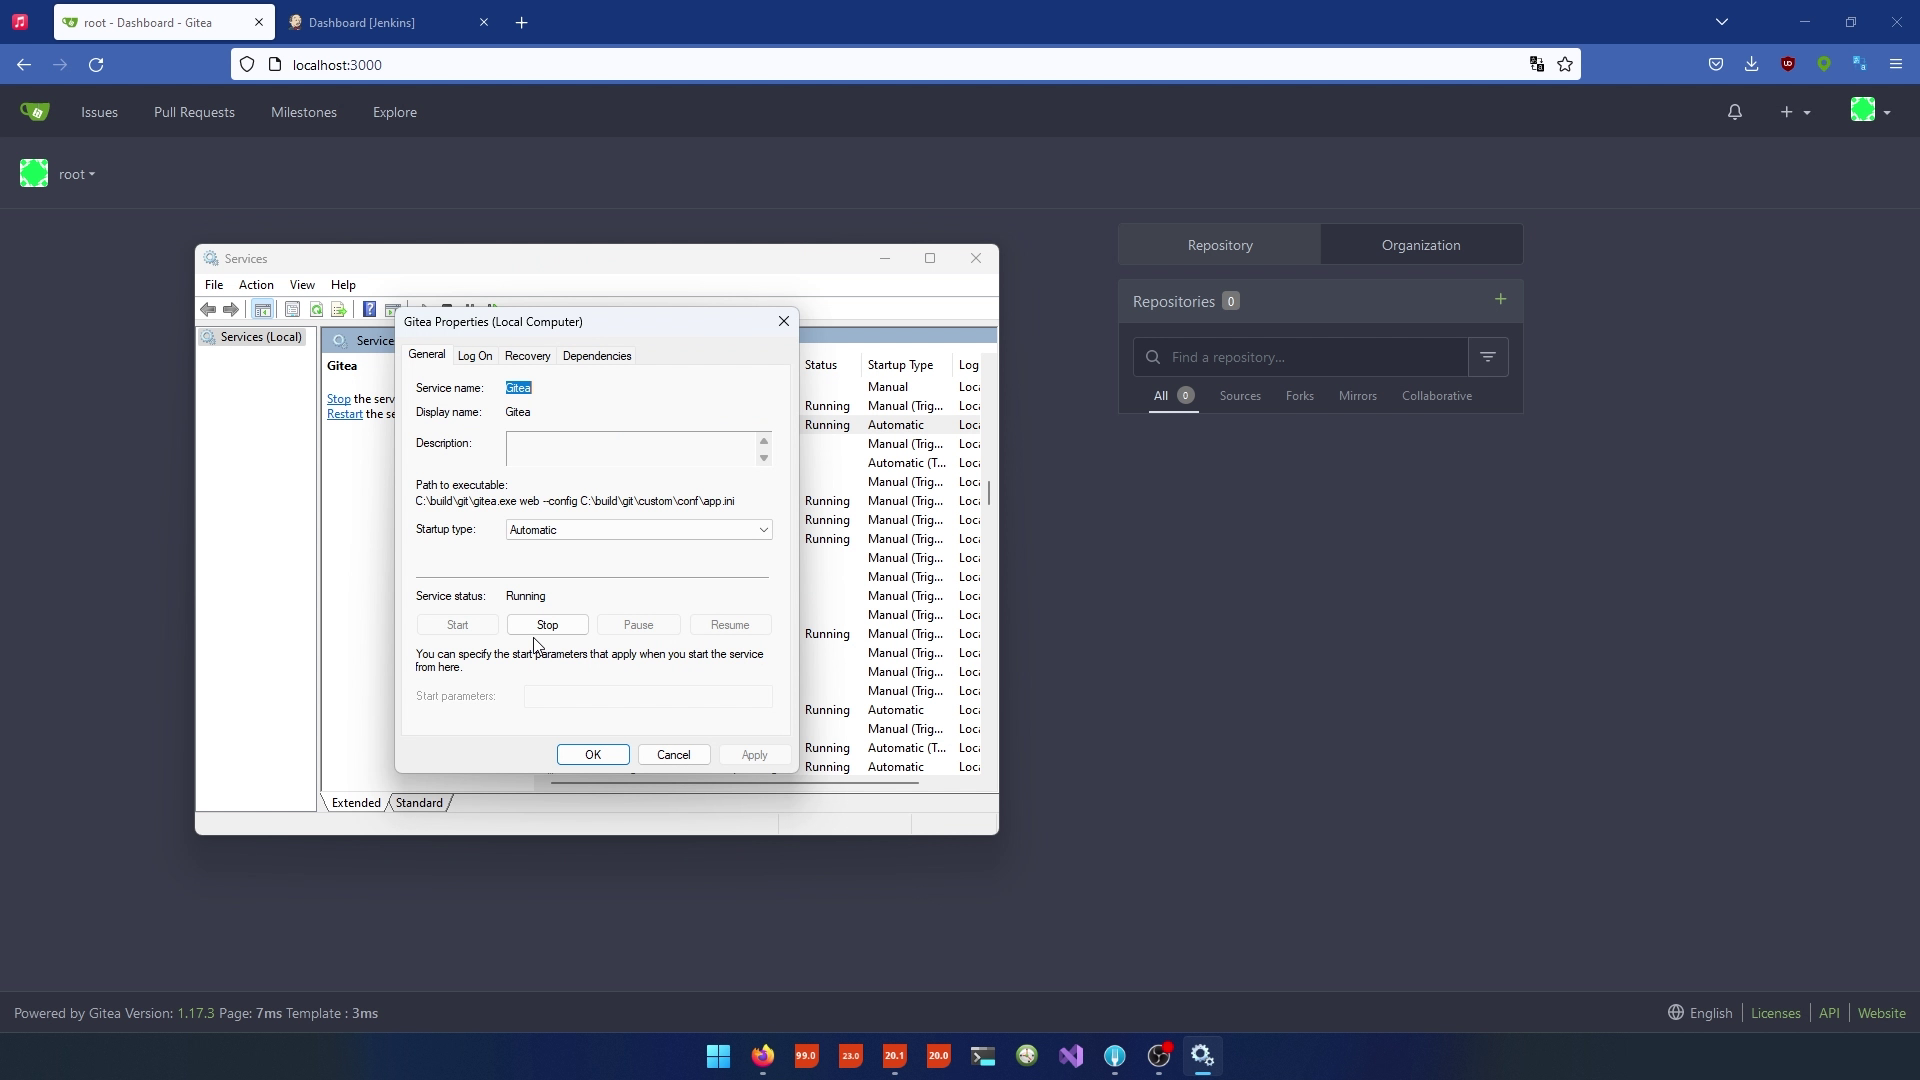
- Open the services and stop Gitea, then start it again to apply the changes.
Create an Organization in Gitea
- Log in to Gitea.
- Go to the "Organization" section.
- Click the "+" button to create a new organization.
- Give the organization a name, e.g., "internal" for internal projects.
- Choose the visibility settings (e.g., private and visible only to members).
- Click "Create organization."

Add Jenkins User to the Organization and create a Jenkins User Account
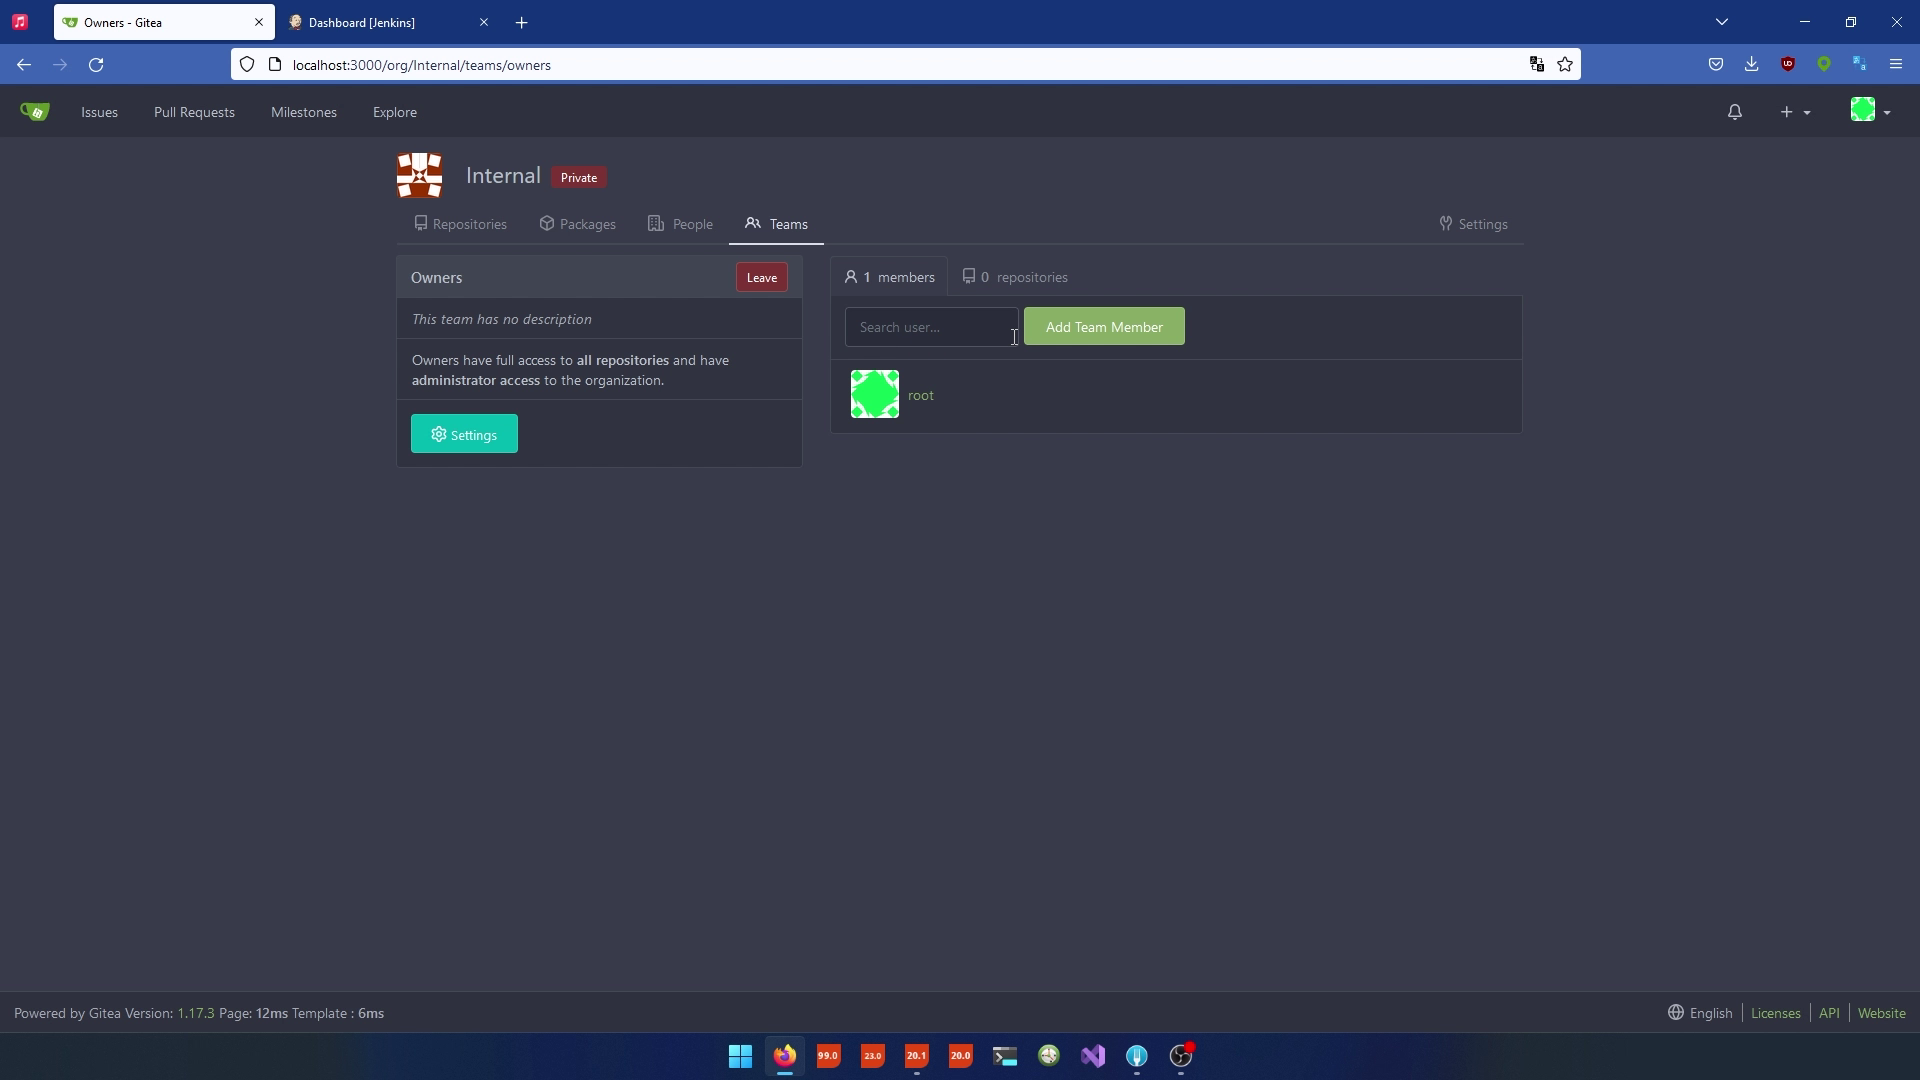
- After creating the organization, navigate to it.
- Go to the "owners" section.
- Go to Gitea's website administration.

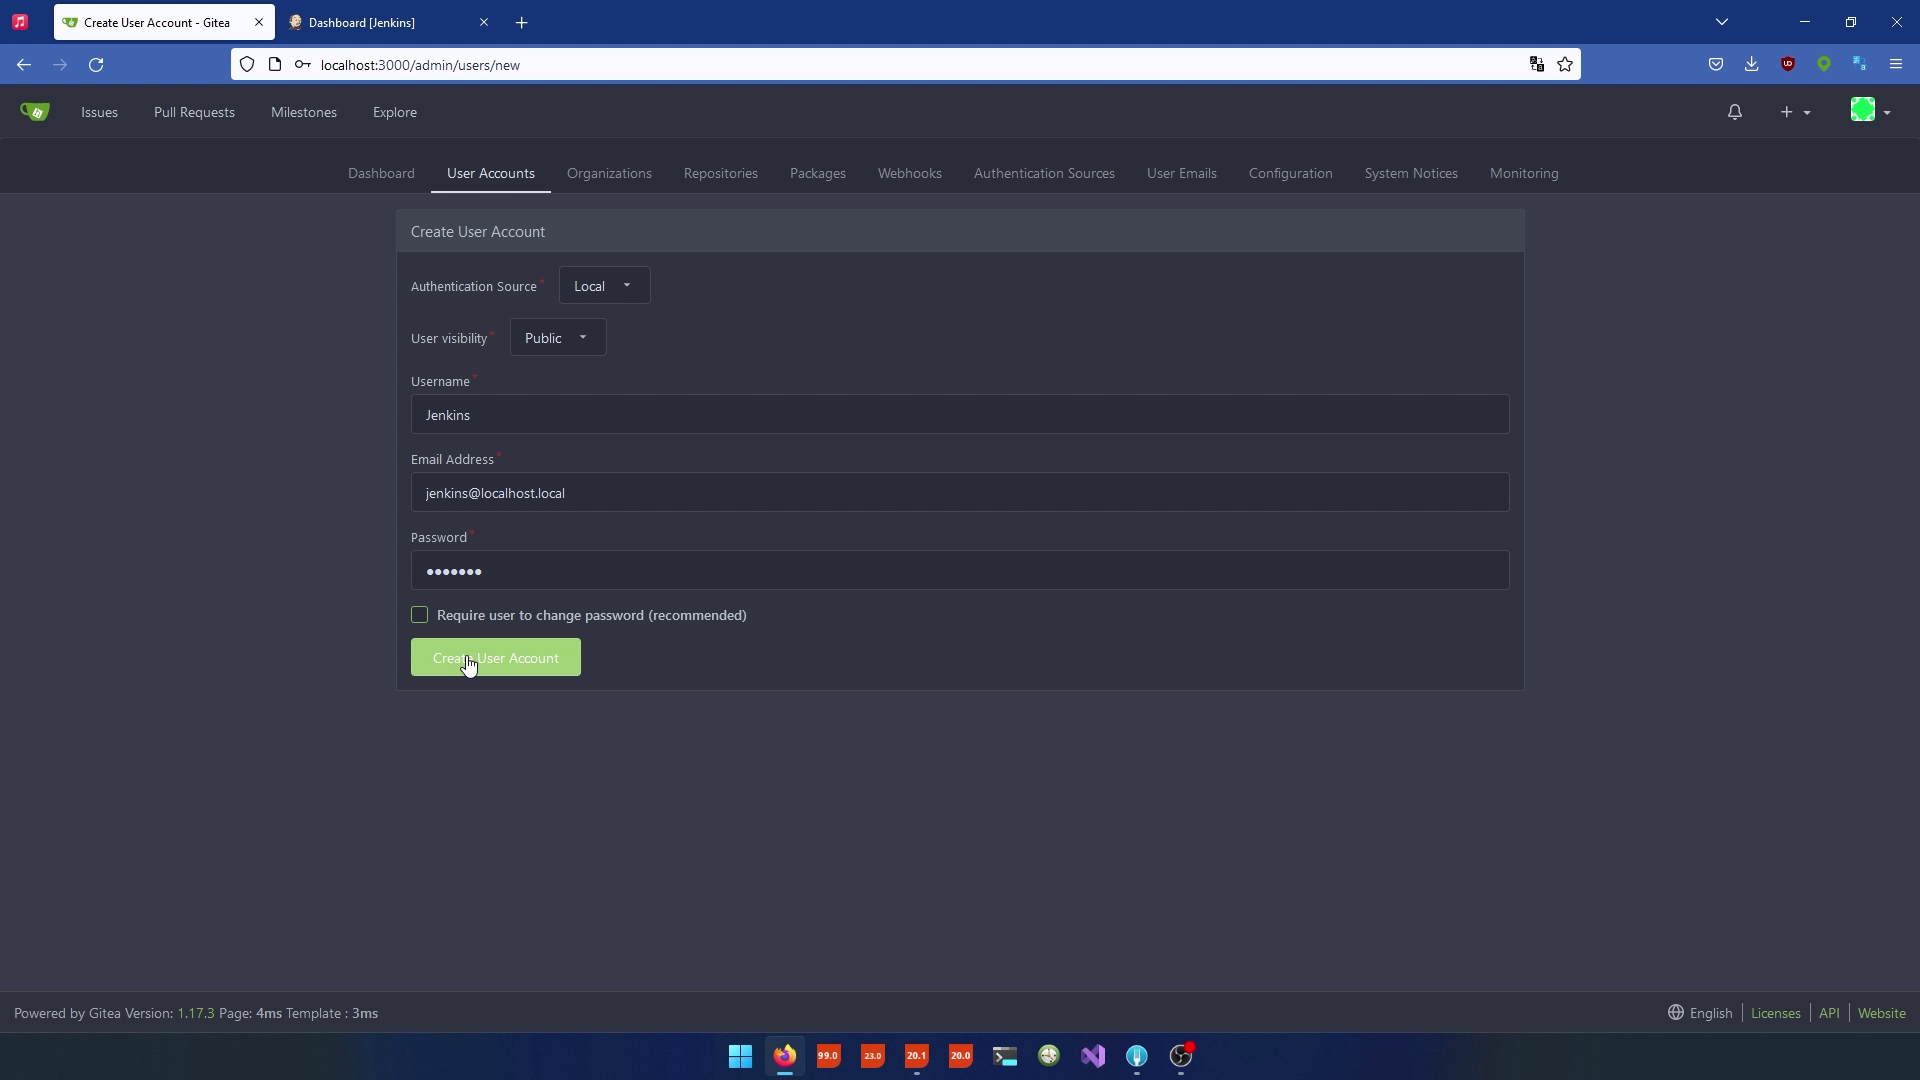
- Navigate to "User Accounts."
- Click "Create Account."
- Name the account "Jenkins."
- For the email address, use a similar format as the root accounts, e.g., "local@local."
- Set the password.
- Disable the option to require the user to change the account password.
- Save the Jenkins account.
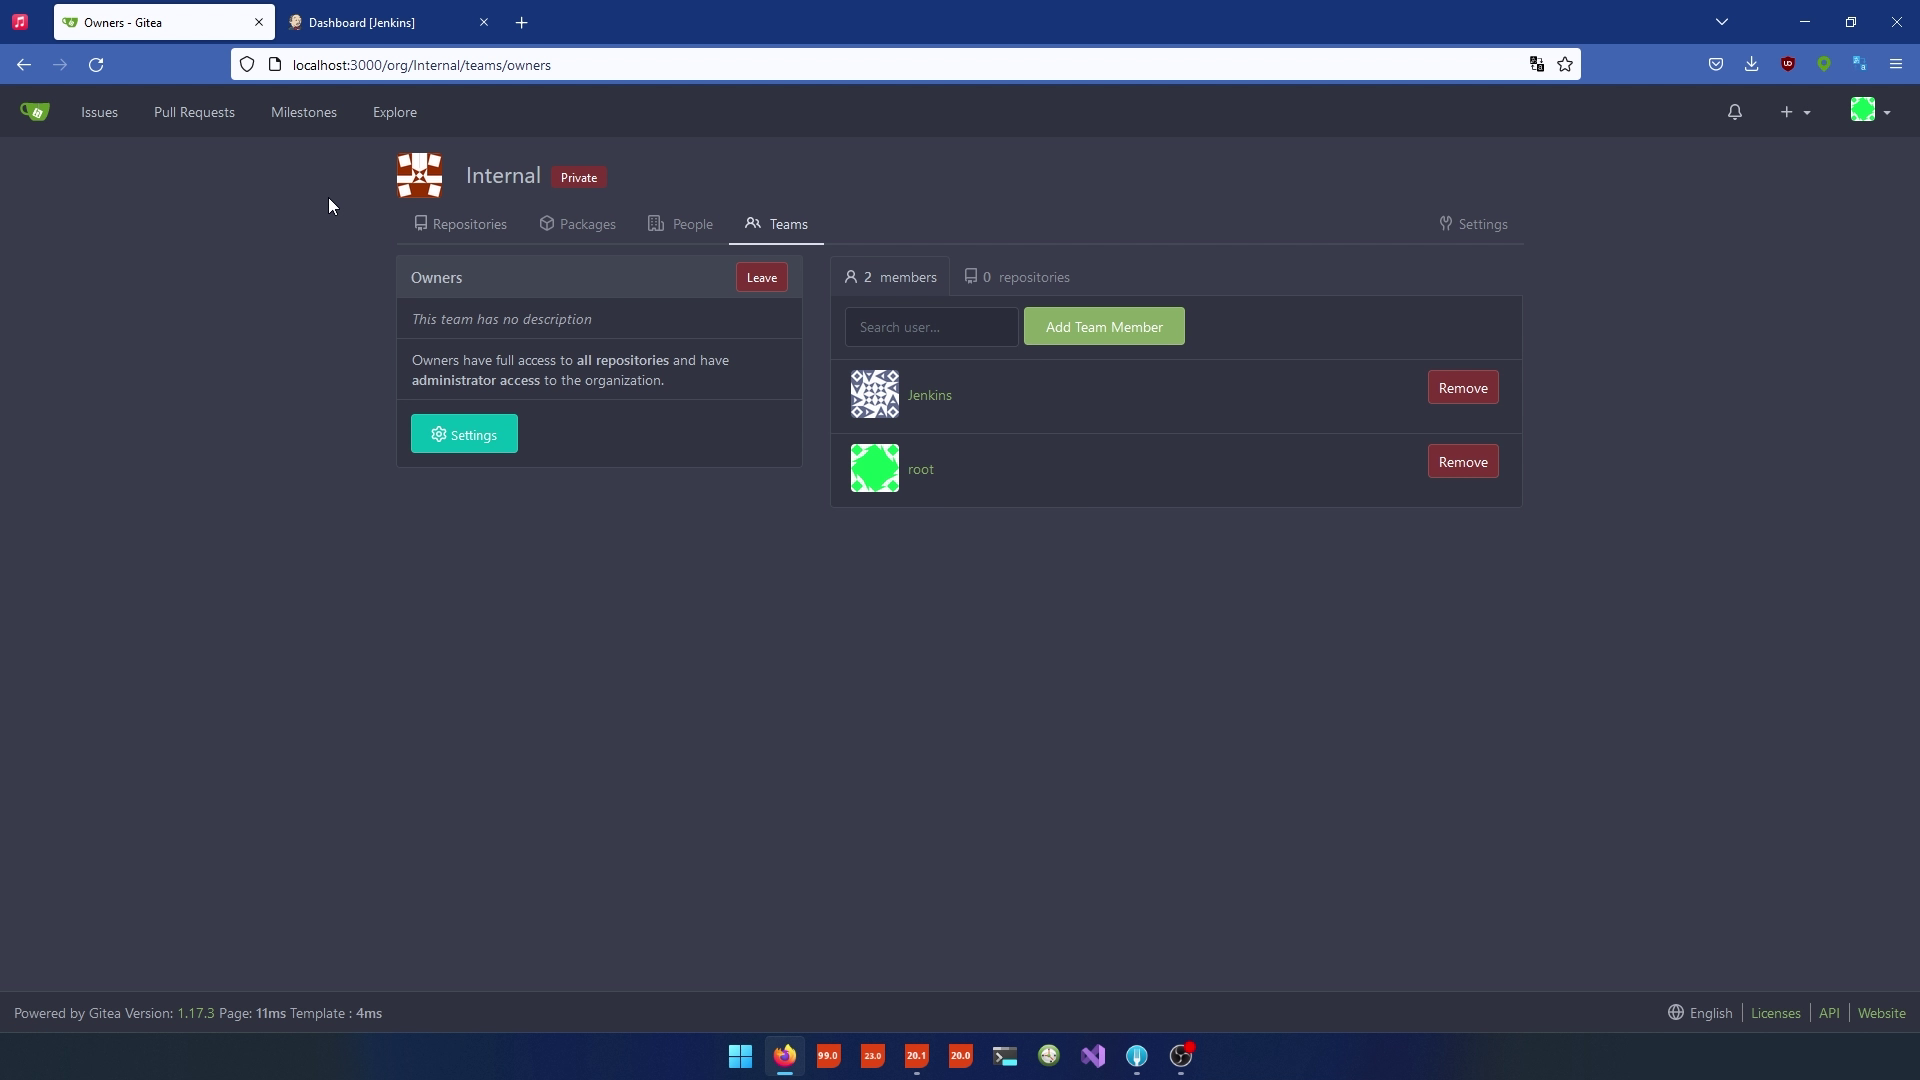
Grant Access to Jenkins
- Go back to your organization settings.
- Under the "owners" section, add the "Jenkins" user account.
Log in as Jenkins
- Sign out of your current Gitea account.
- Log in with the Jenkins account credentials.
Configure Jenkins for Gitea Integration
- In Jenkins, go to "Manage Jenkins."
- Select "Configure System."
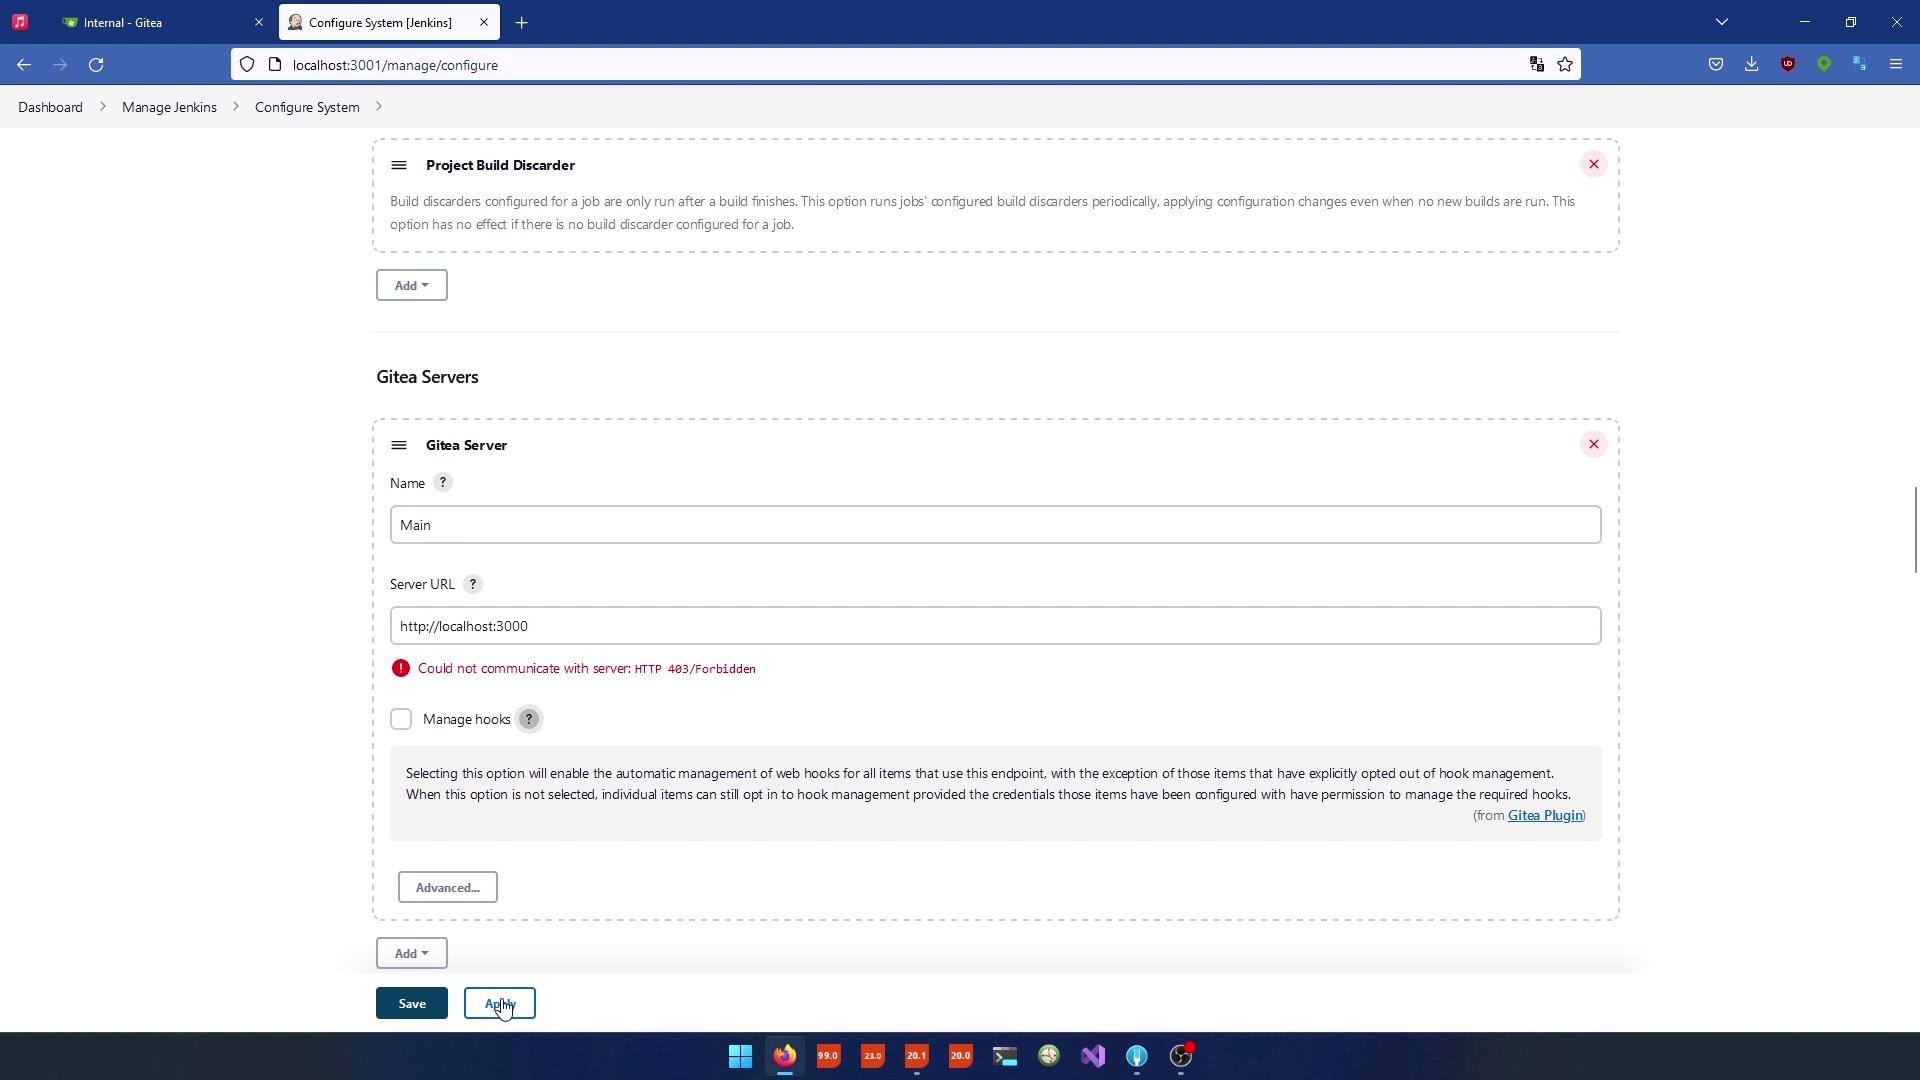
- Scroll down to the "Gitea Servers" section.
- Click "Add" to add a Gitea server.
- Provide a name for the server (e.g., "main").
- Set the server URL to "http://localhost."
- Specify the port as "3000."
- Enable "Manage Hooks" to allow Jenkins to register web hooks.
- Click "Apply" and then "Save."
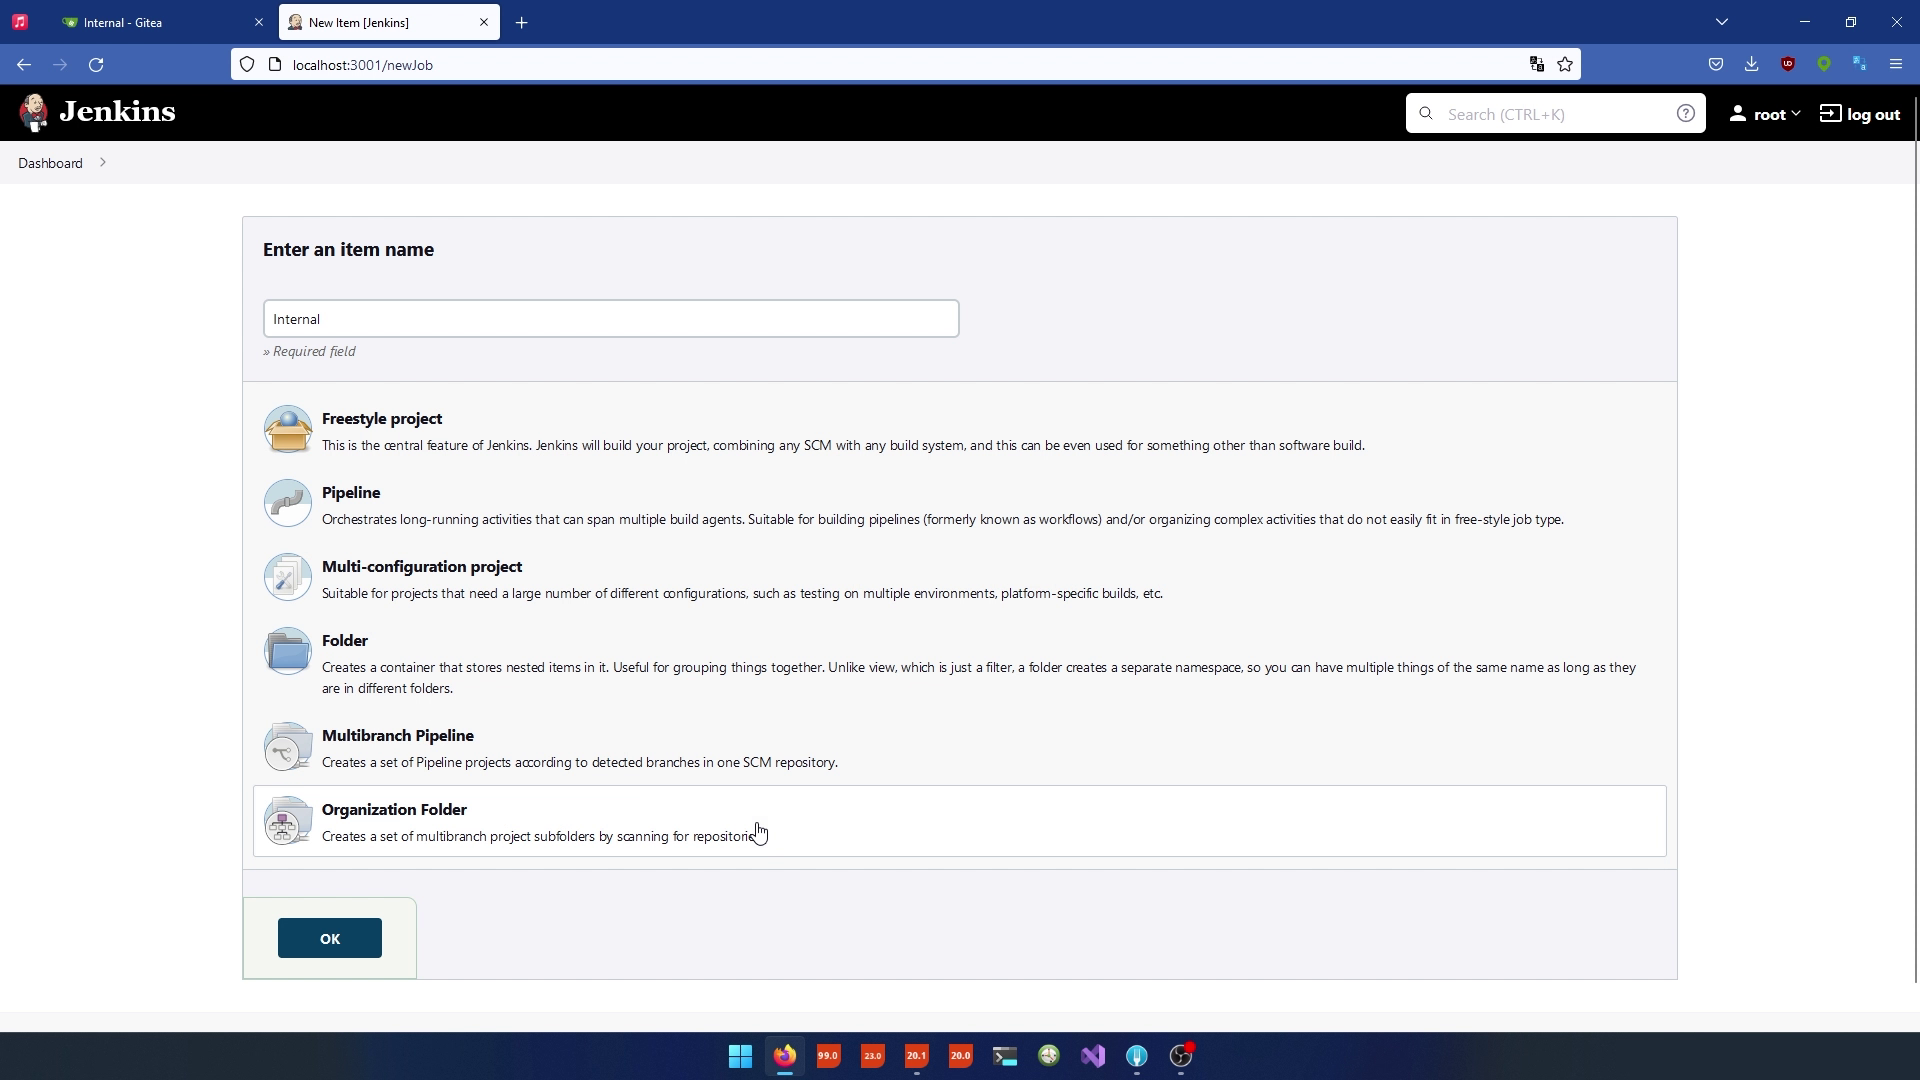
Create a Jenkins Job
- Go back to your Jenkins dashboard.
- Create a new job.
- Give it a name (e.g., "internal").
- Choose the "Organization Folder" type for the job.
Configure Repository Resources
- In the job configuration, select "Gitea organization" for repository resources.
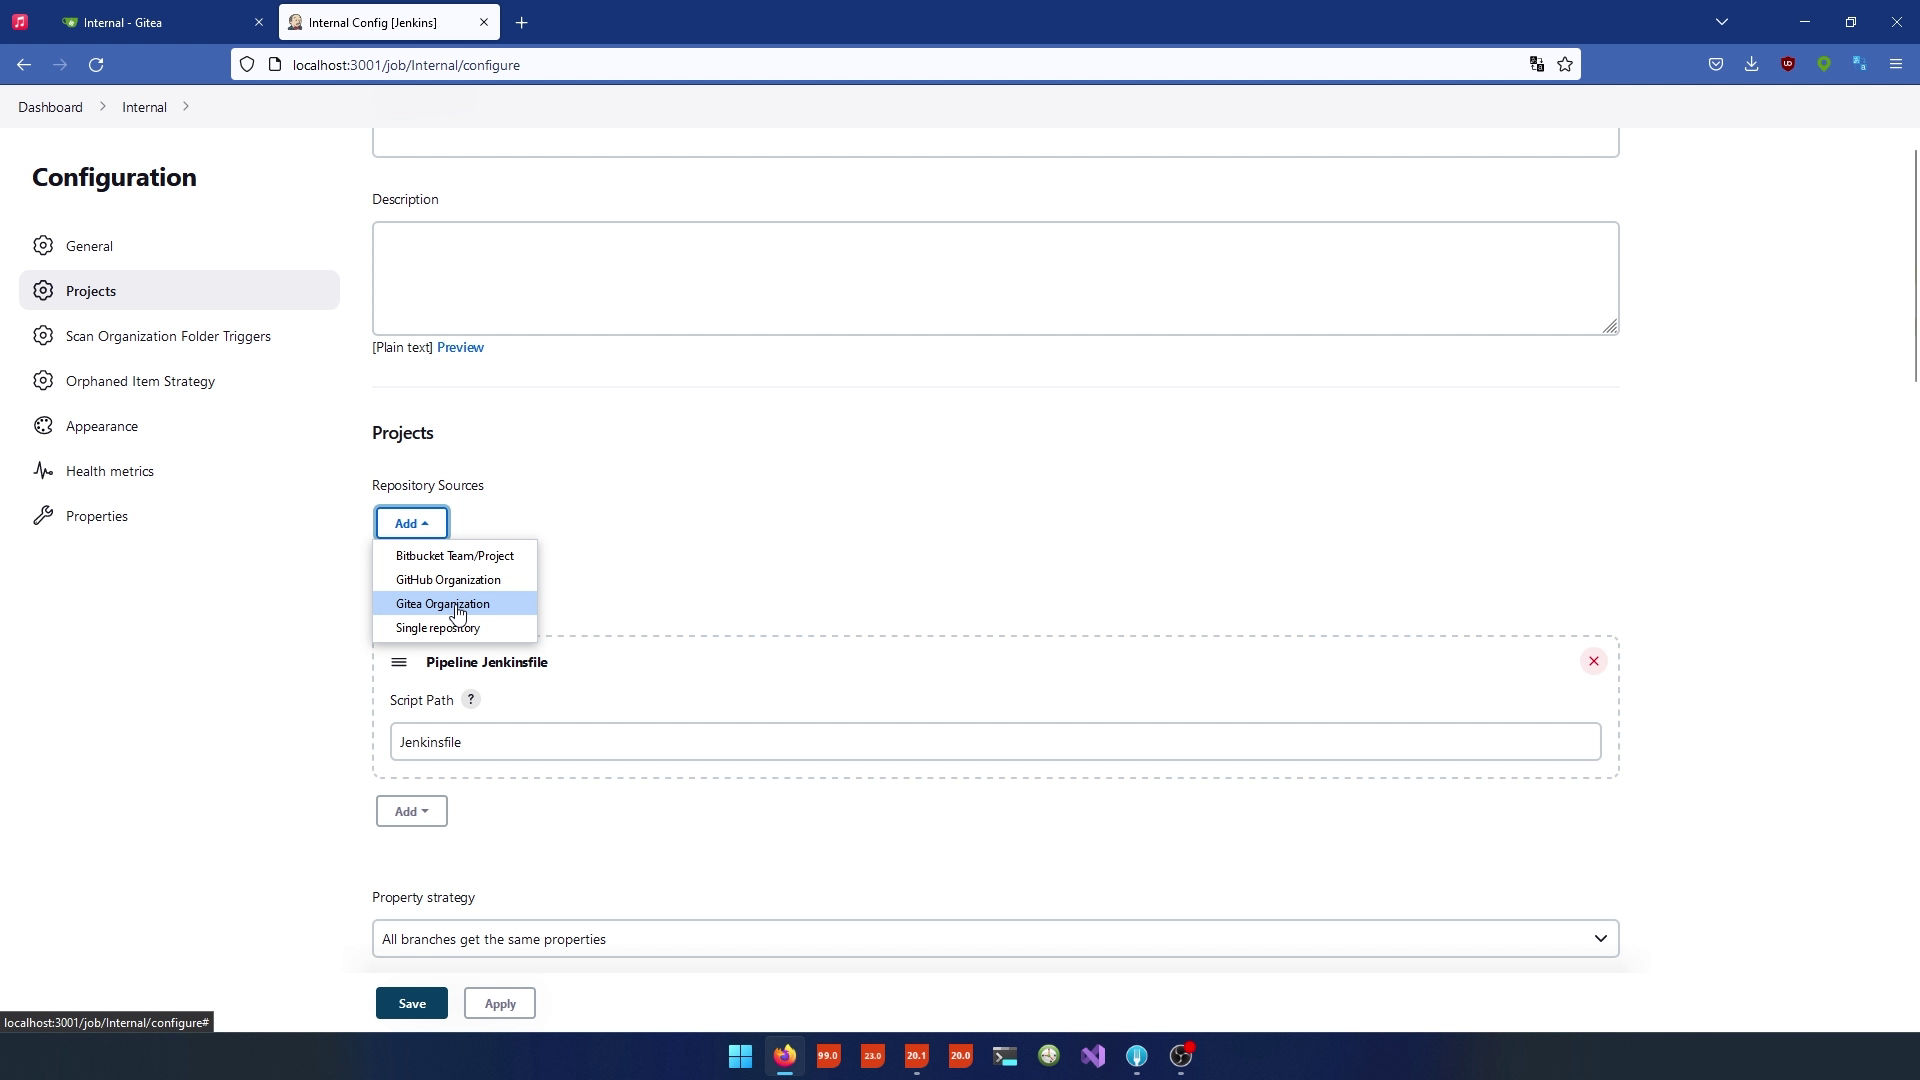
- Jenkins should automatically detect the Giteaserver you configured earlier.
Configure Credentials
- You'll need to provide credentials to access Gitea. Since you don't have them yet, this step will be completed later.
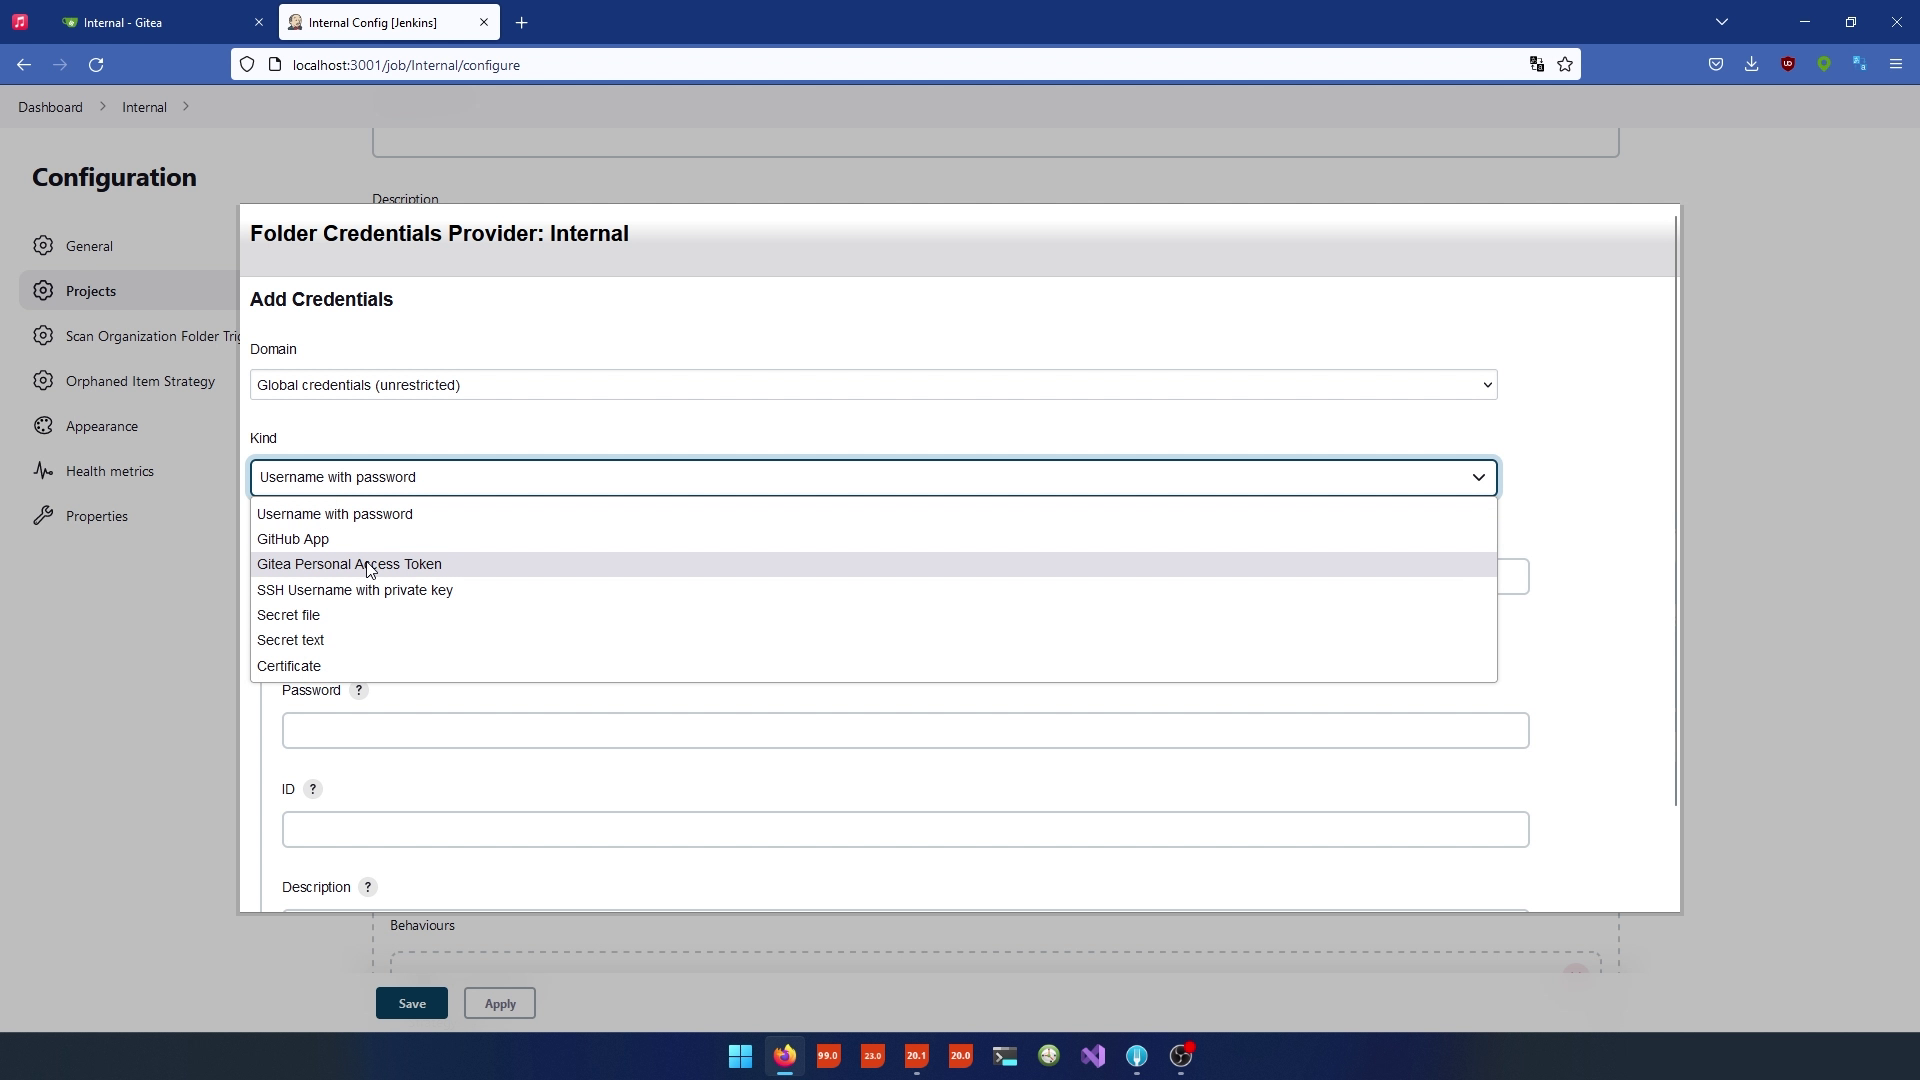
- For now click on "Add" And select "Internal".
- In "Kind" Select "Gitea Personal Access Token".
- Go to the Jenkins account for the Token.
- Go to the personal settings.
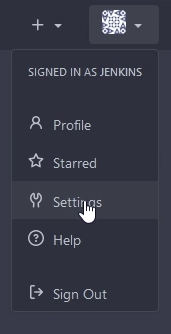
- Go to "Applications".
- In the Token name select "Jenkins".
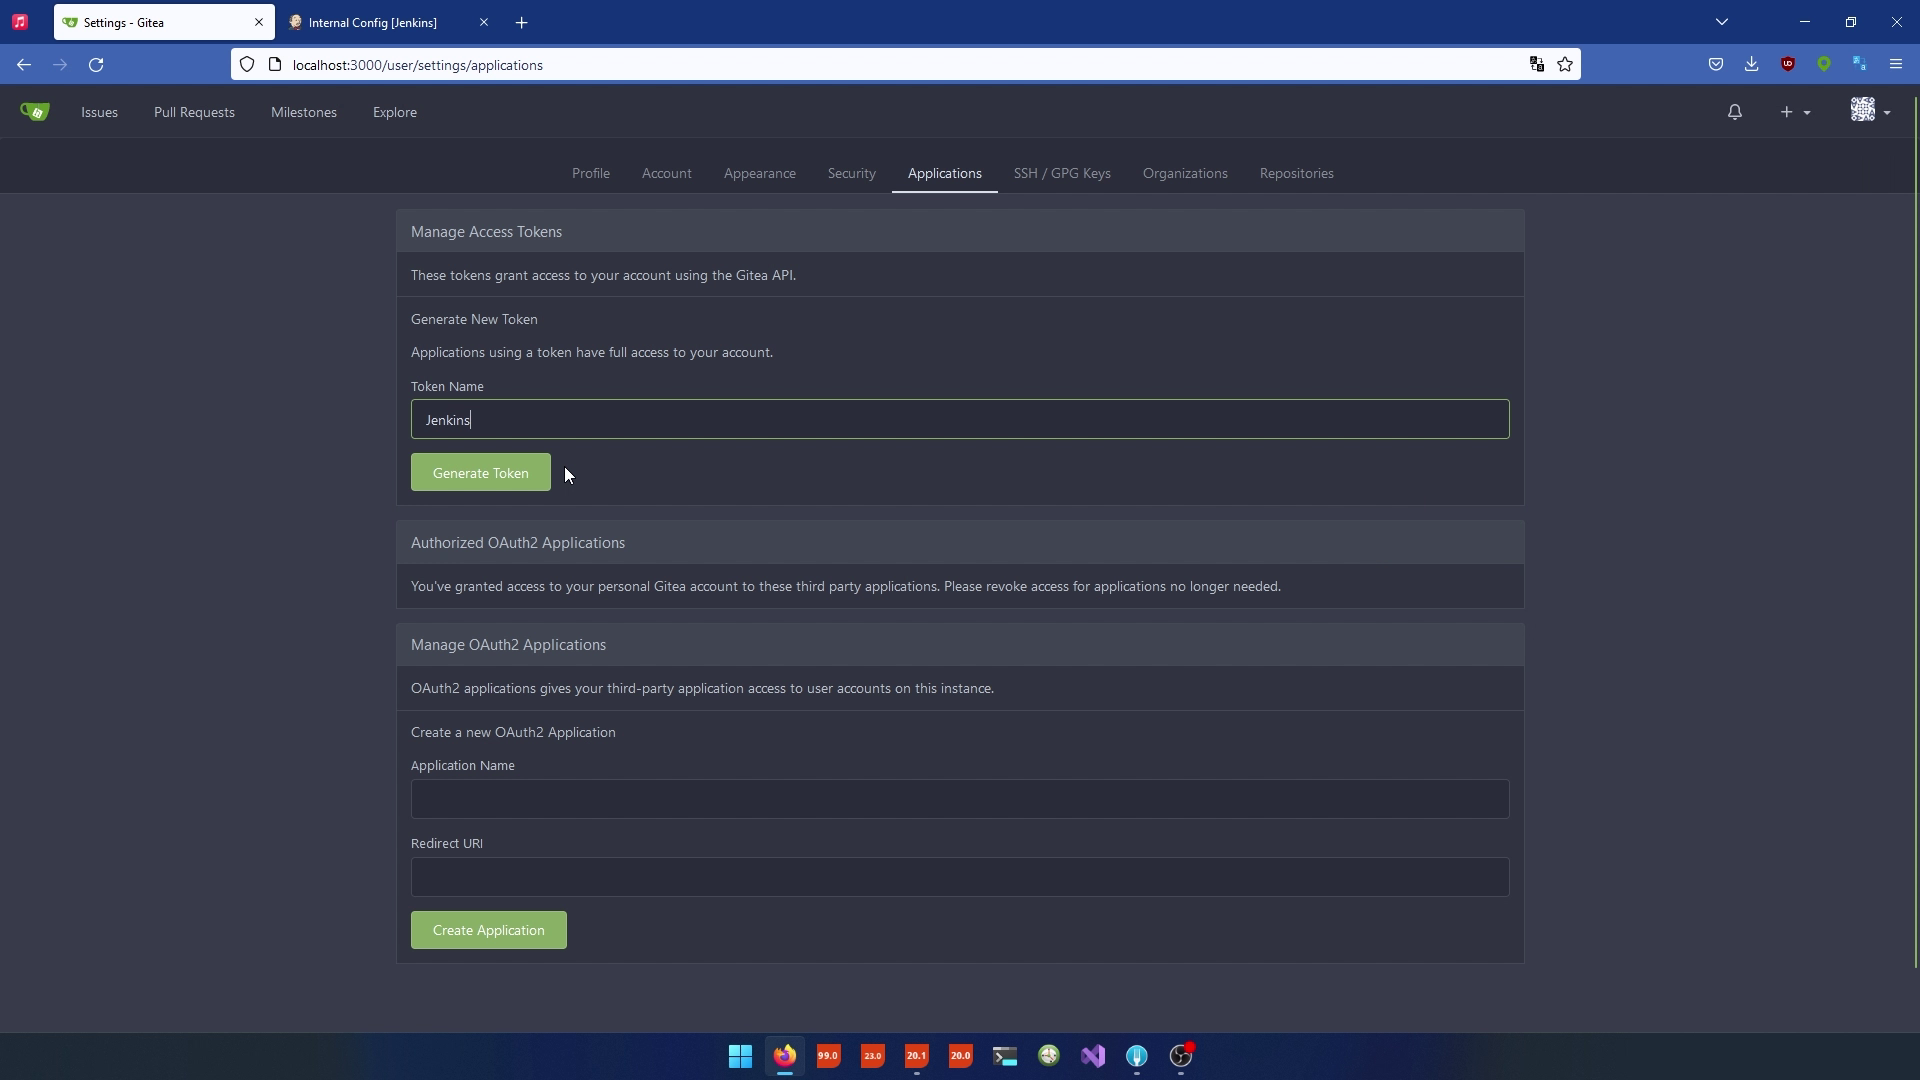
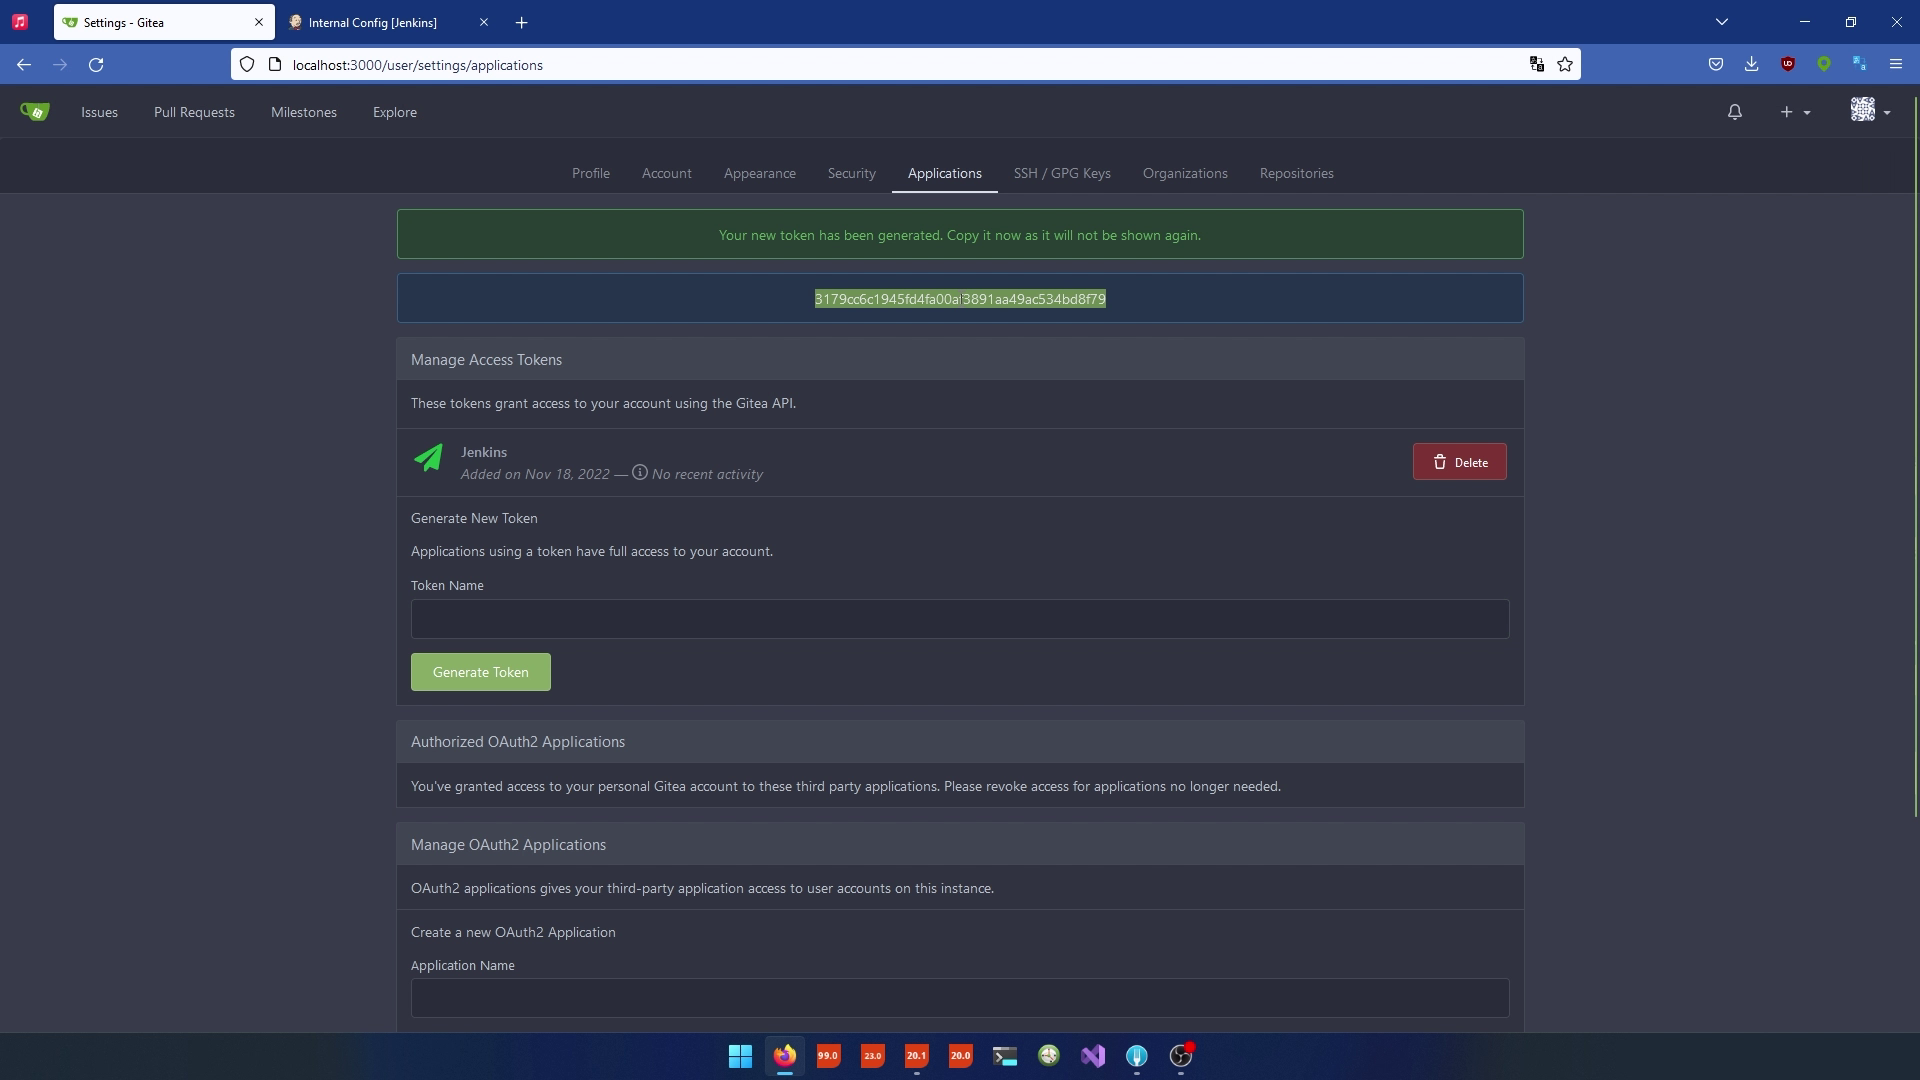
- Click "Generate Token".
- Copy the Token.
- For the ID and description we add "Gitea-Jenkins".
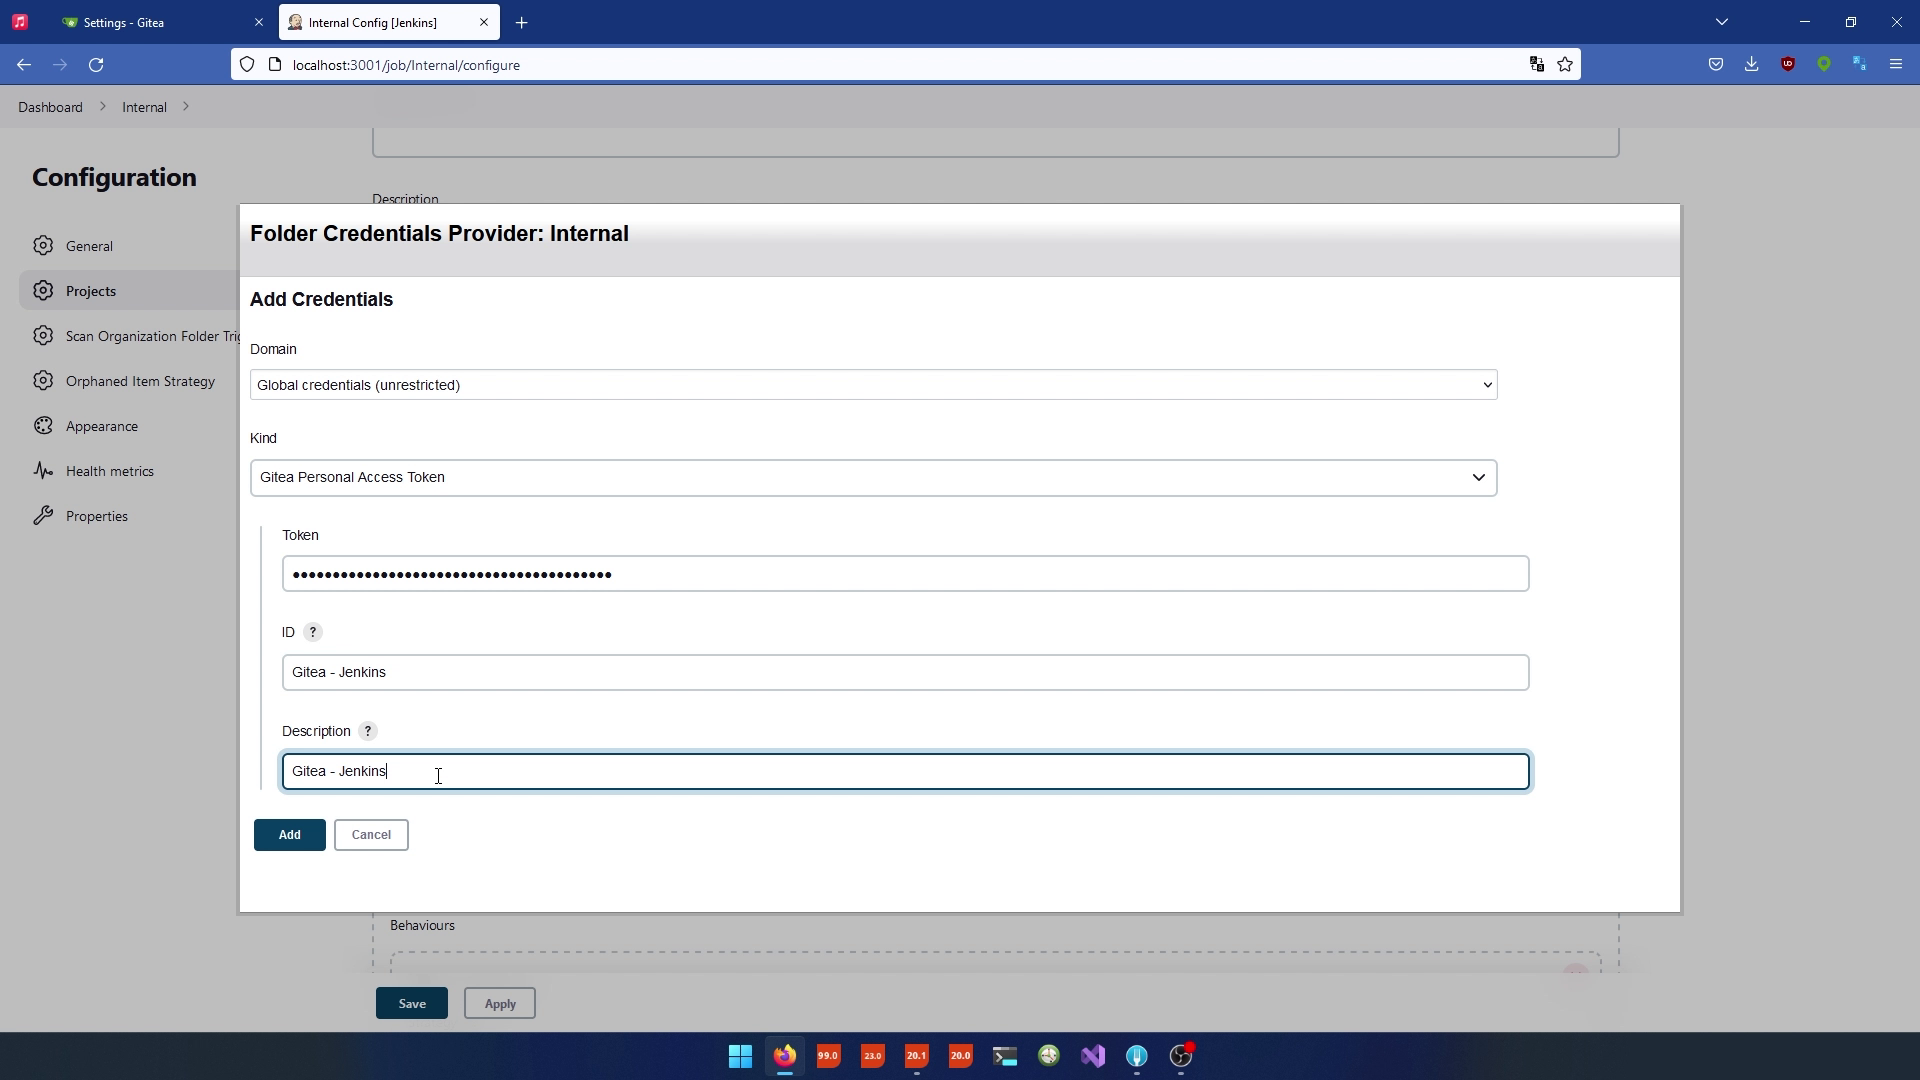
- Click "Add".
- Select the Credentials "Gitea - Jenkins".
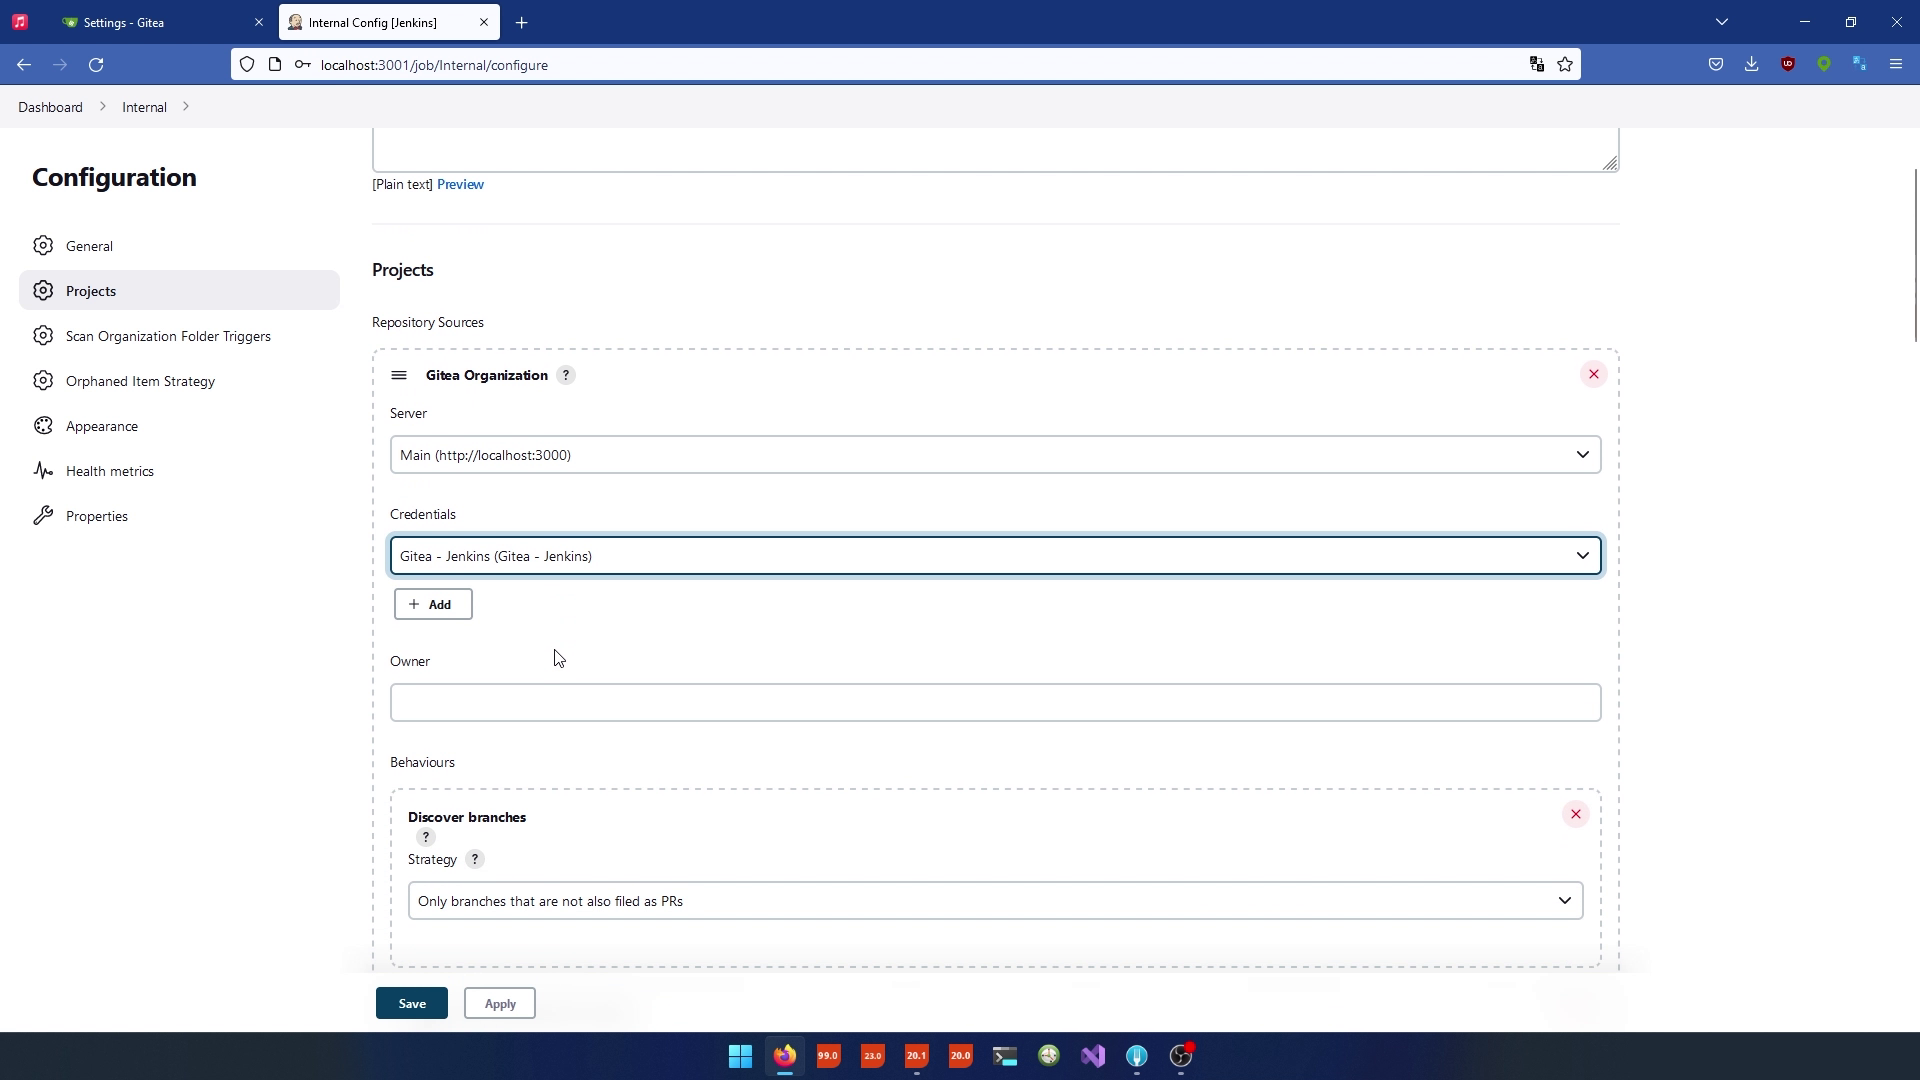
- For the "Owner" fill in the name of the organization, in this case "Internal".
- For "Discover branches" select "All branches".
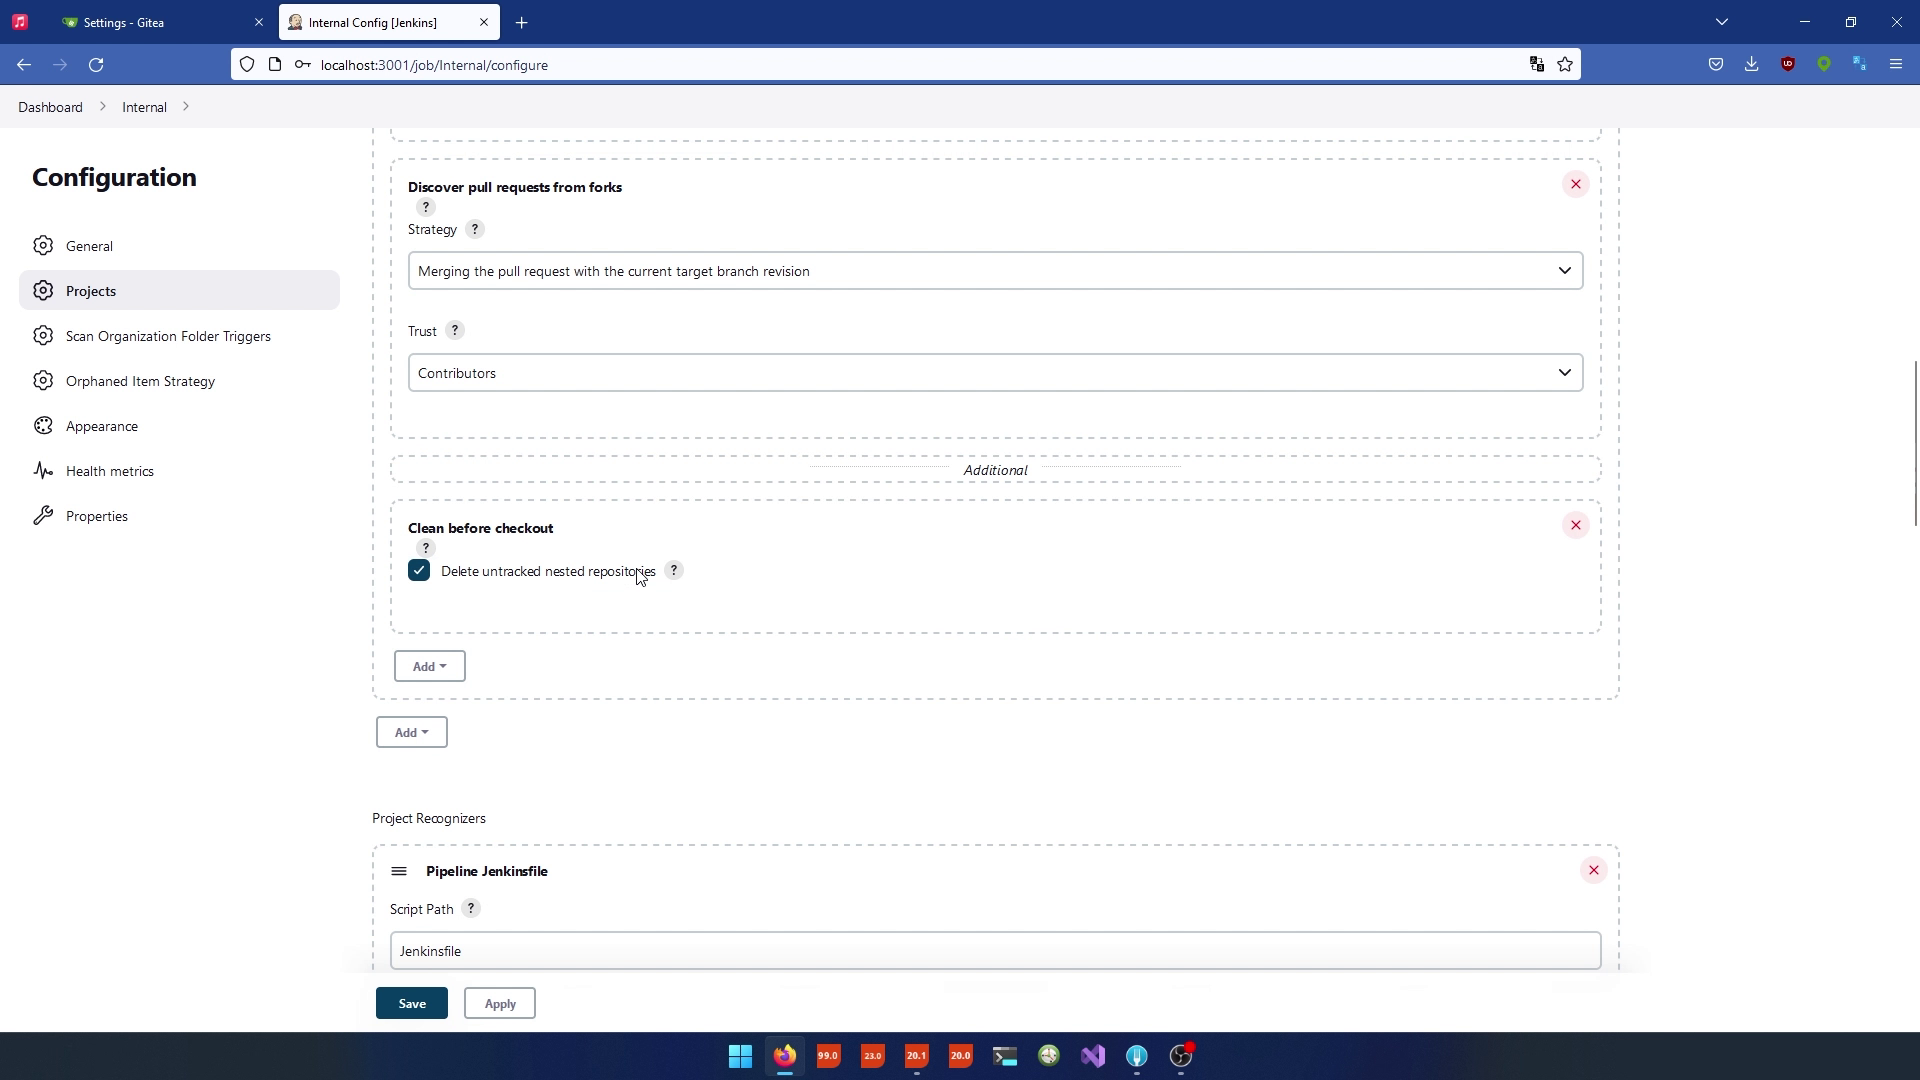
- Scroll down and click "Add" to create a custom attribute.
- Select "Clean before checkout".
- Select "Delete untracked nested repositories".
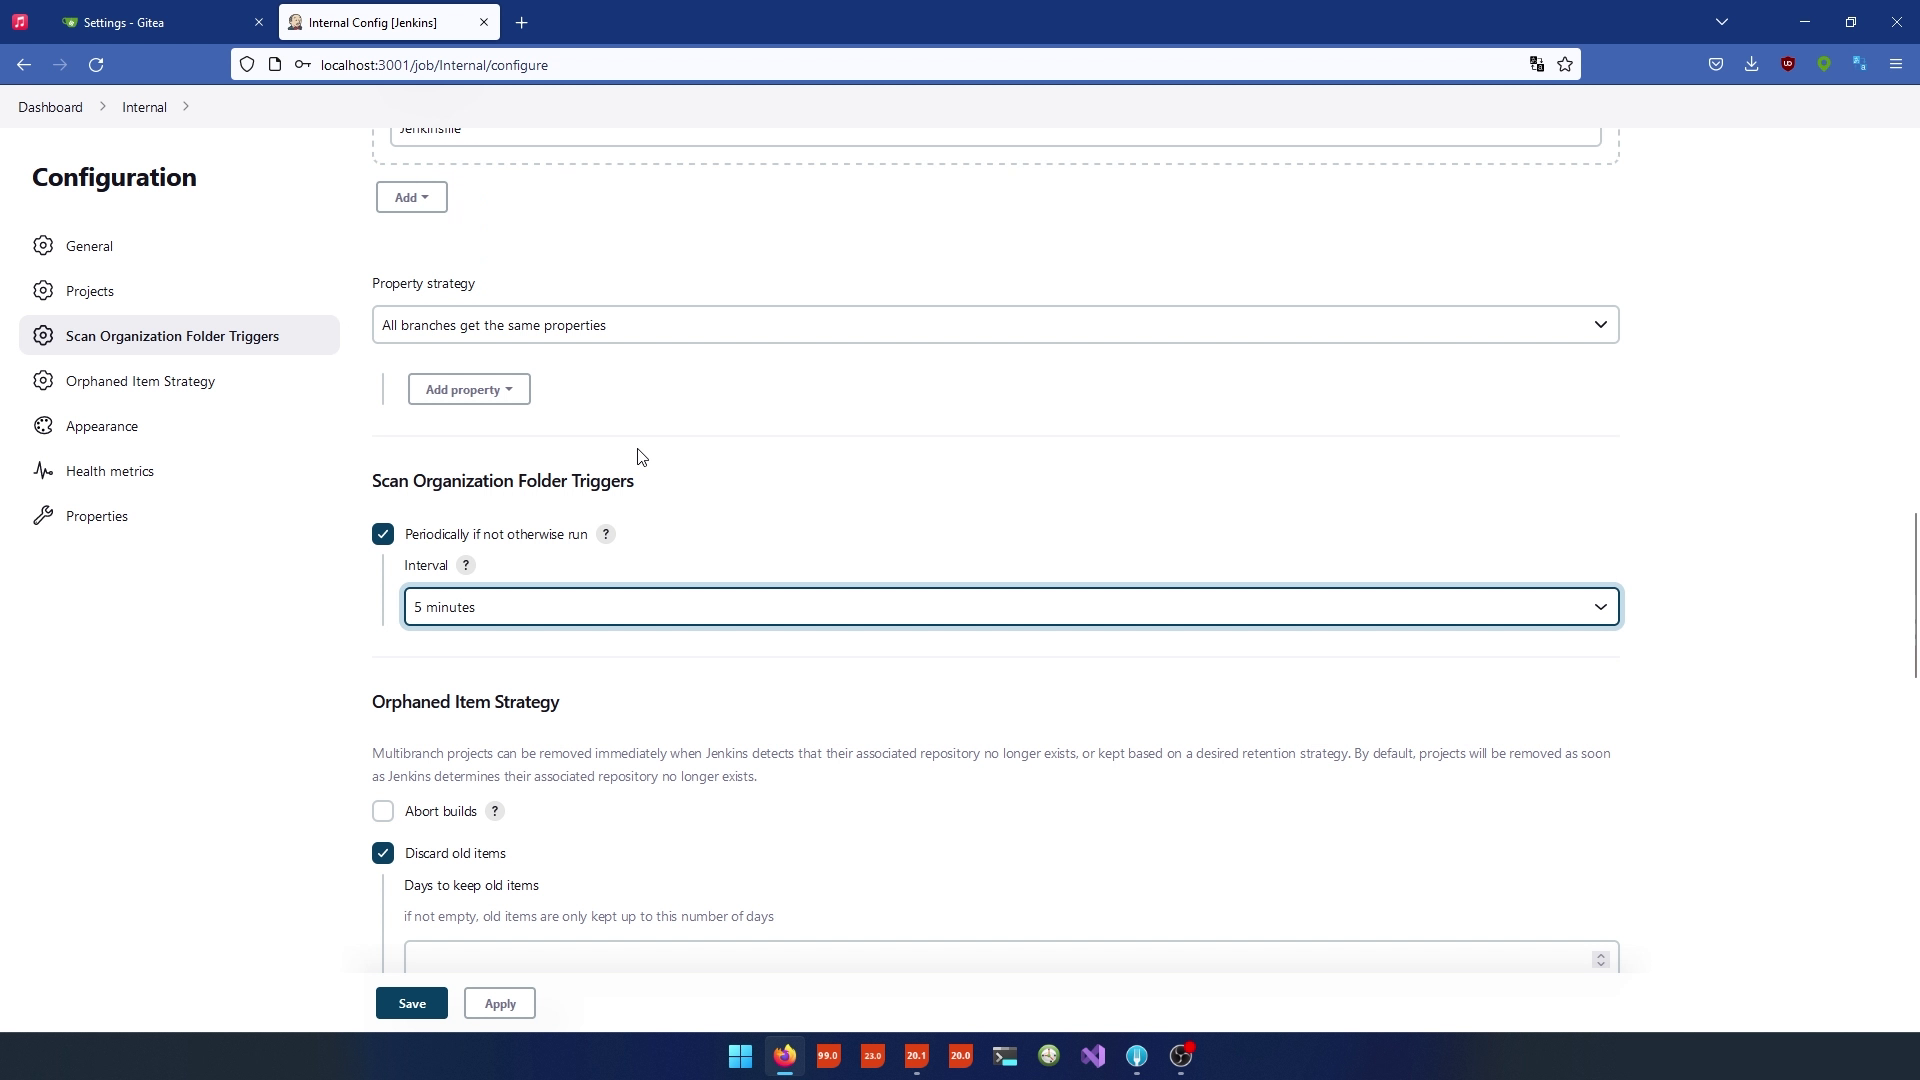
Configure Scan Organization Folder Triggers
- Set the scan interval for new repositories (e.g., every 5 minutes).
Apply Configuration
- Click "Apply" and "Save" to save the job configuration.
Configure Webhooks in Gitea
- In Gitea, go to your organization settings.
- Navigate to "Settings" and then "Webhooks."
- Add a Gitea webhook with the following settings:
- Click "Add webhook" to save the configuration.
You've now completed the setup for connecting Jenkins and Gutea using the Gitea plugin. You are ready to create your first repository in the next lesson.


