DataFlex and Continuous Integration
Lesson 4 - Building our own CI capable project and Conclusion
A summary of the video course
In this lesson we are going to add our first CI capable DataFlex project, in which we will see how unit tests can be run on Jenkins.
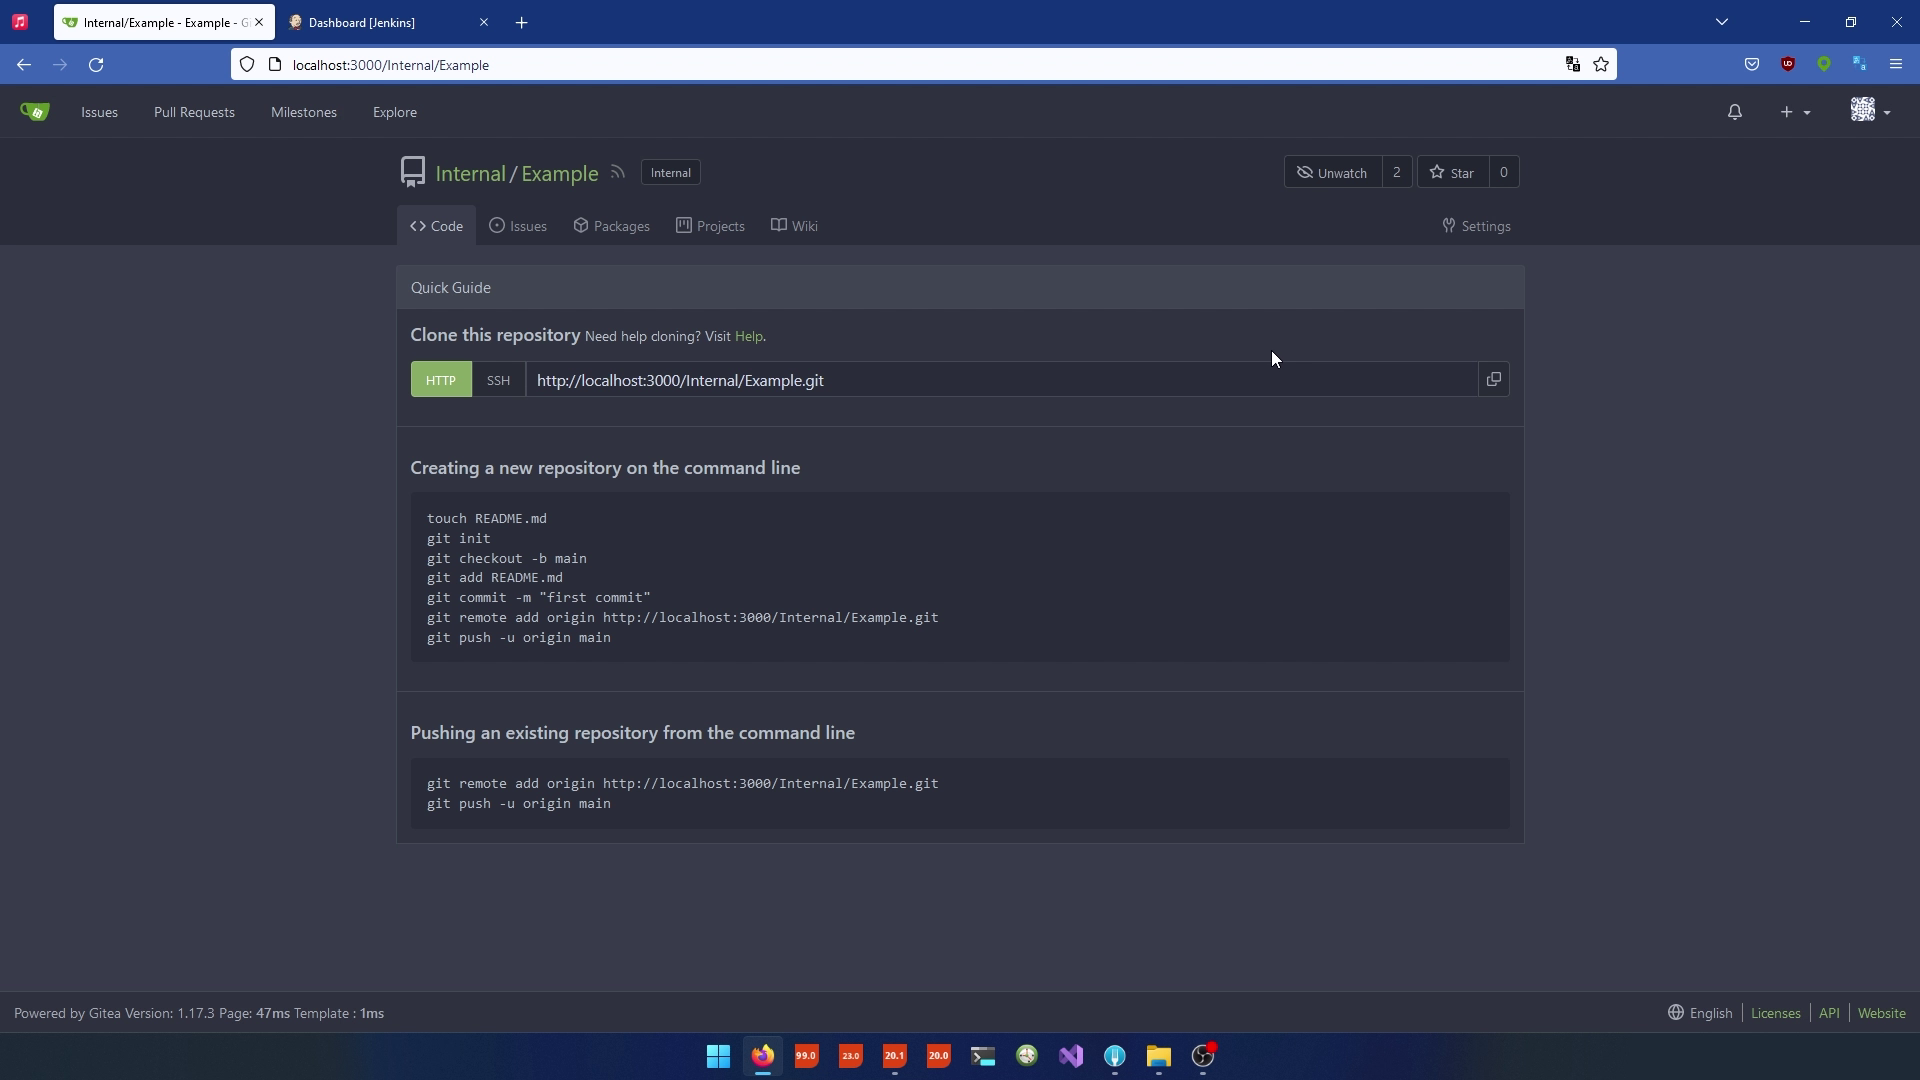
Create a New Project in Gitea
- Log in to your Gitea account.
- Click the plus (+) sign to create a new repository.
- Ensure that you have selected the organization where you want to create the project.
- In the "Repository Name" field, enter a name for your project (e.g., "example").
- You can leave the visibility and description attributes as they are.
- Click "Create Repository."
- Copy the repository URL provided.
Clone the Repository
- Use your preferred Git IDE or command-line tool.
- Go to the clone option.
- Test the connection to the repository.
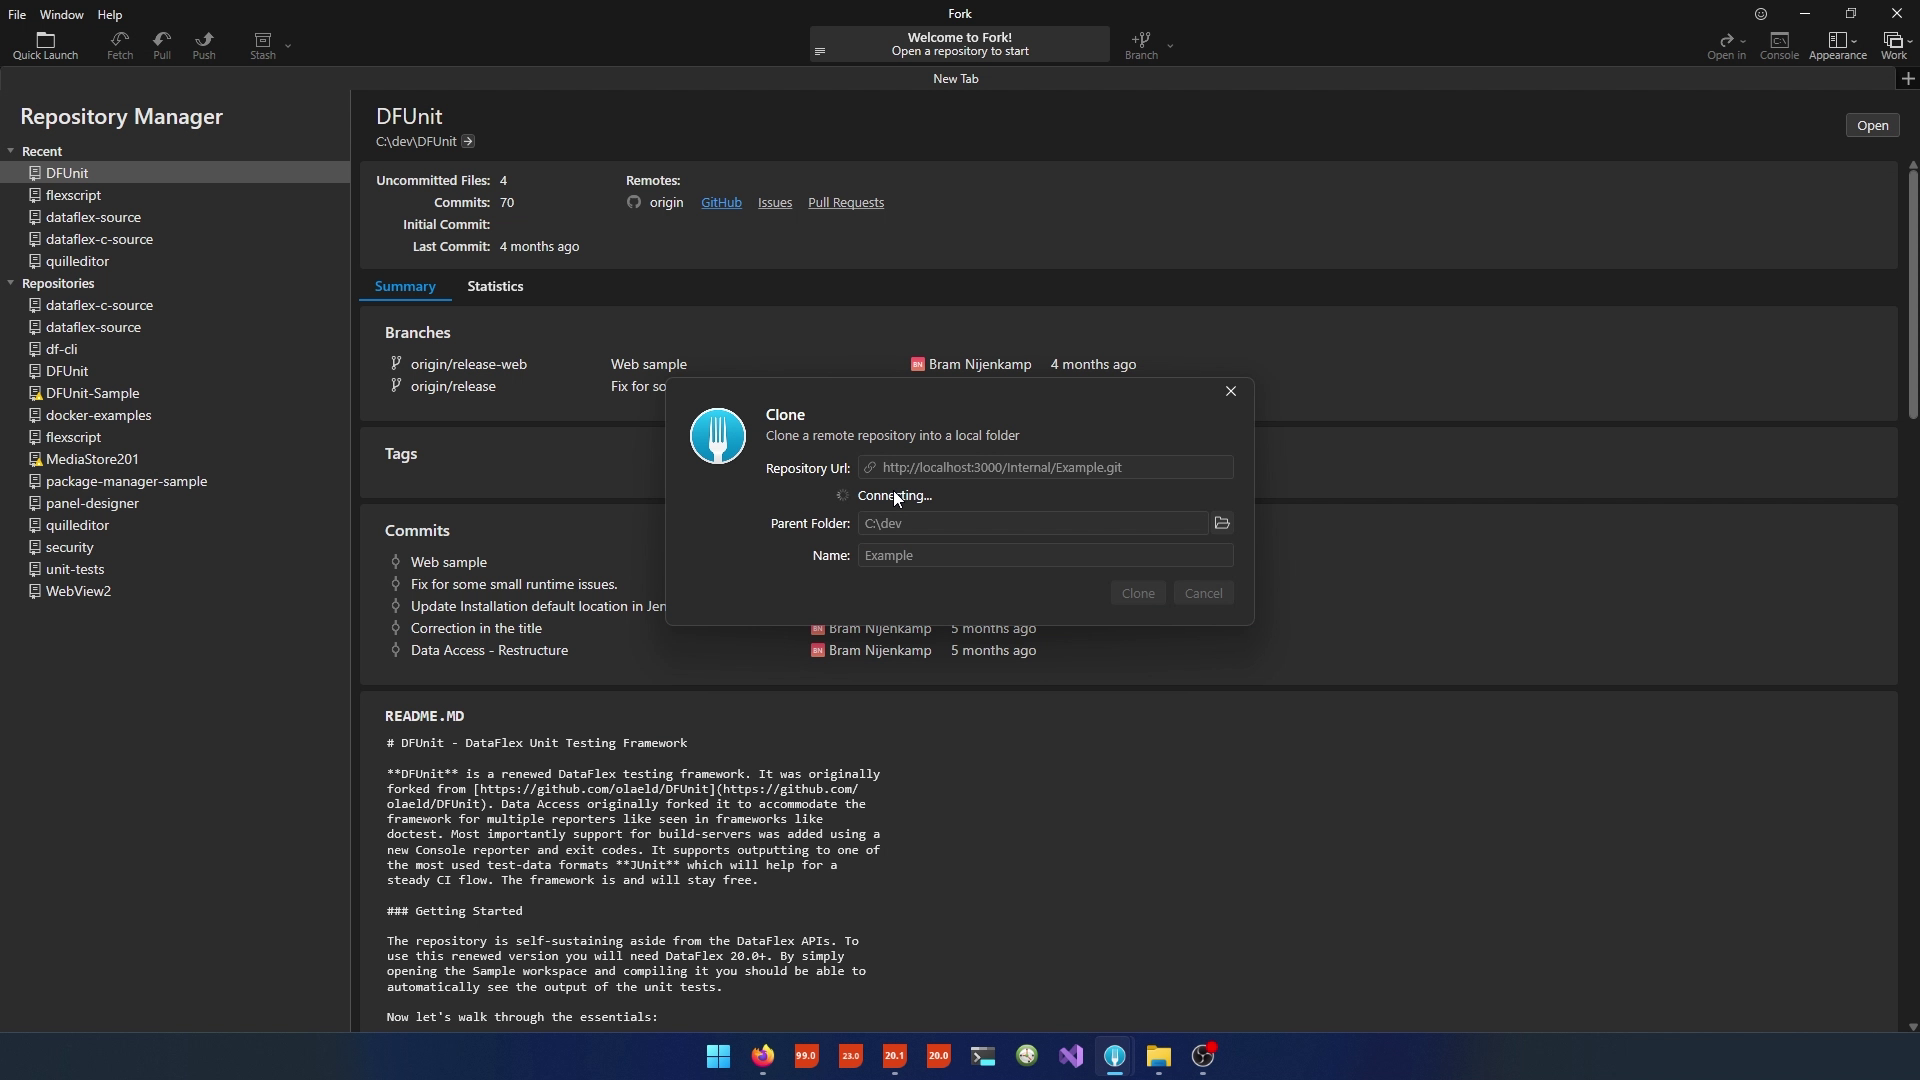
- If prompted, log in using either a root account or a custom user account.
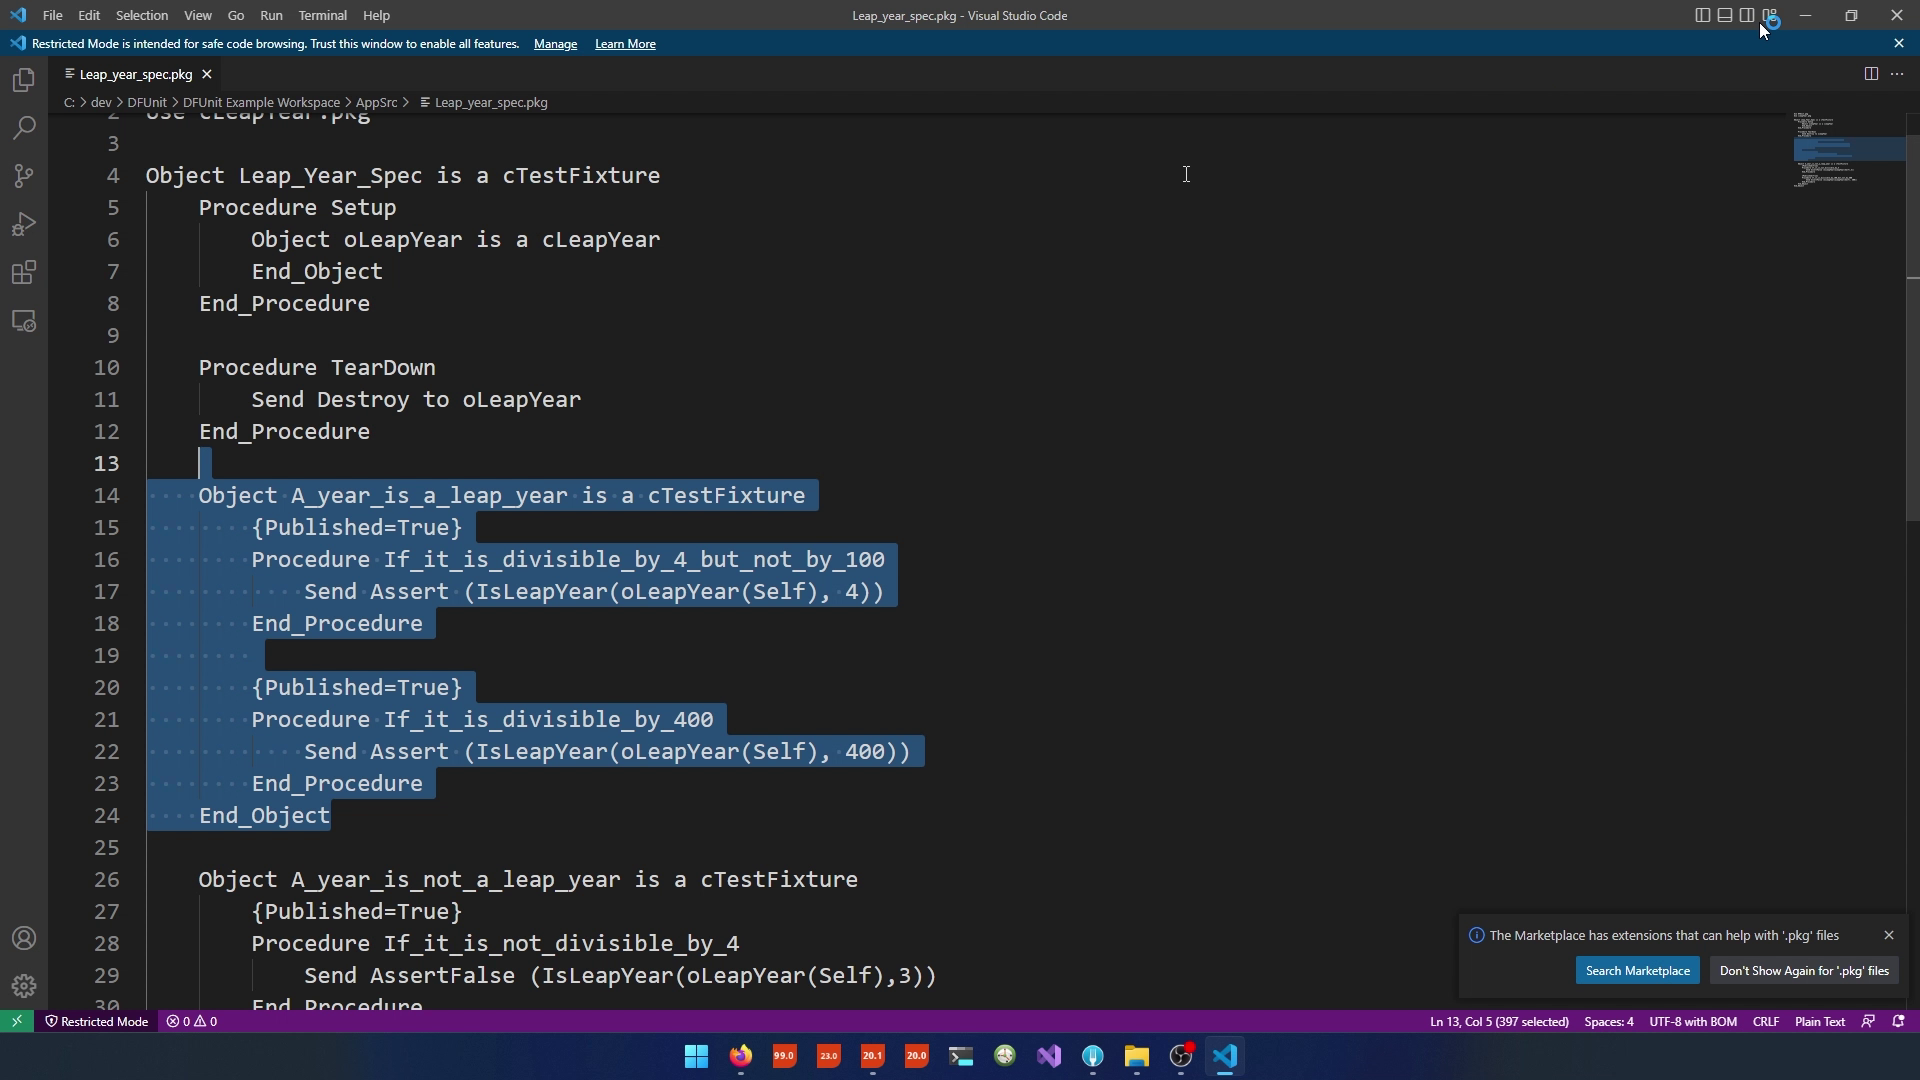
Step 3: Prepare the Example Workspace
- Download the example workspace, such as the "dev units example workspace."
- In the workspace, navigate to the "app source" directory.
- You will find source files and unit tests related to leap years.
Step 4: Configure the Jenkins File
- Inside the root of the example workspace, locate the "Jenkinsfile."
- Open the Jenkinsfile in a text editor.
- In the Jenkinsfile:
- Modify the agent attribute to specify a label for a Windows machine.
- If your Jenkins server does not have a Windows label, add the label in Jenkins.
- Ensure that the compiler version matches your setup.
- Review and update other attributes as needed.
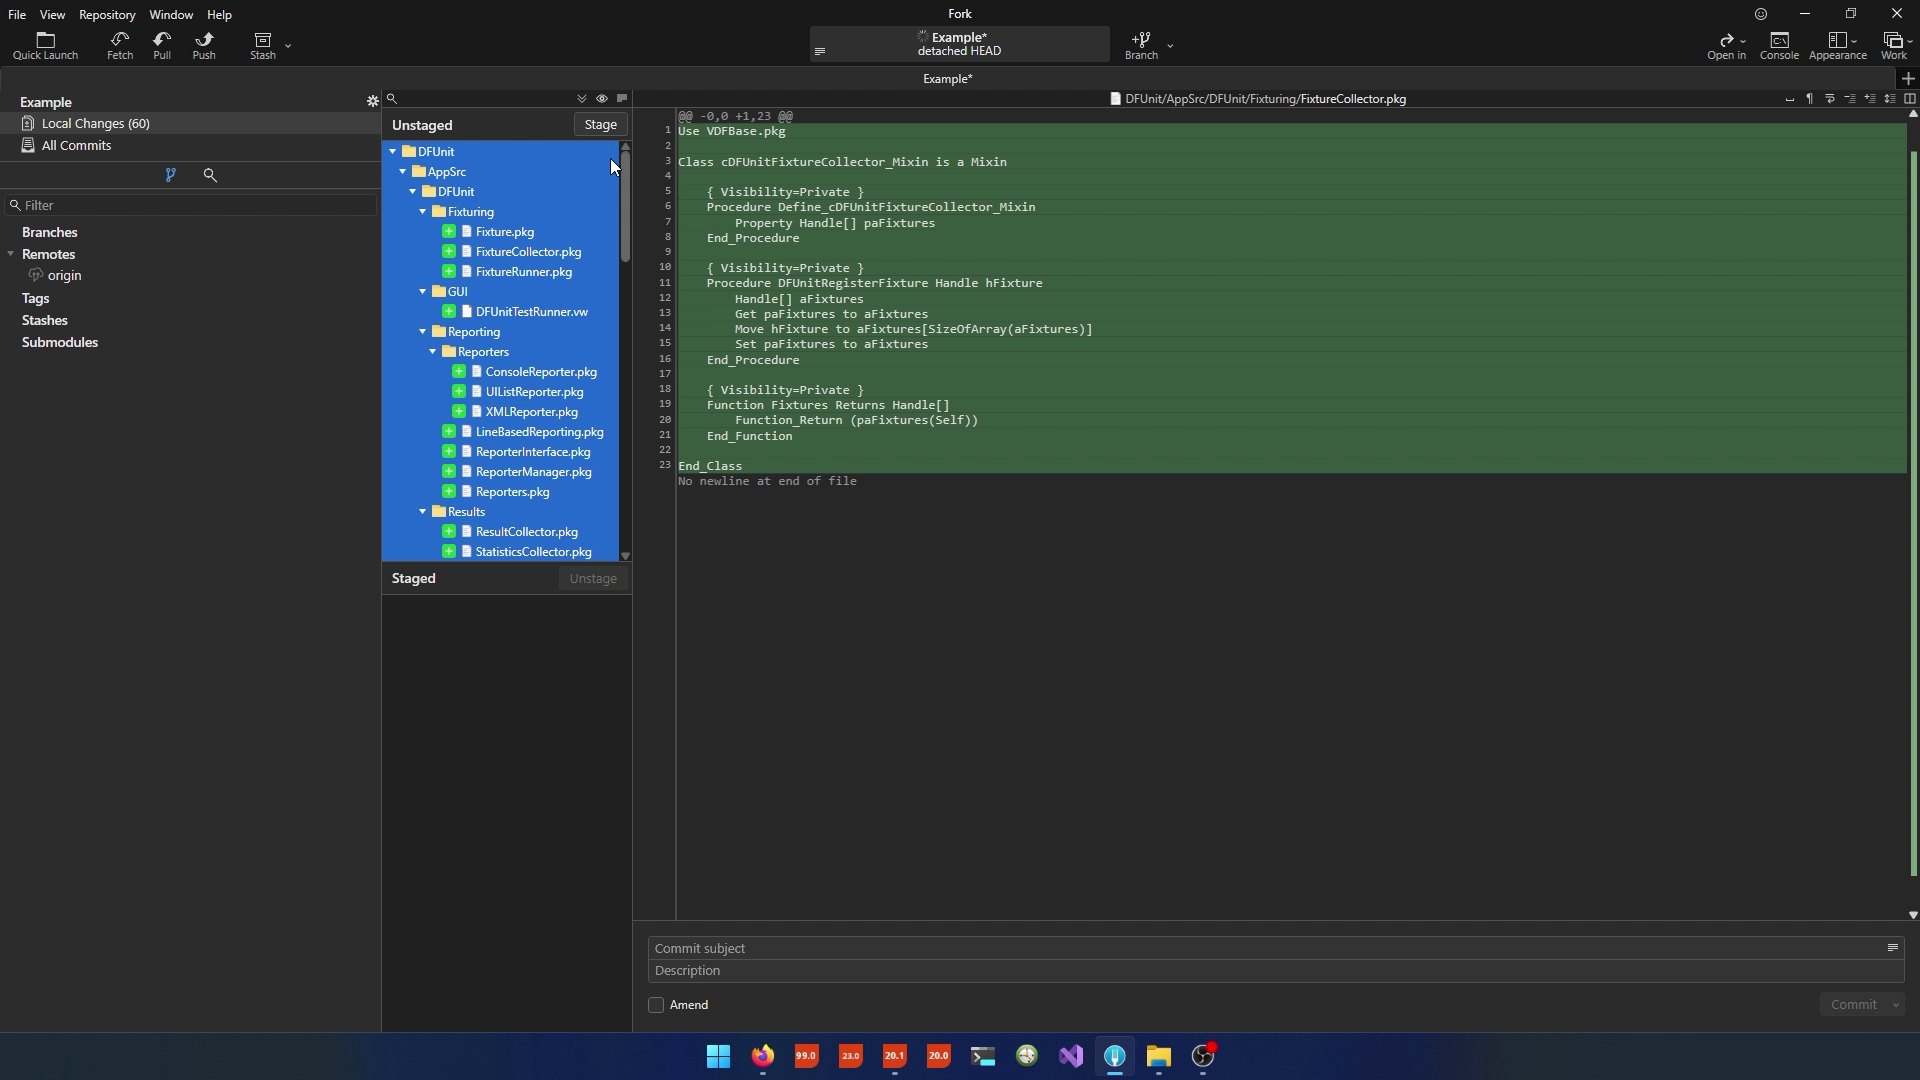
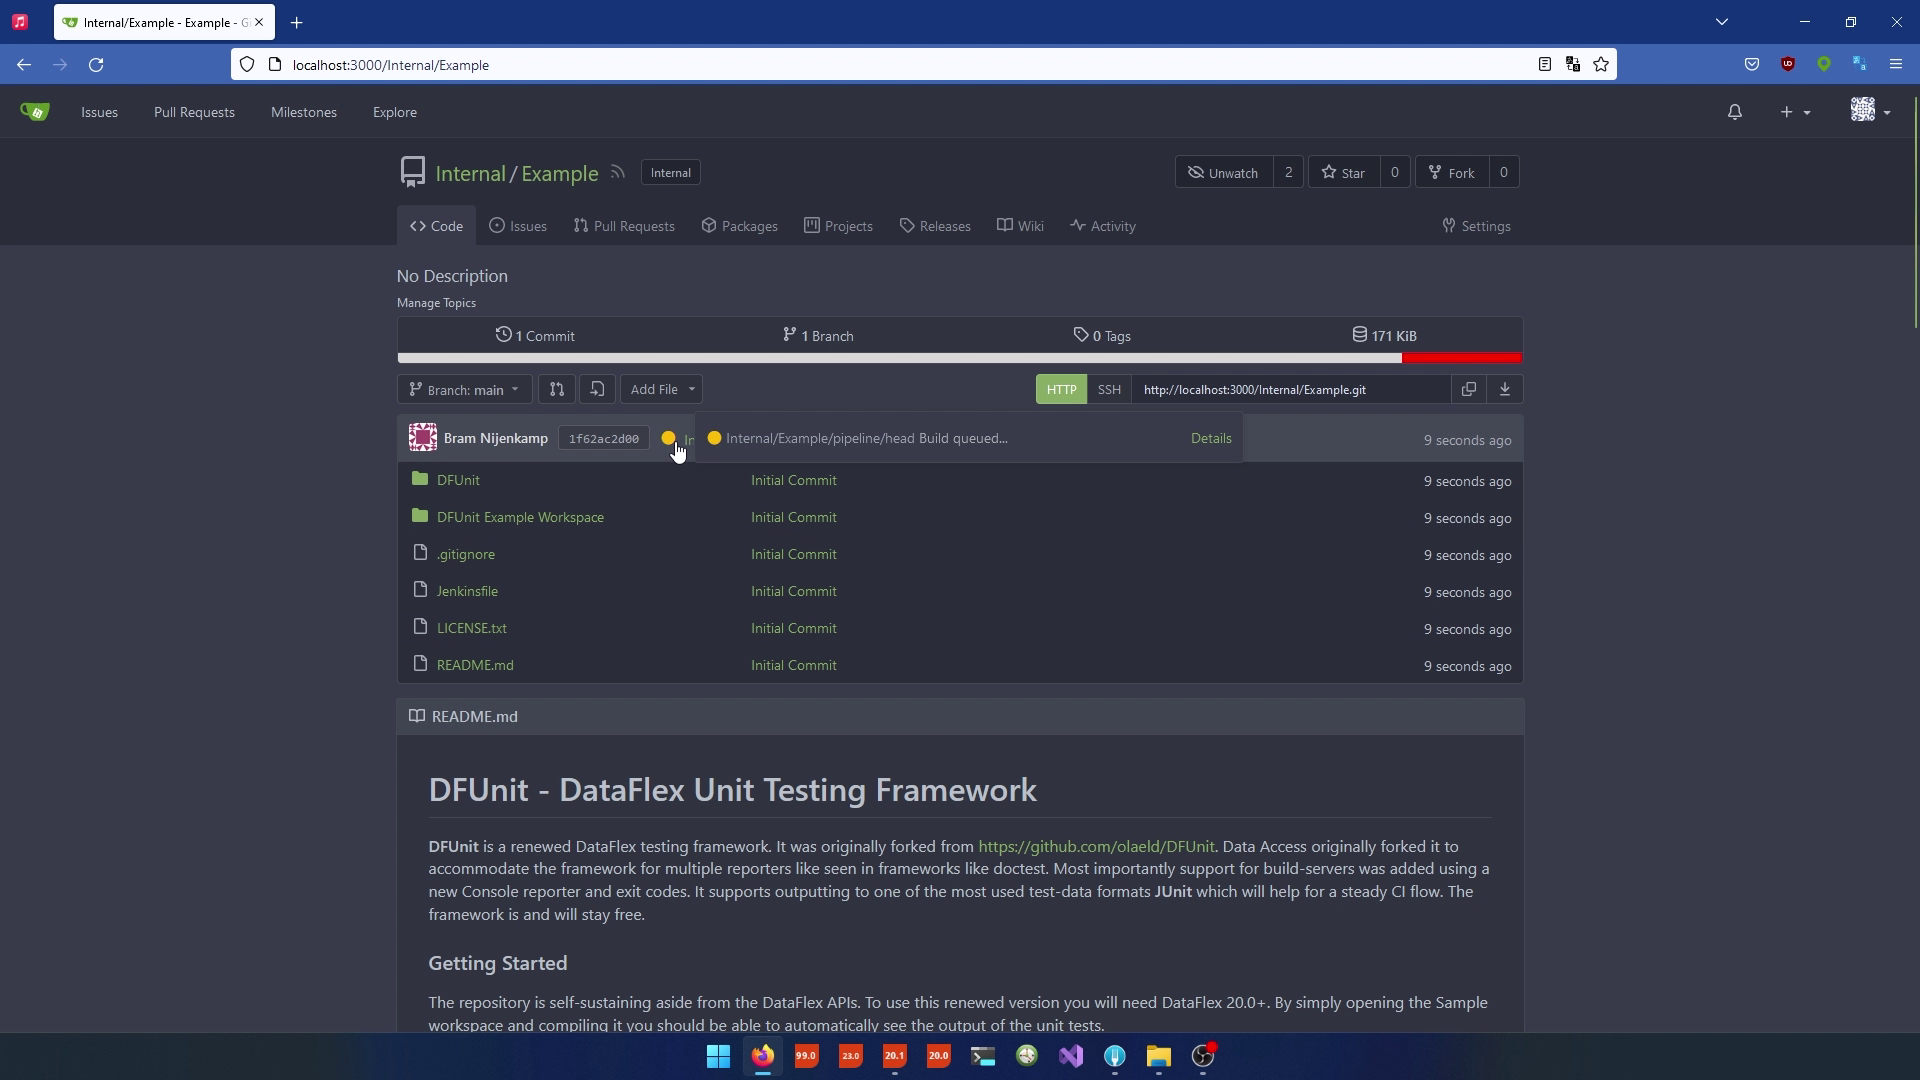
Commit and Push Changes
- Copy all files from "DFUnit" to the '"Example Directory".
- Go to GIT and commit all the changes.
- Commit your changes to the Jenkinsfile.
- Push the changes to the Gitea repository.
- Refresh the web browser to see that Jenkins is building the sources.
Create project with DataFlex
- Open up the workspace that can be downloaded with this course.
- Create a new "Windows Project" called "Example".
- Run the project.
- Go to the Jenkinsfile and:
- Rename the "unit test" stage to "basic CI" and add a name for the unit test.
- Update references from "unit test" to "workspace" as needed.
- Add a step to compile the example source code.
- Ensure that the "test" stage remains as is.

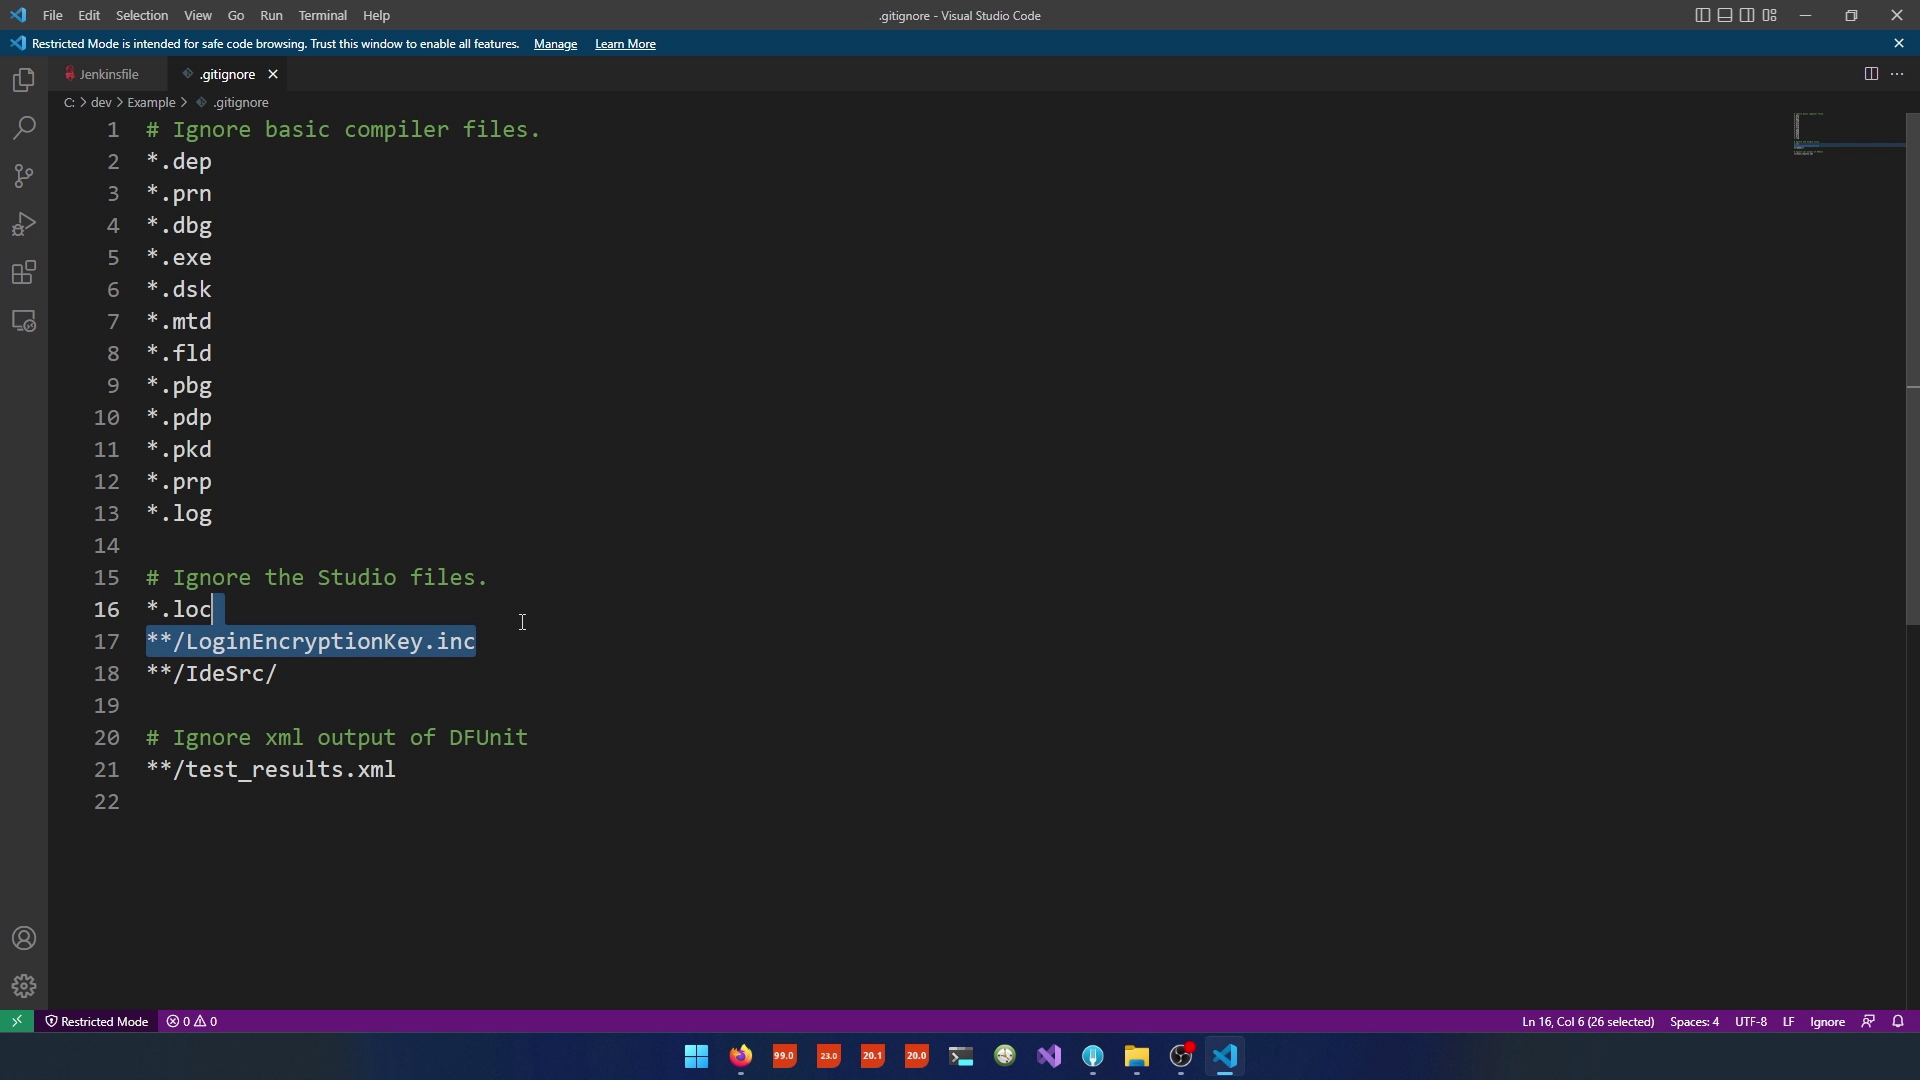
- Open "gitignore" and remove the LoginEncriptionKey.
- Stage the files in GIT.
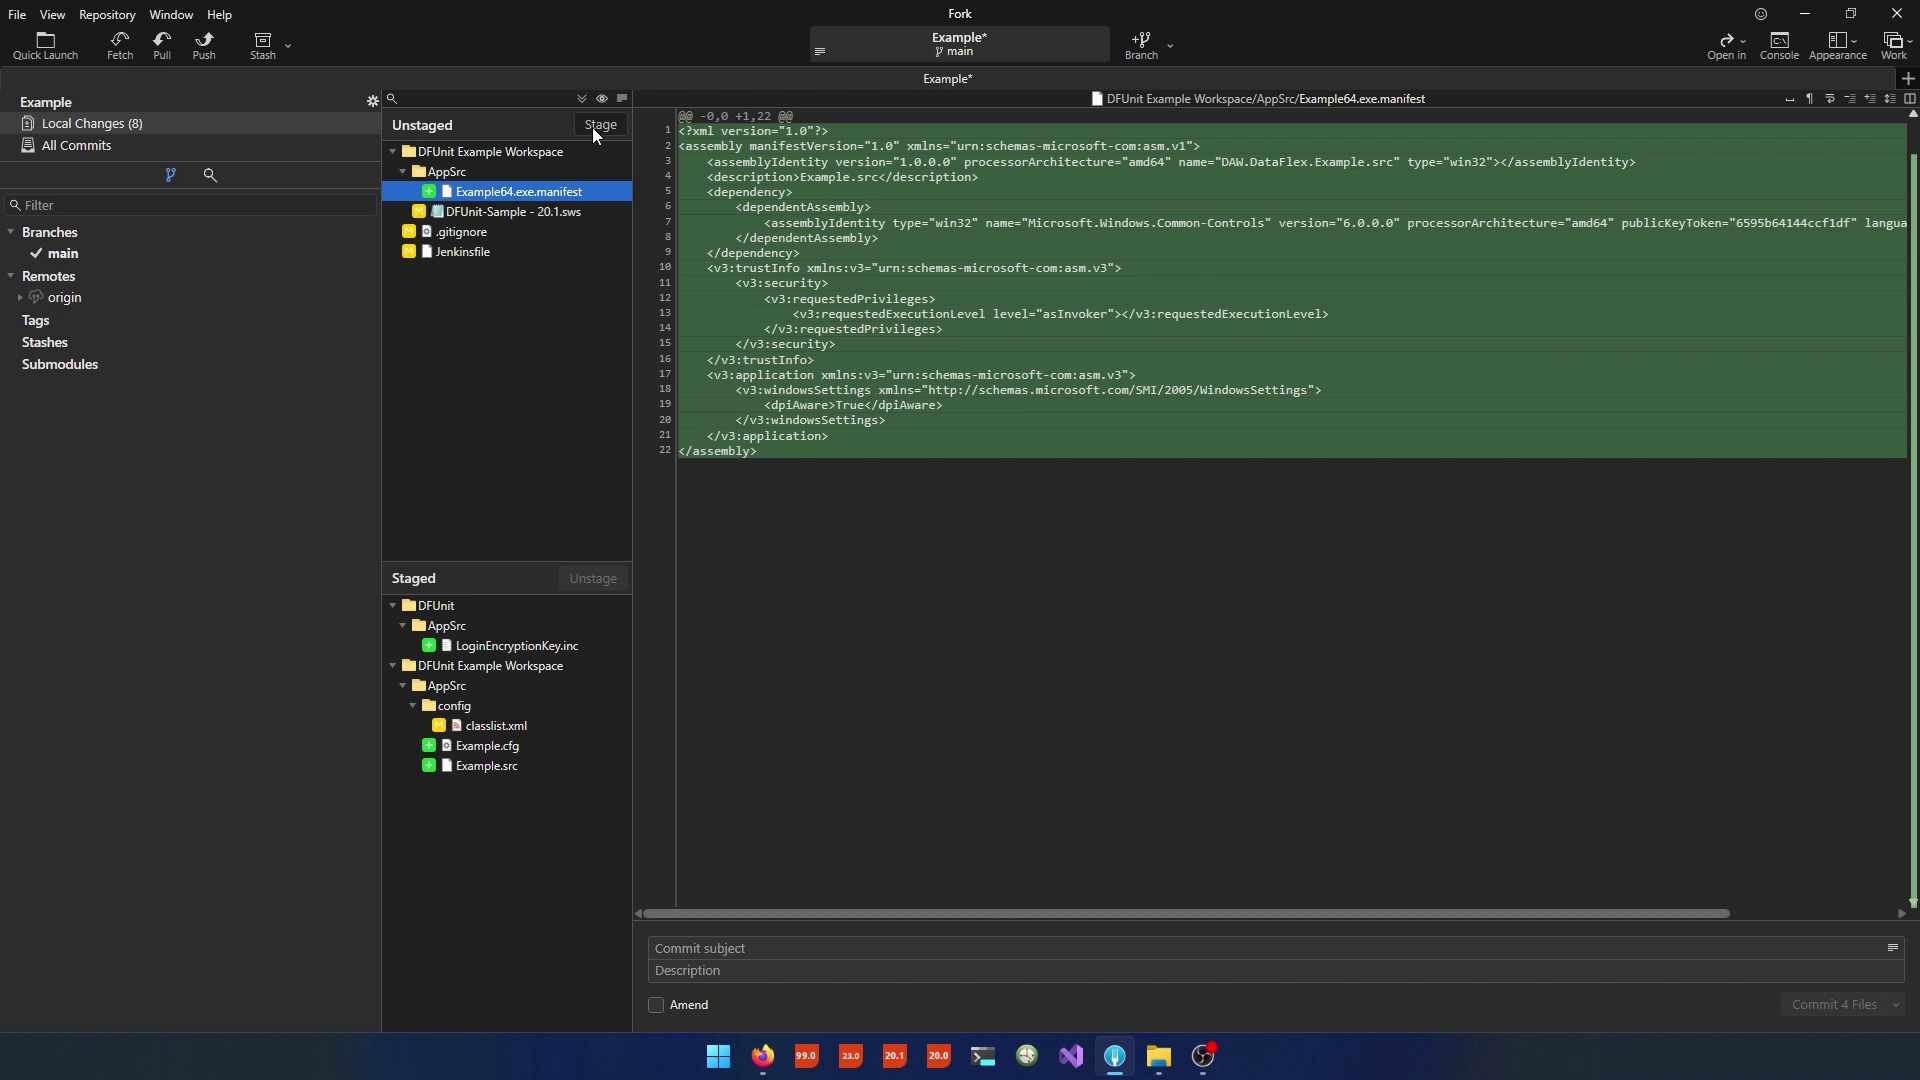
- Name the commit "Added Example Project" and press "Commit" and push.
- After waiting a minute the build automatically starts.
Getting the executables out
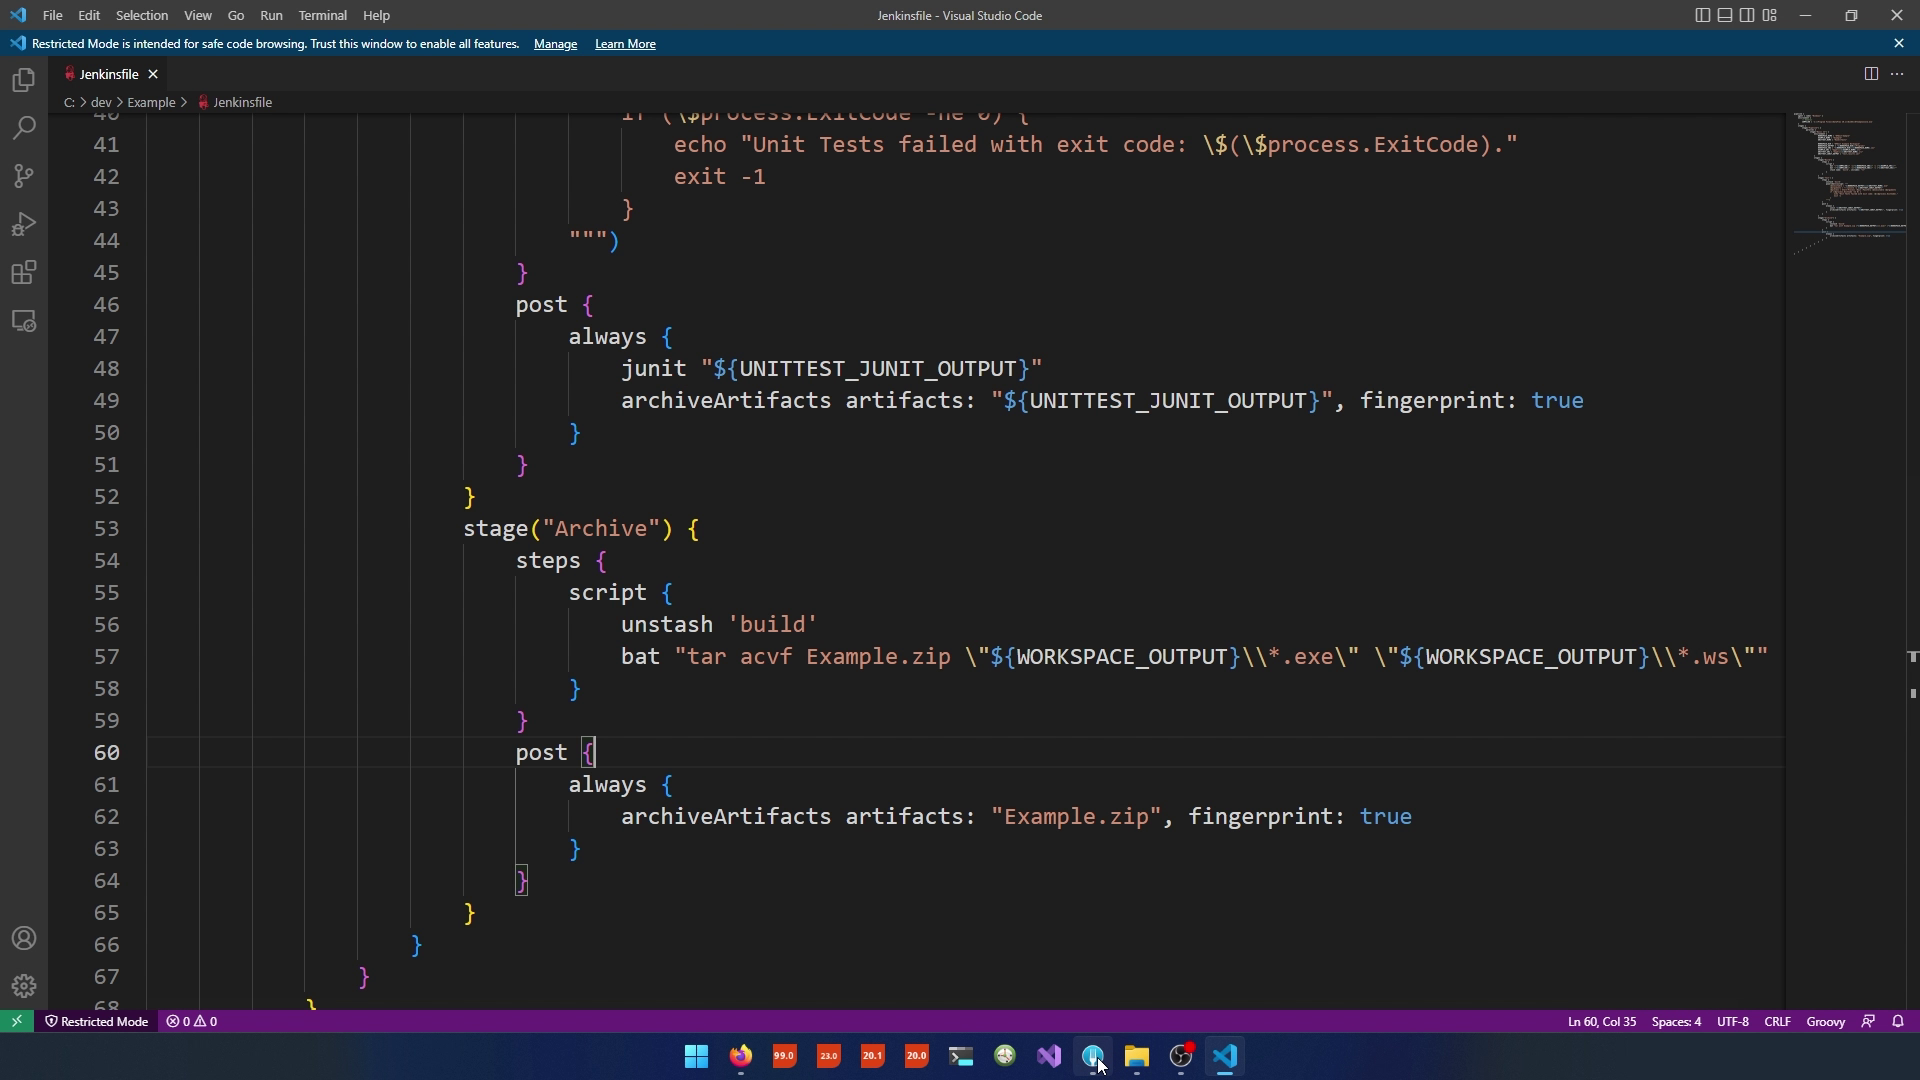
- To get the build artifacts, modify the Jenkinsfile:
- Add a new "archive" stage to package the executables and other required files.
- Use the "tar" command (or equivalent) to create a ZIP file.
- Specify the source files, including executables and any configuration files.
- Make sure to include the Config.ws file from the DataFlex Programs folder.
- Define a post-stage to archive the ZIP file as an artifact.
Commit and Push the Archiving Changes
- Commit the changes to the Jenkinsfile, including the archiving stage.
- Push the changes to the Gitea repository.
Monitor the Jenkins Build for Archiving
- Return to your Jenkins dashboard.
- Wait for a new build to start automatically.
- Monitor the build, including the archiving step.
- Once the build completes, you can download the archived ZIP file from the build artifacts.

With these steps, you have created a DataFlex project, configured Jenkins to build and test it, and added archiver logic to package the project's executables for release. You can further customize and expand this foundation for your specific project needs.
Conclusion
Using this foundation, you'll be able to manage your projects in a version control system with support for branch-based builds. To expose both Gitea and Jenkins you can simply port for them using any HTTP provider you want. Don't forget to change the external URL in both Gitea and Jenkins as any end link would point to localhost. That was it for this video course. If you want to see more, leave your thoughts on the forums and see you in the next one!


