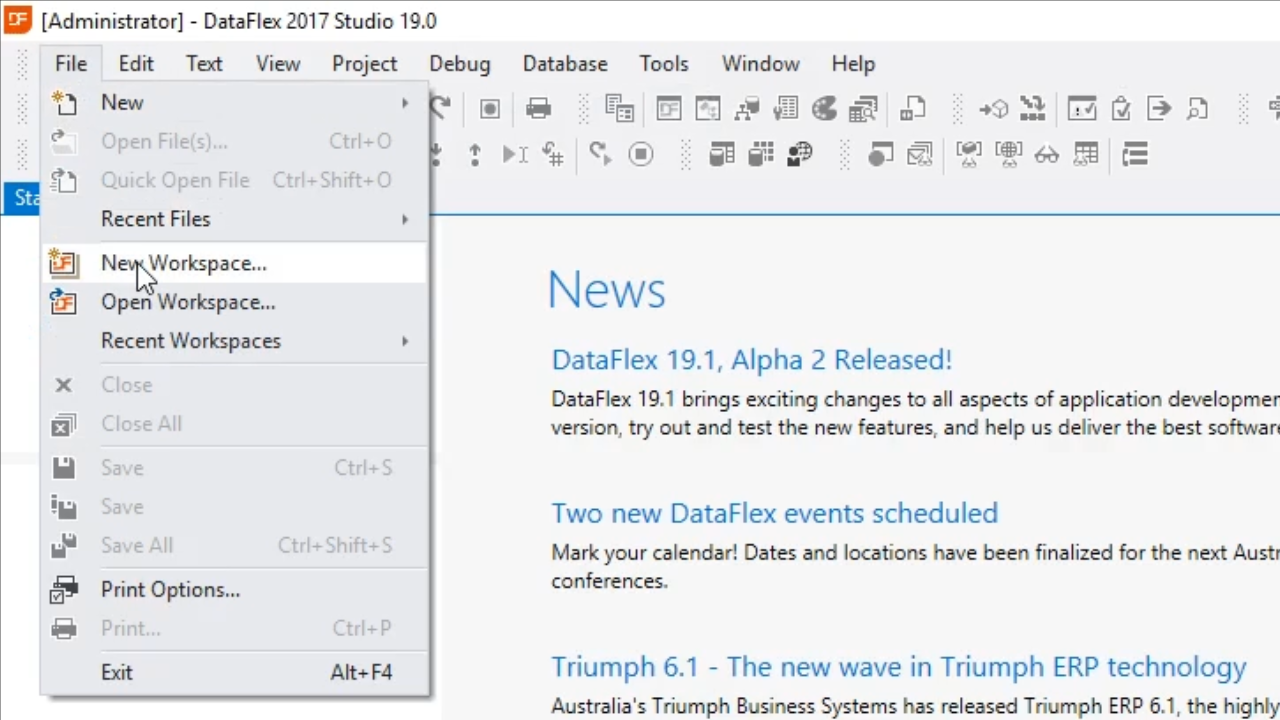
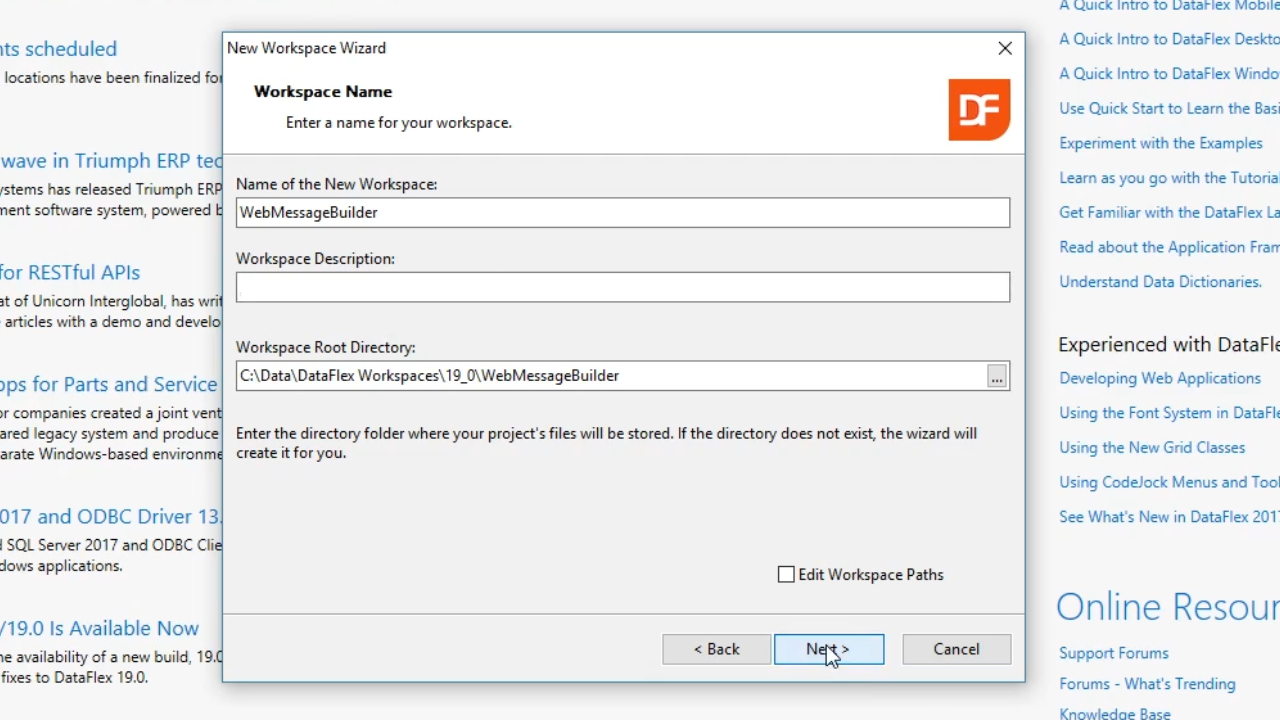
Select ‘Next,’ and enter “WebMessageBuilder” as the ‘Name of the New Workspace’ on the following screen. Select ‘Next’ two more times, and then ‘Finish.’
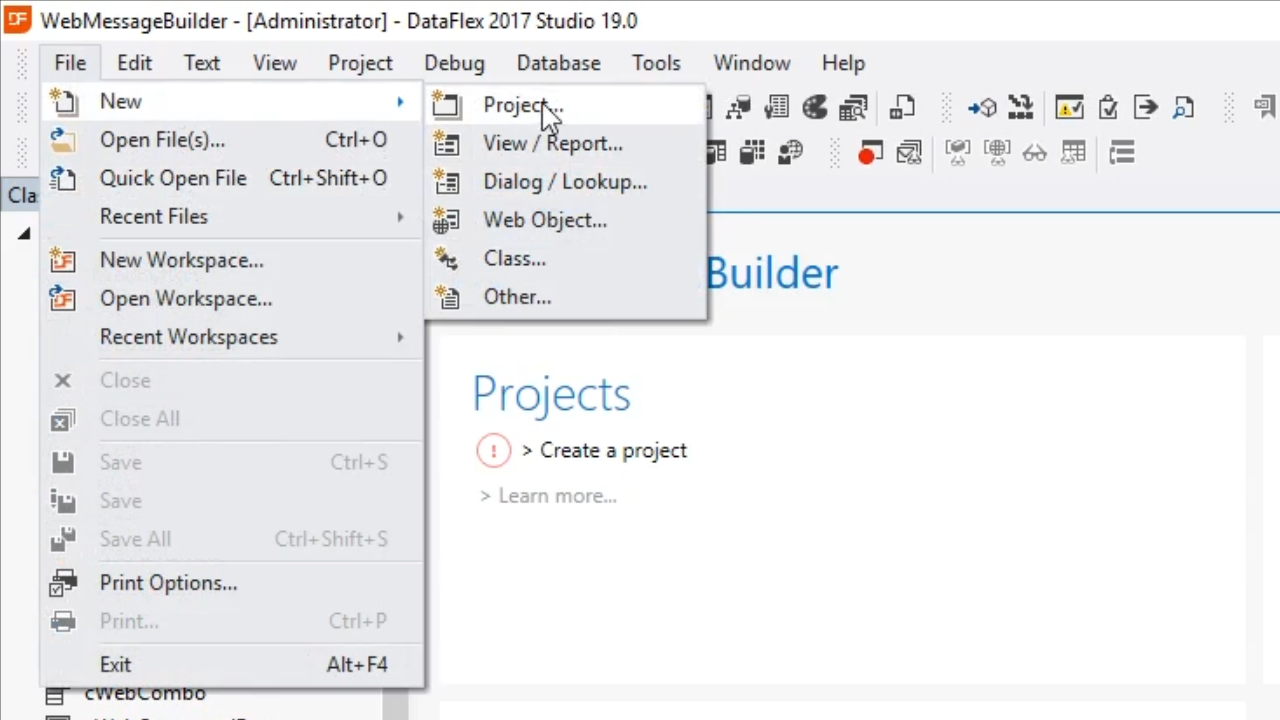
From the top toolbar select FILE > NEW > PROJECT
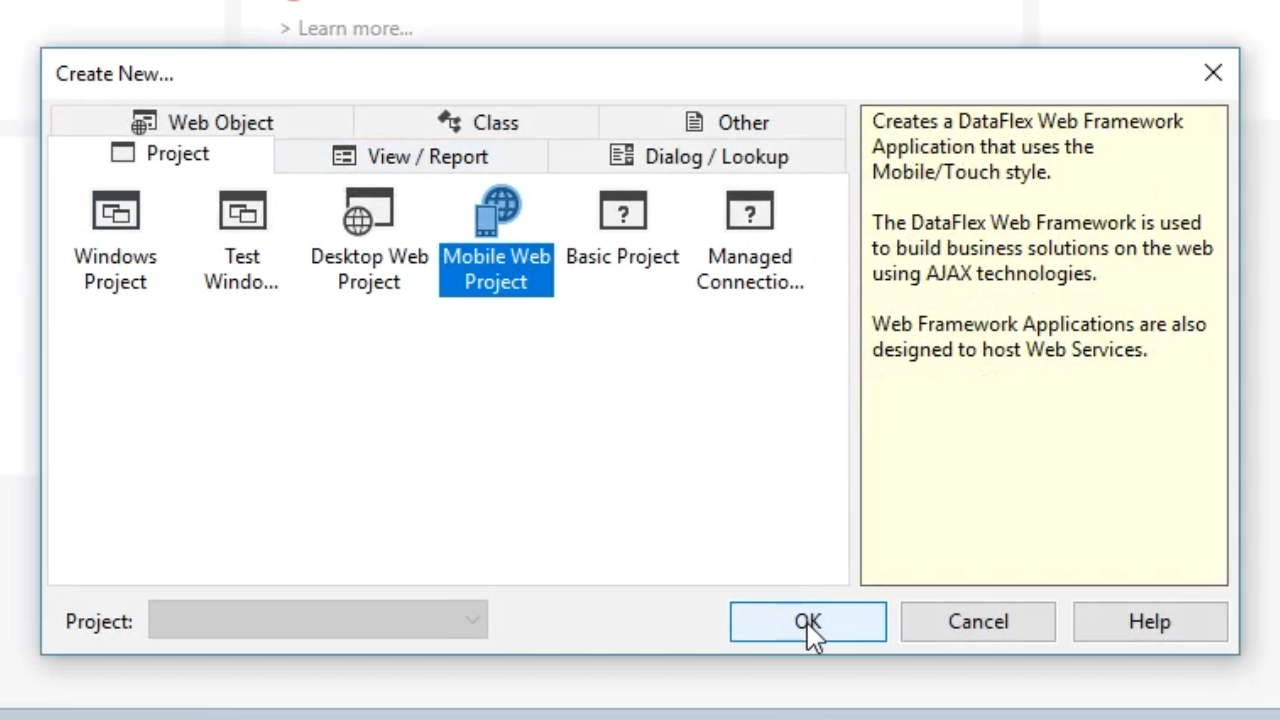
Select ‘Mobile Web Project,’ and press OK twice.
To create a DataFlex class select FILE > NEW > PROJECT
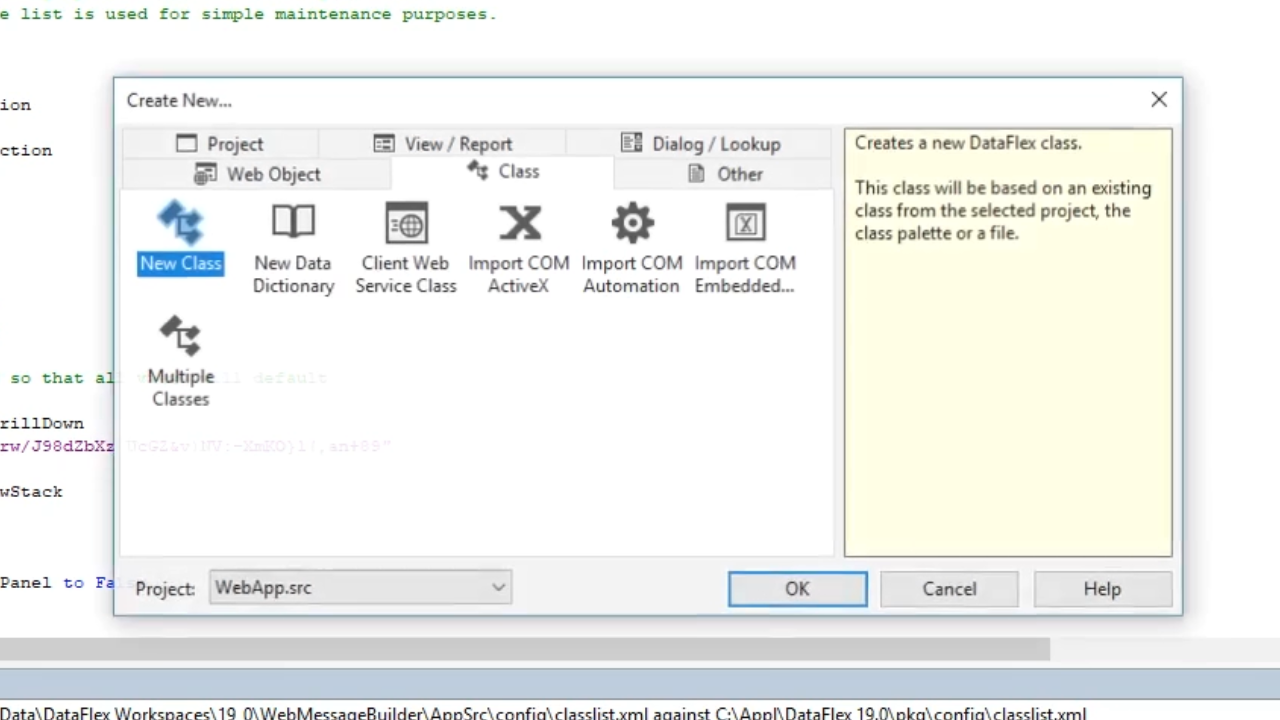
Select ‘New Class,’ and press OK.
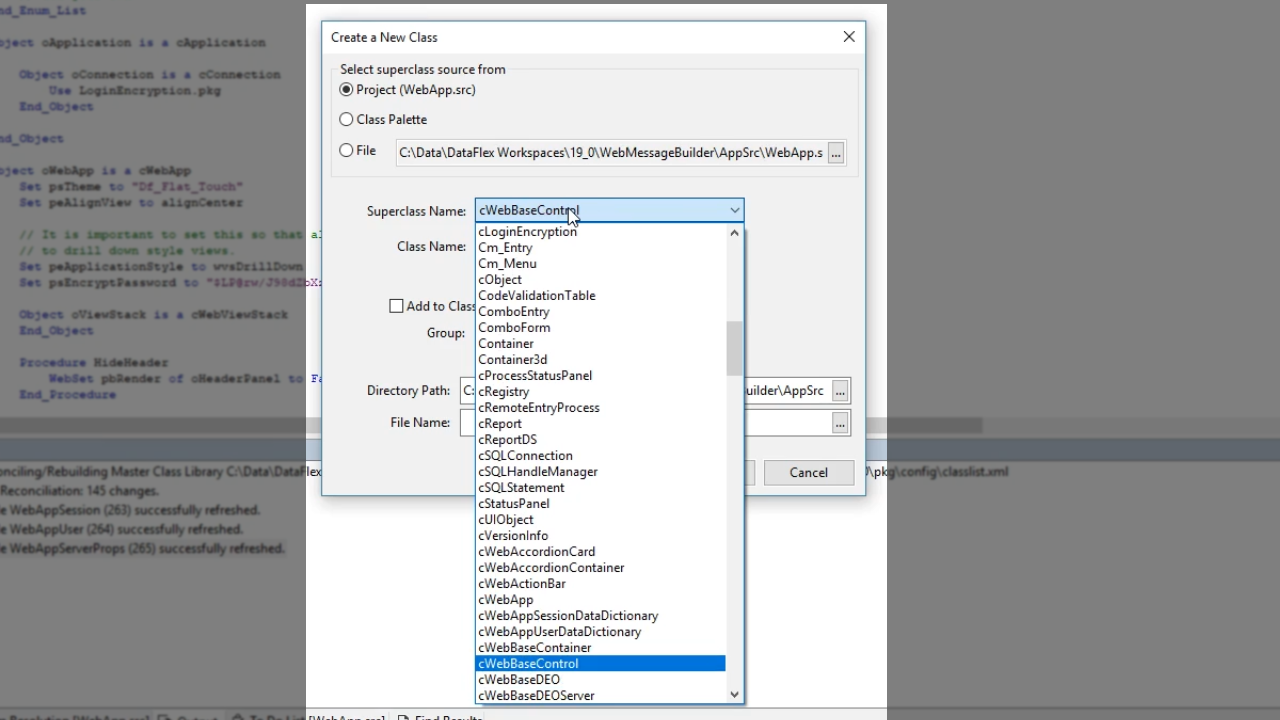
Open the ‘Superclass Name’ dropdown, and select ‘cWebBaseControl.’
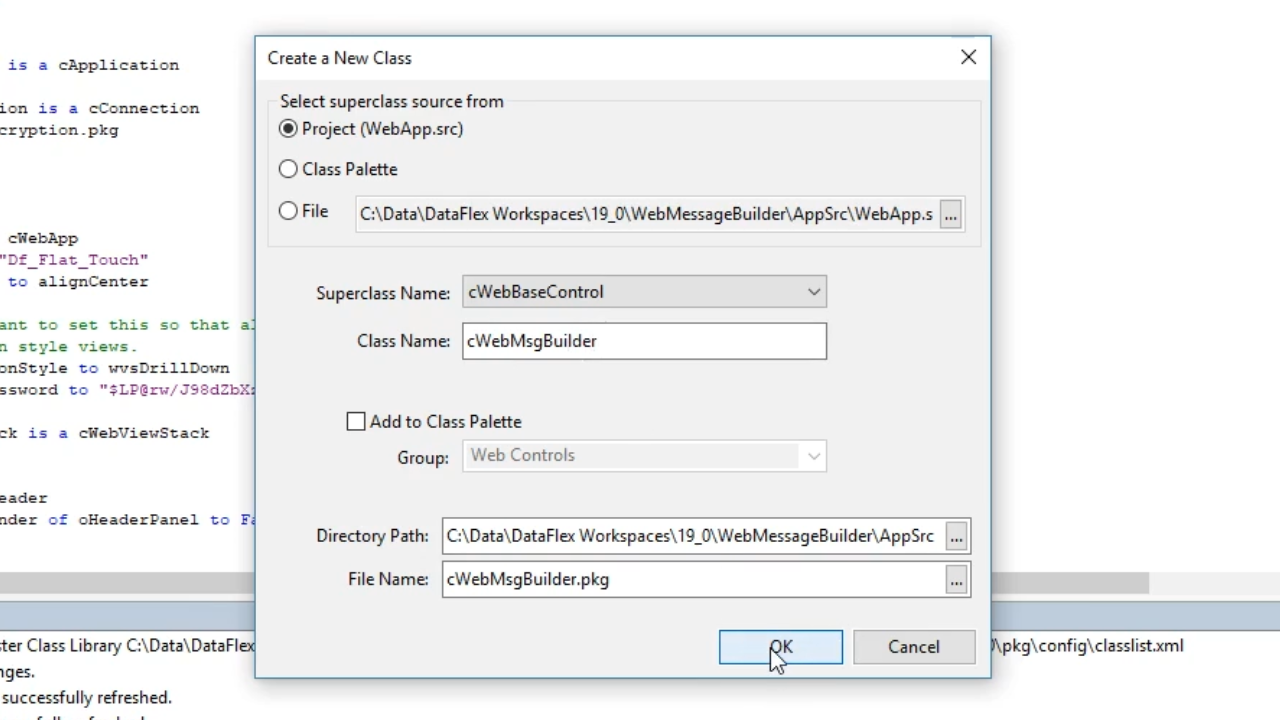
Enter “cWebMsgBuilder” in the ‘Class Name’ field and press OK.
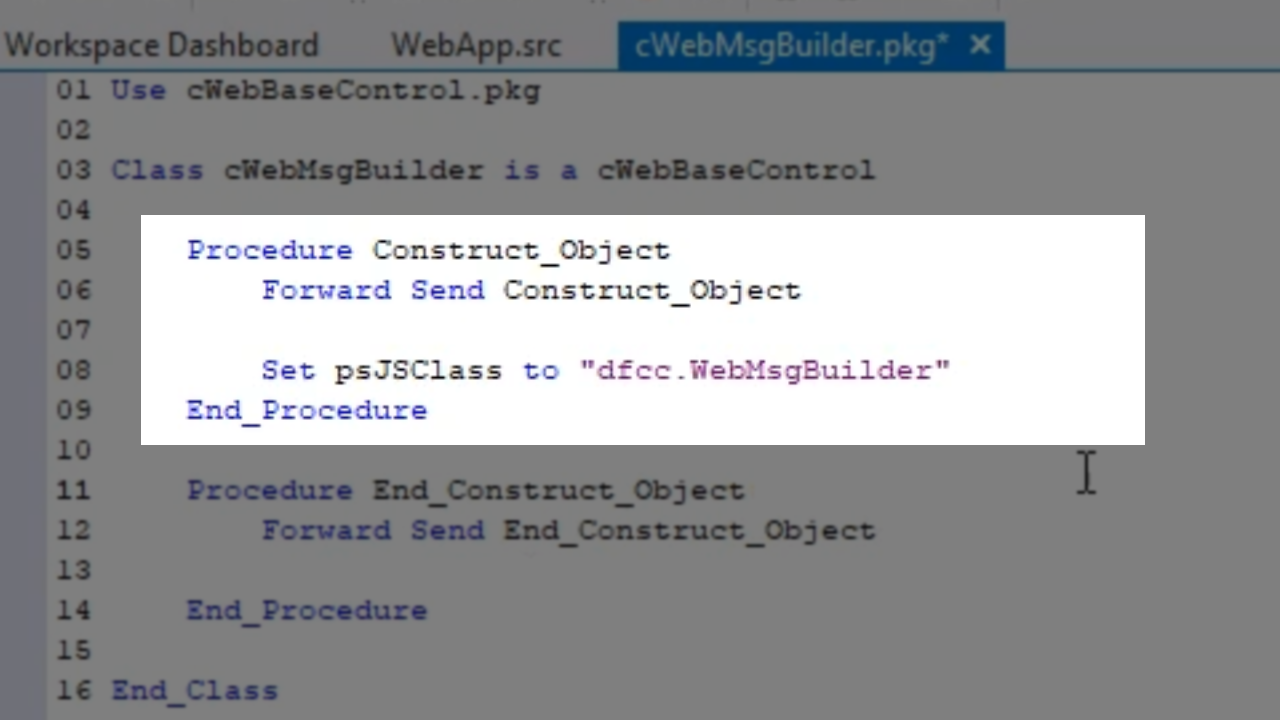
An empty class template has been created (cWebMsgBuilder.pkg).
Set the psJSClass:
Set psJSClass to "dfcc.WebMsgBuilder"
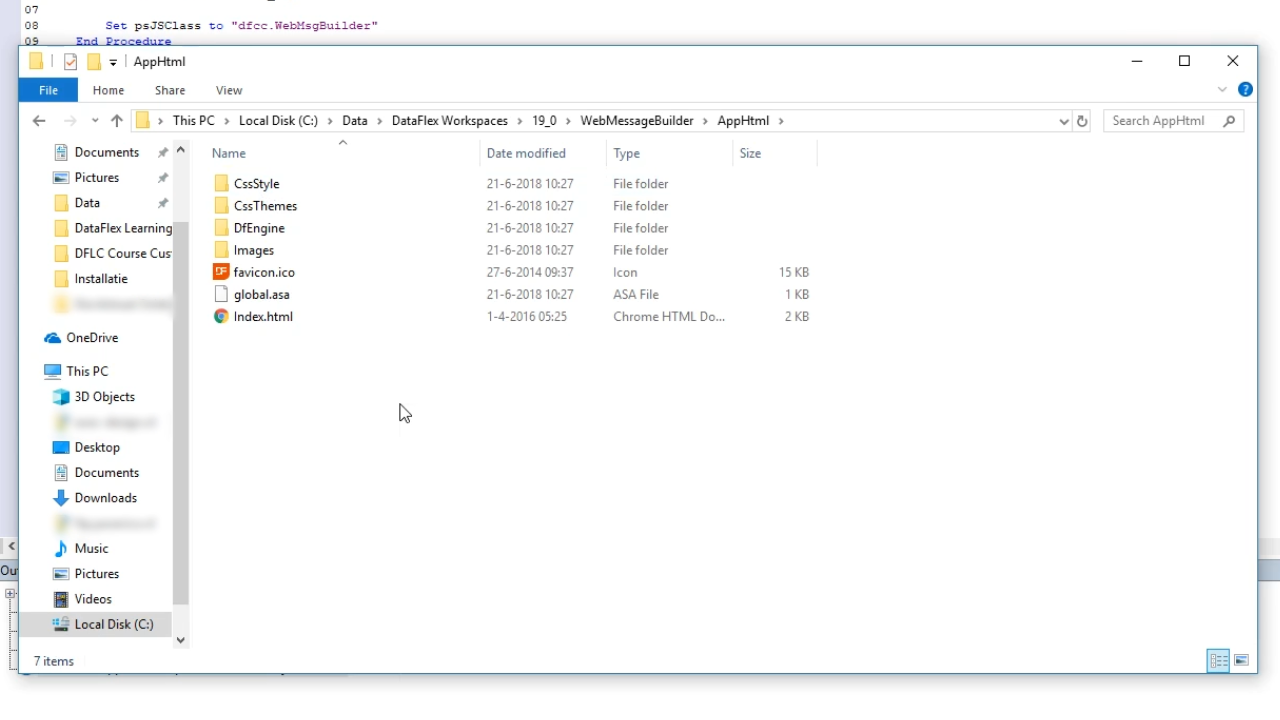
Open the computer’s file explorer, and navigate to This PC > Local Disk (C:) > Data > DataFlex Workspaces > 19_0 > WebMessageBuilder > AppHtml
In the ‘AppHtml’ folder create a new folder named “WebMsgBuilder.”
In the new ‘WebMsgBuilder’ folder create a new JavaScript file (select ‘New Text Document,’ and rename it with a .js file extension) called “WebMsgBuilder.js”
Open the new file in a text editor that supports proper code highlighting.