This demonstration is shown on a machine that already has the DataFlex Studio Installer, Rewrite Module, and the DataFlex WebCheck tool downloaded. During the demonstration they will all be accessed from the ‘Download’ directory on the machine. Here are the links for those components:
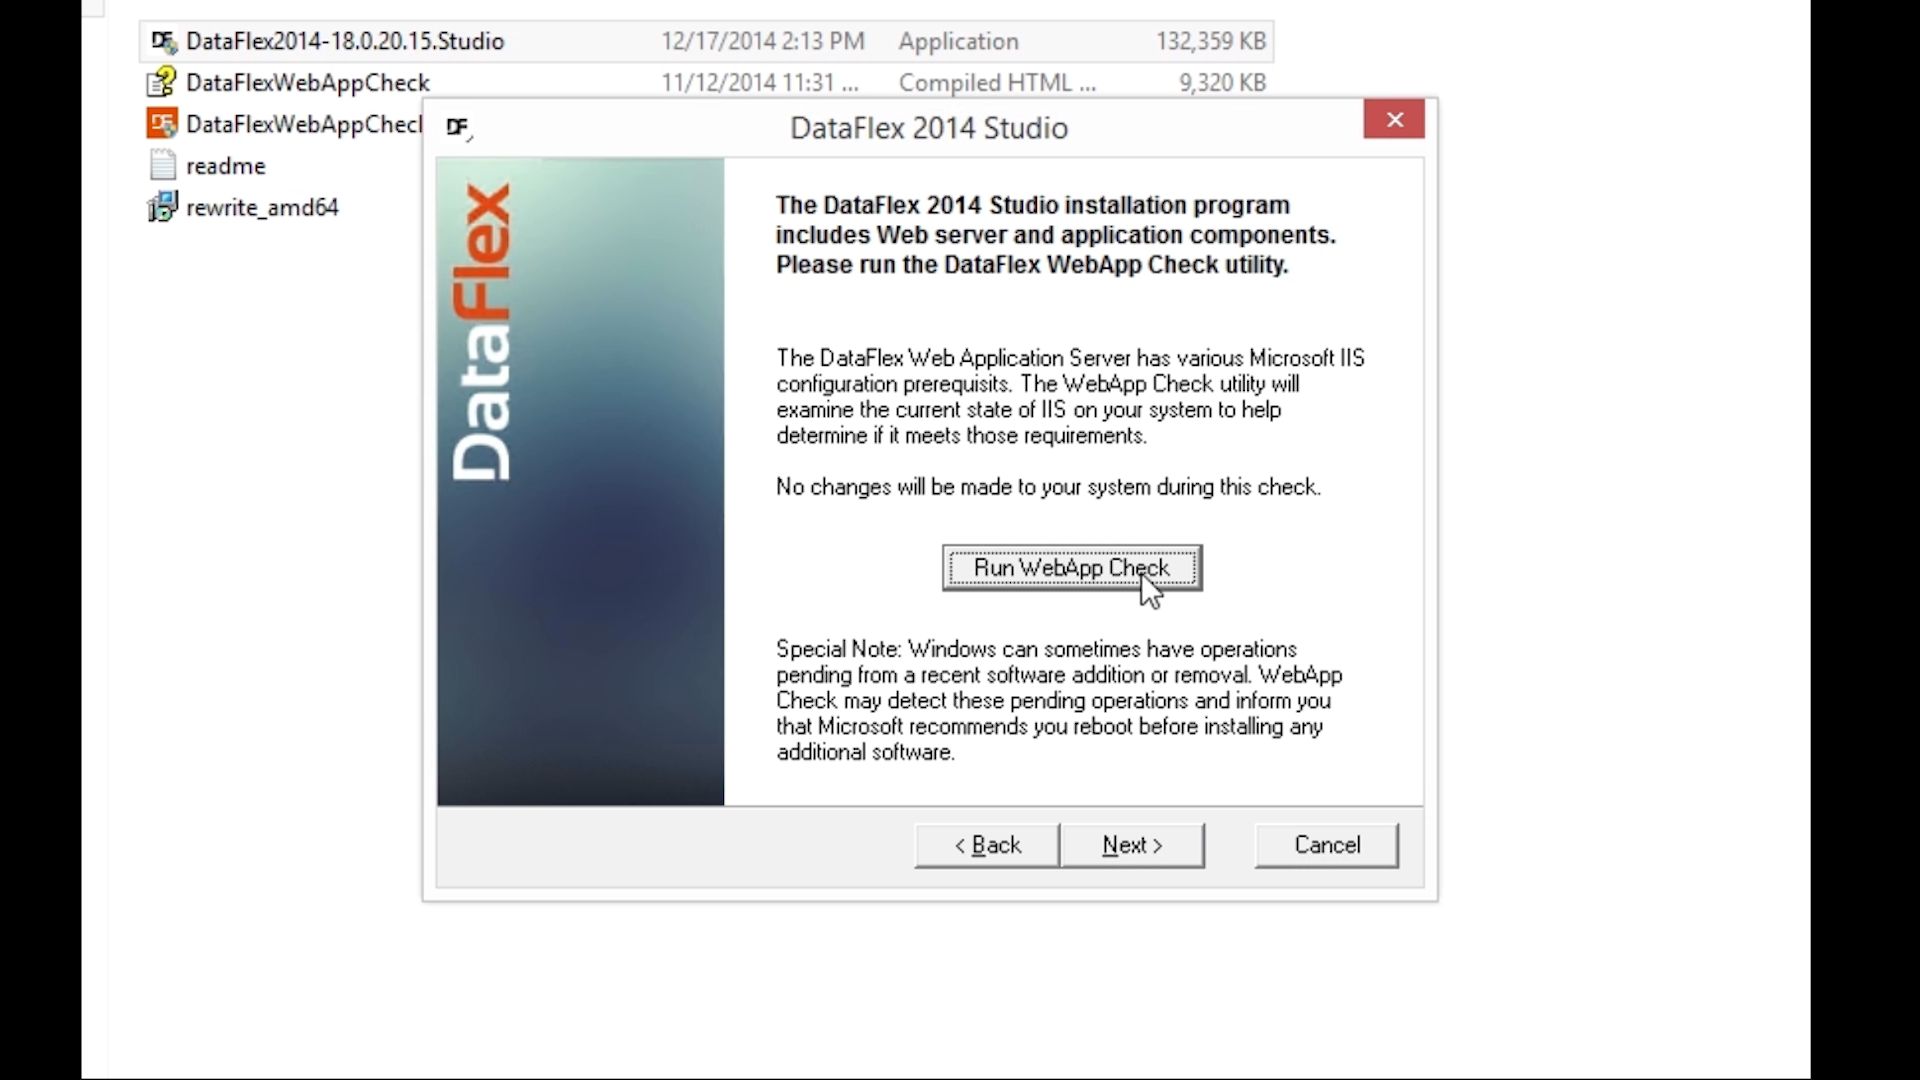
- Start the DataFlex Studio Installer. Select NEXT.
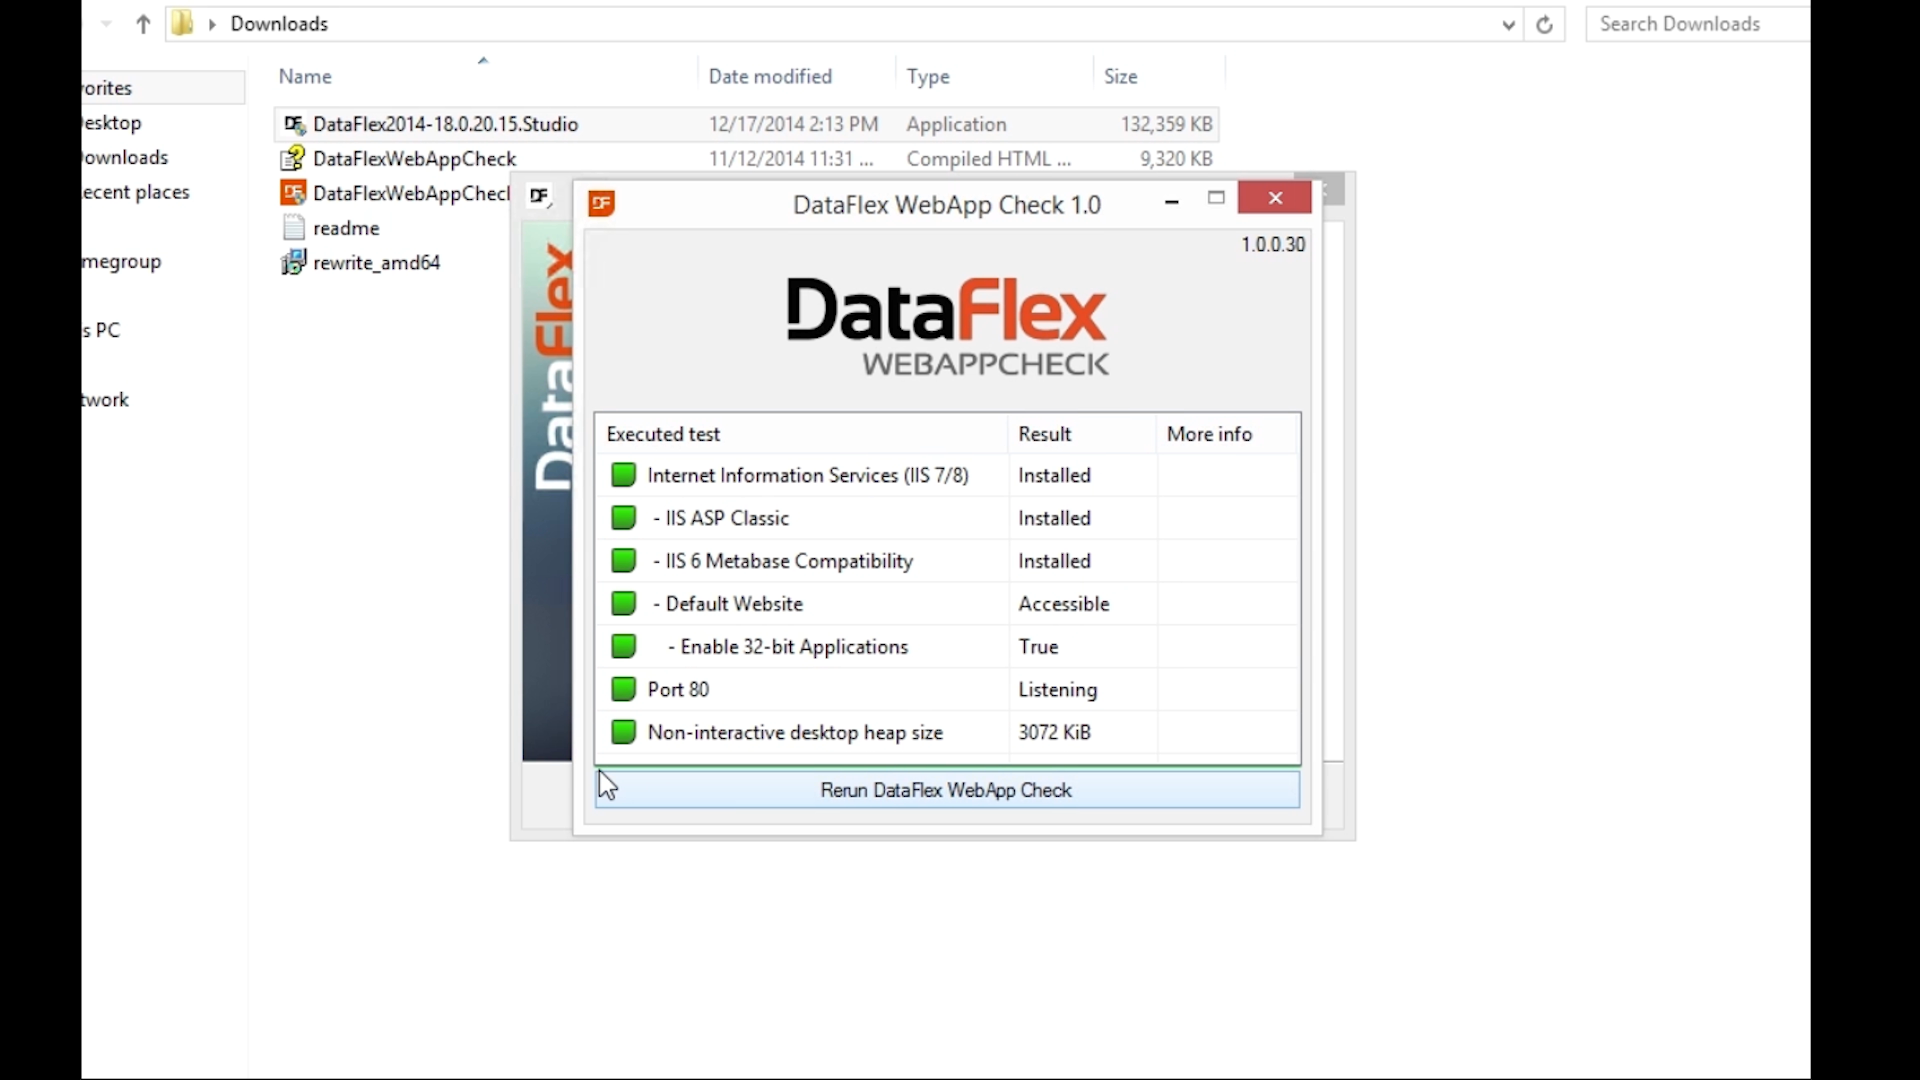
- Select the “Run WebApp Check” button to discover what components are missing, and if there are any system warnings to be made aware of.
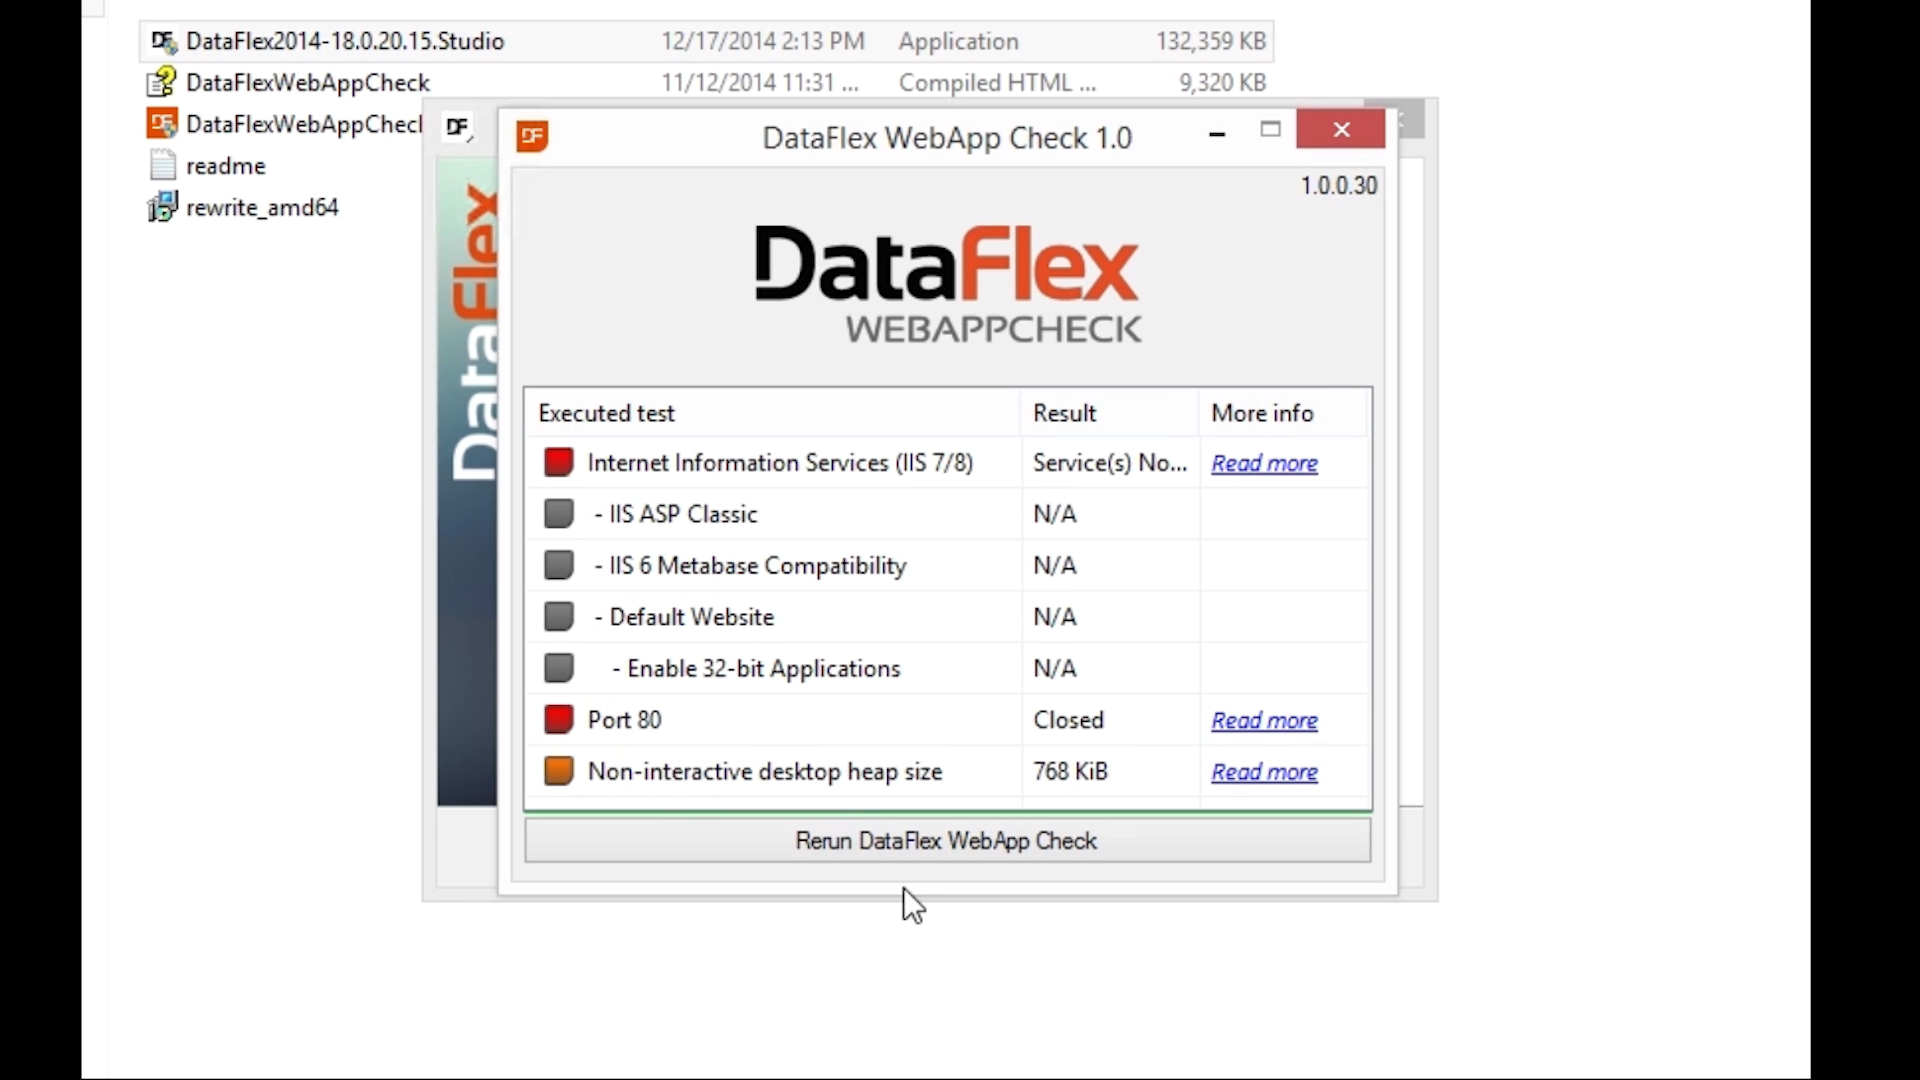
- In this demonstration, the core components of the Internet Information Services (IIS) web server are not installed, port 80 is closed, and a warning is shown for a non-interactive desktop heap size.
- Open and configure IIS…
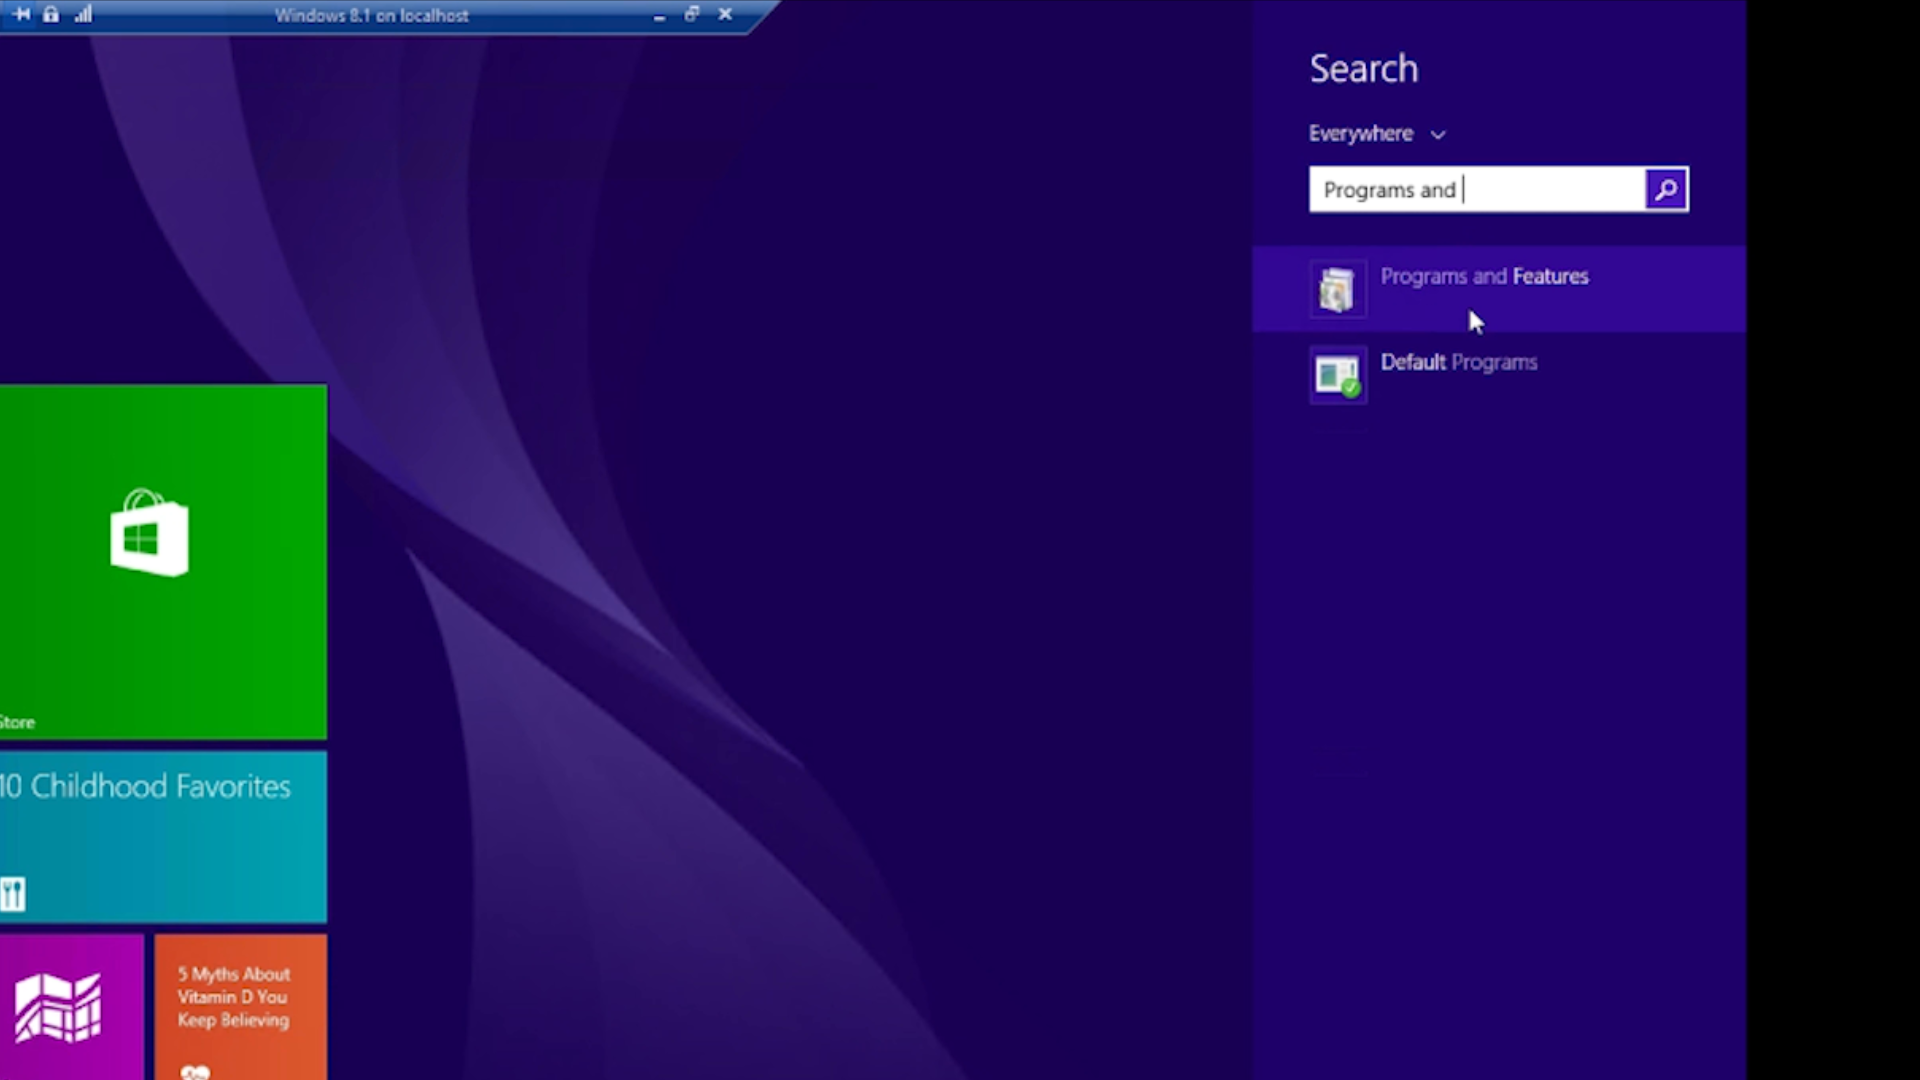
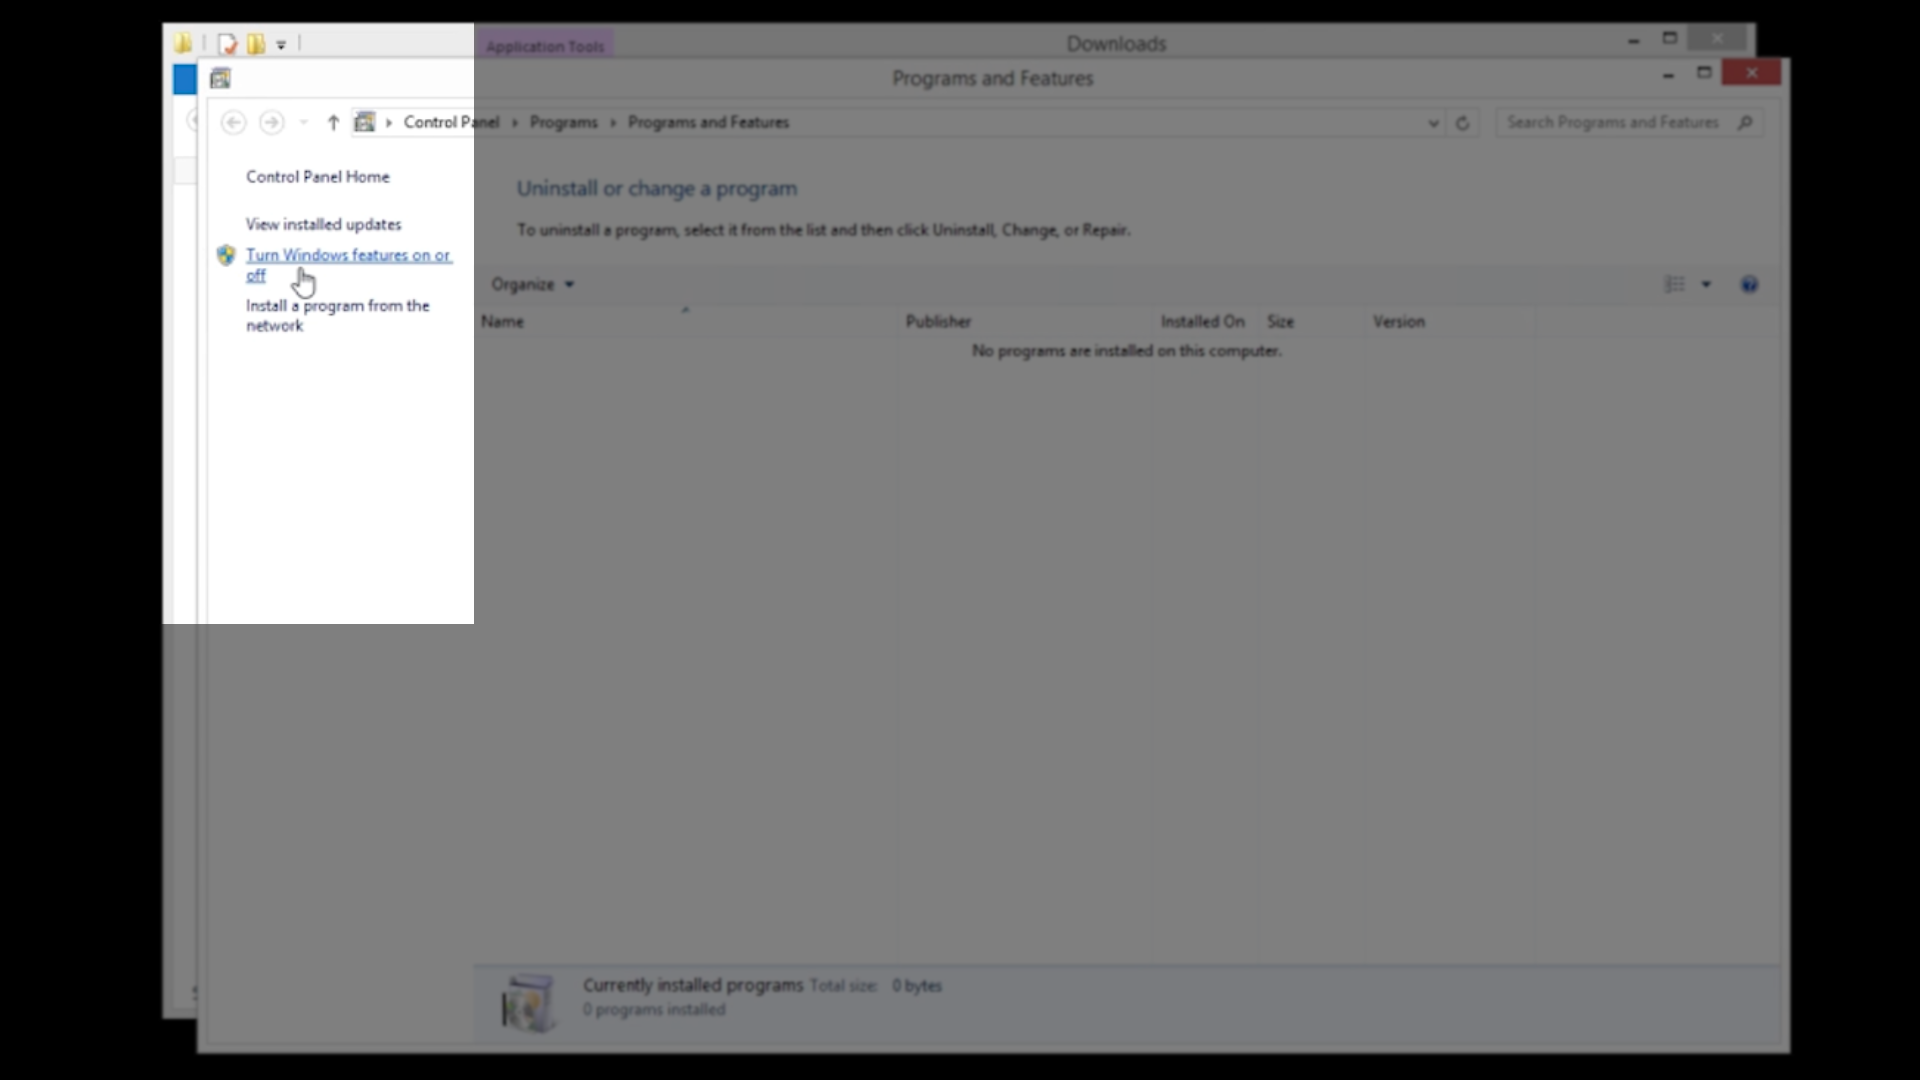
- Navigate to “Programs and Features”
- You can get to it from the Control Panel or by searching for it.
- Select “Turn Windows features on or off” from the menu on the left.
- Select and expand “Internet Information Services” from the Windows Features window that opens
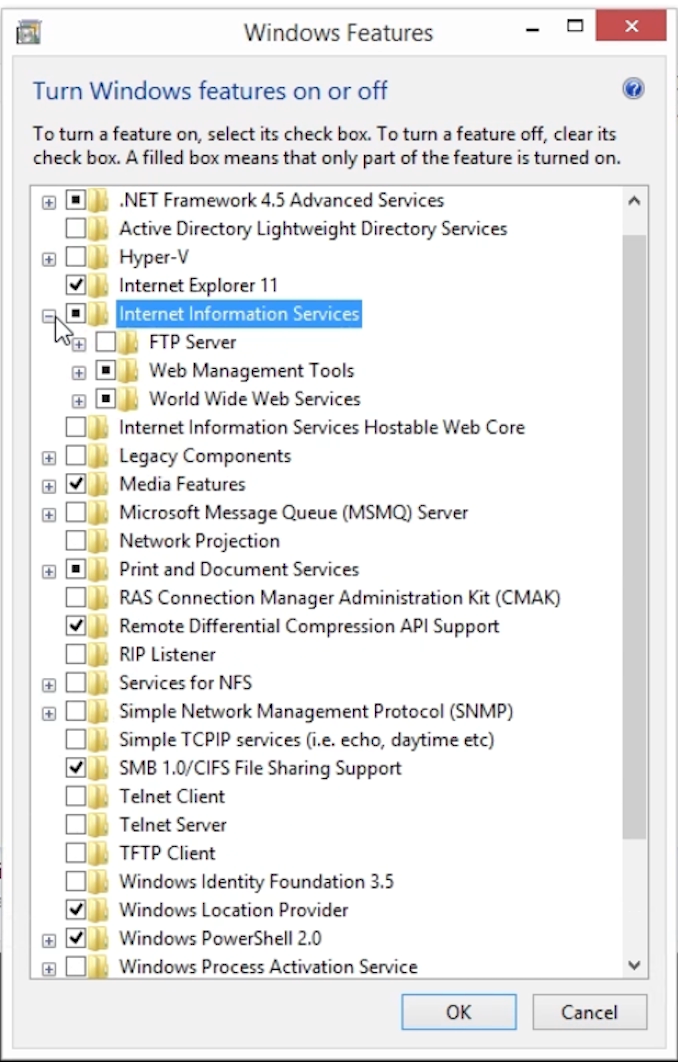
- Expand “Web Management Tools”
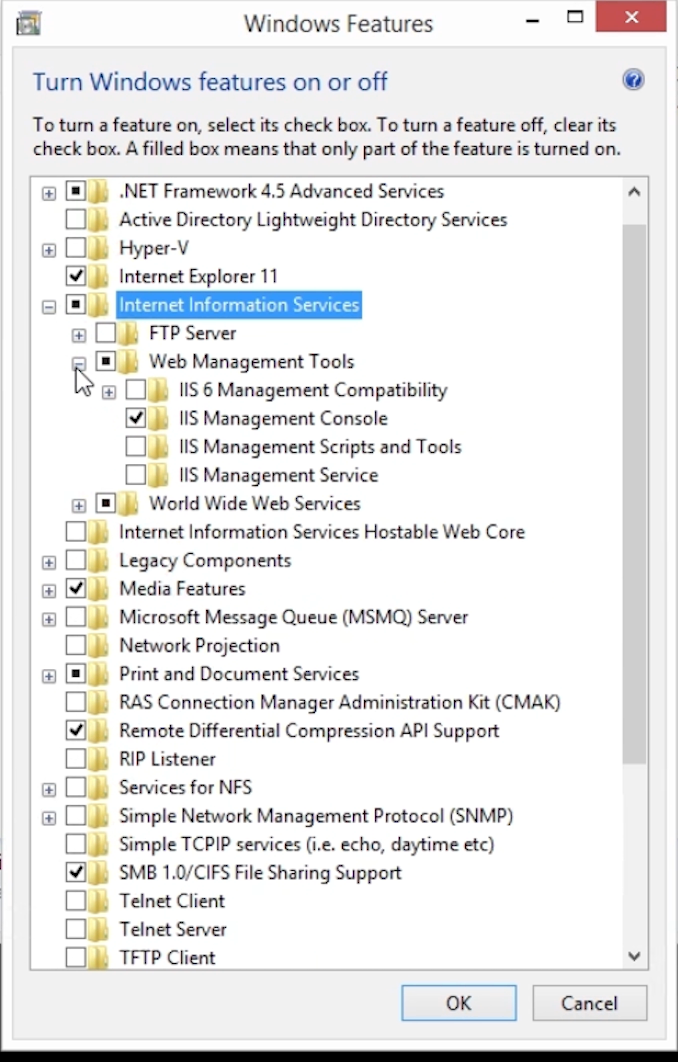
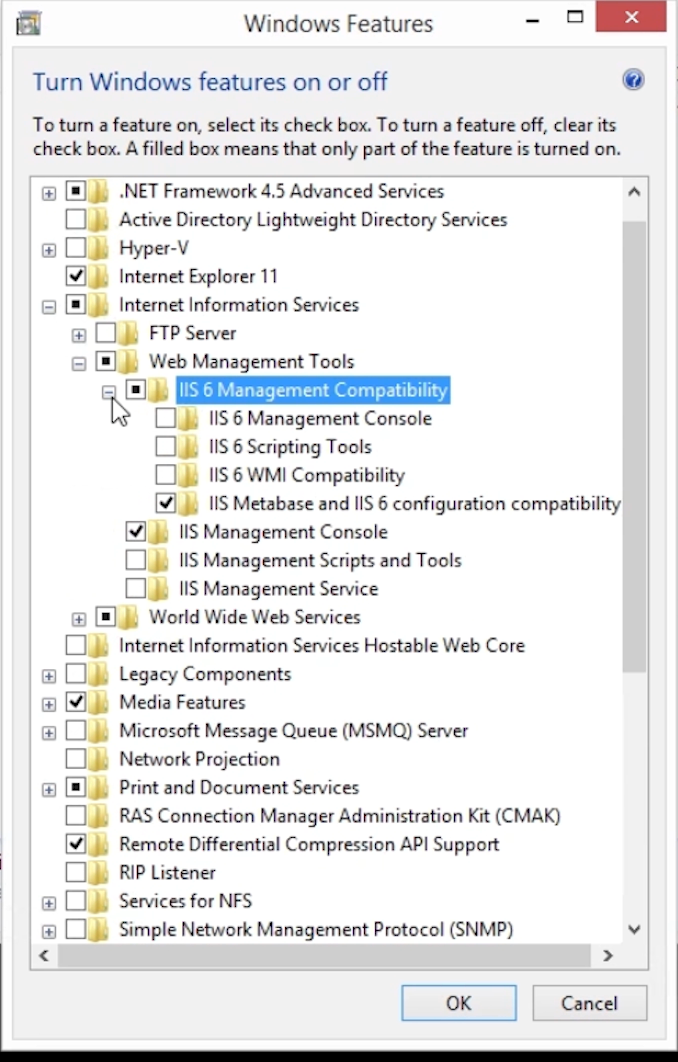
- Select and expand “IIS 6 Management Compatibility,” and confirm that the following are selected:
- “IIS Metabase and IIS 6 configuration compatibility” - “IIS Management Console” must also be selected if ISS is to be managed locally
- Expand “World Wide Web Services,” and under this section…
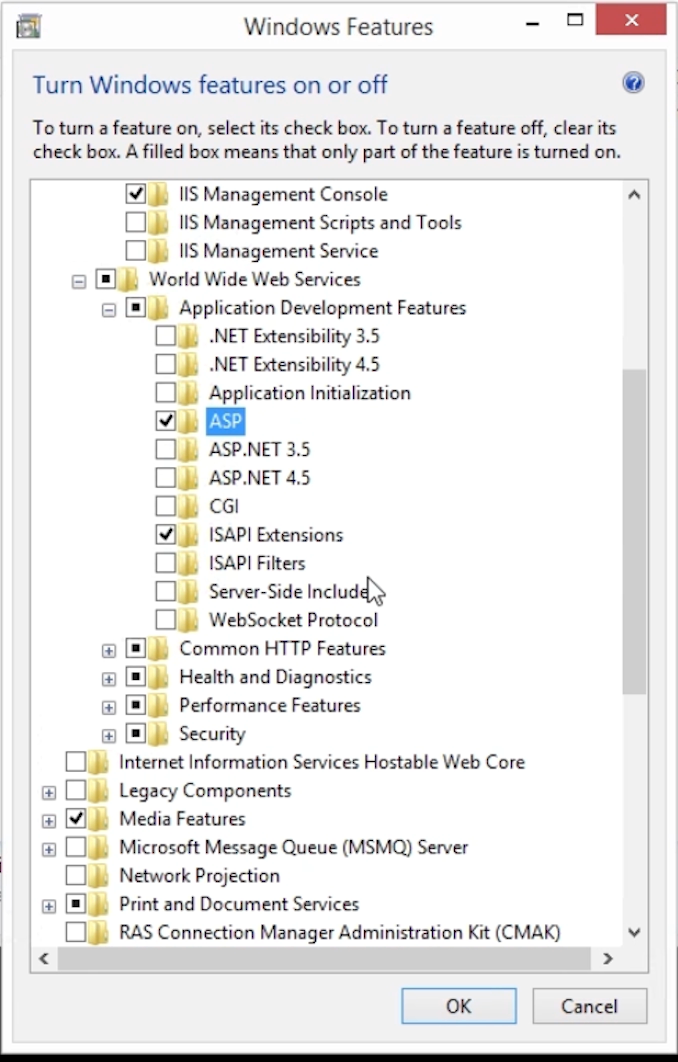
- Expand “Application Development Features”
- Select “ASP”
- Note that doing so automatically selects “ISAPI Extensions” as well
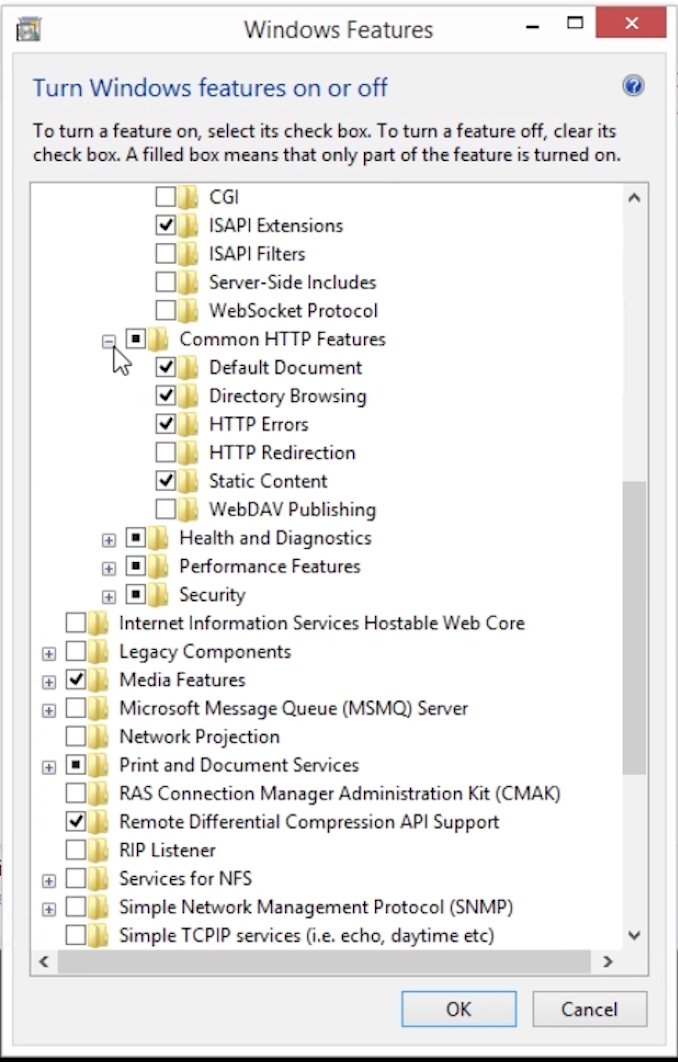
- Expand “Common HTTP Features,” and confirm that the following are selected:
- Default Document
- Directory Browsing
- HTTP Errors
- Static Content
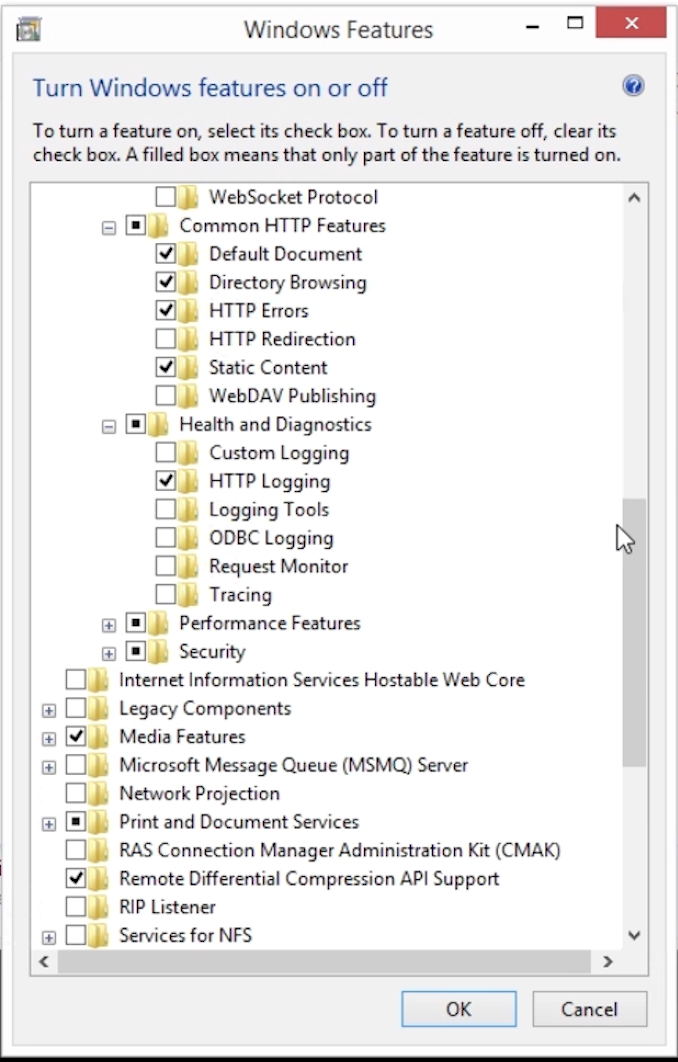
- Expand “Health and Diagnostics,” and confirm that the following are selected:
- HTTP Logging
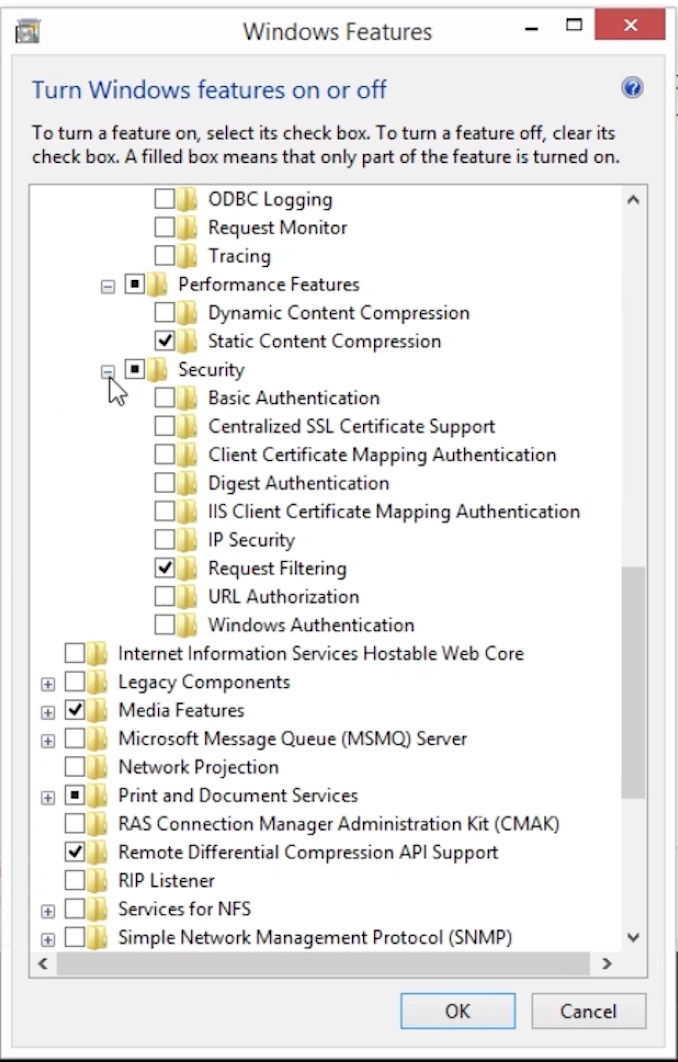
- Expand “Performance Features,” and confirm that the following are selected:
- Static Content Compression - Expand “Security,” and confirm that the following are selected:
- Request Filtering
- Press OK to start the installation
- Locate and run the DataFlex WebApp Check. Results should show:
- IIS now appears to be installed
- The application pool mode needs to be set to 32-bit
- Optionally install the URL Rewrite Module
- Desktop heap needs to be increased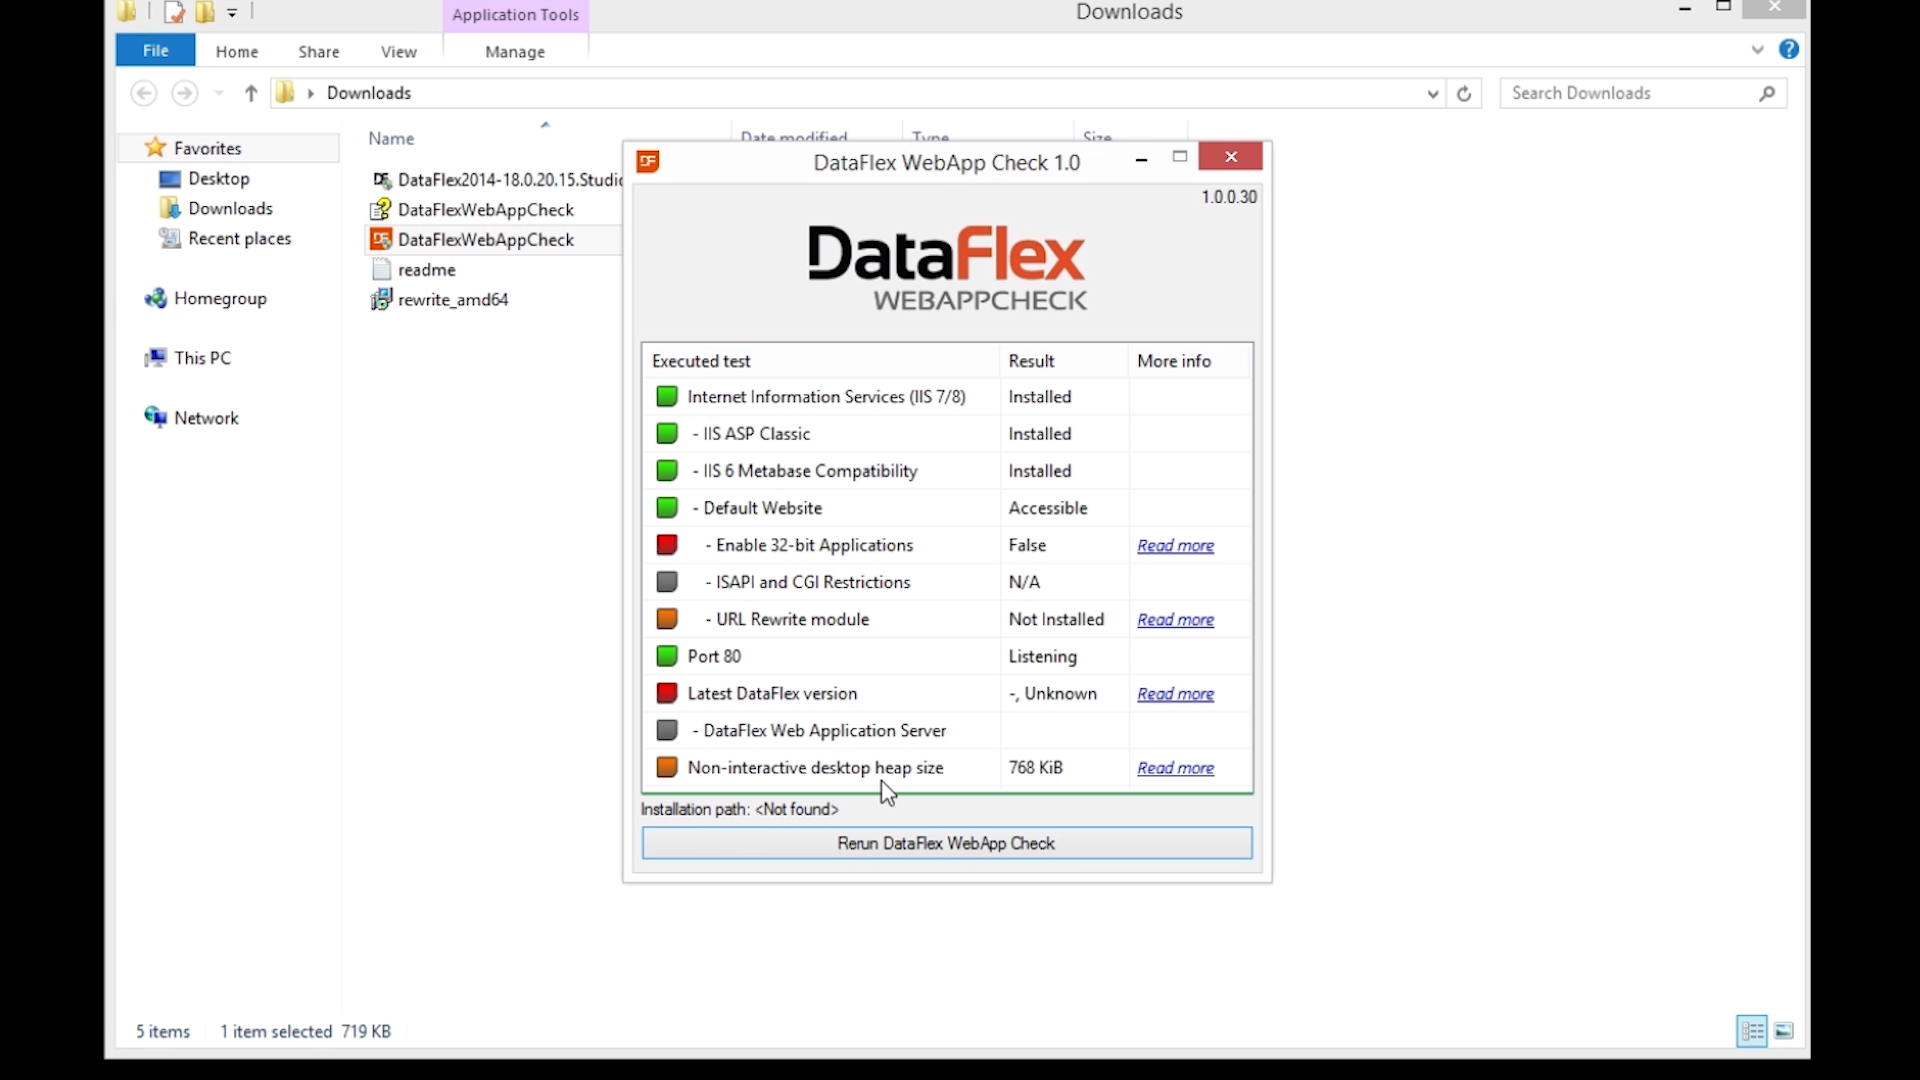
- Set the default pool to enable 32-bit applications
- Start the IIS Manager
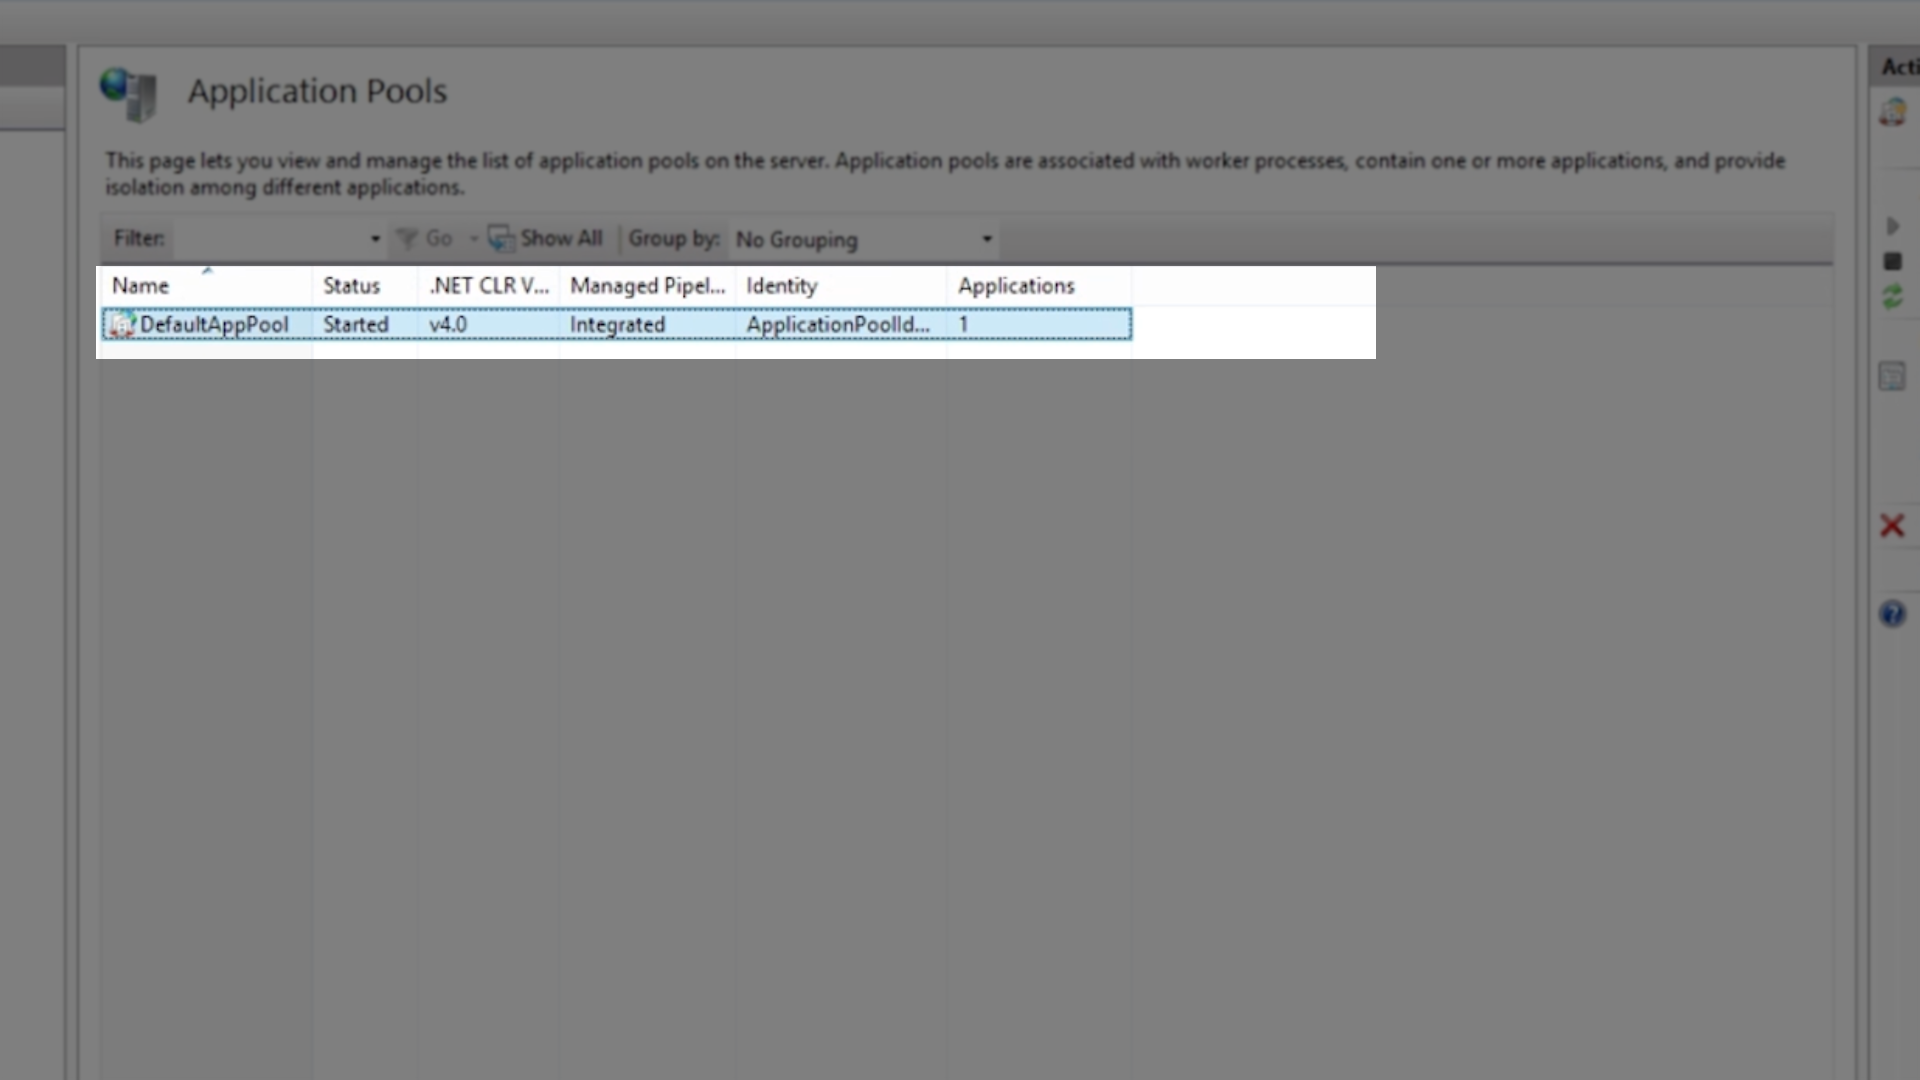
- Select “Application Pools” from the menu on the left

- Select “DefaultAppPool”
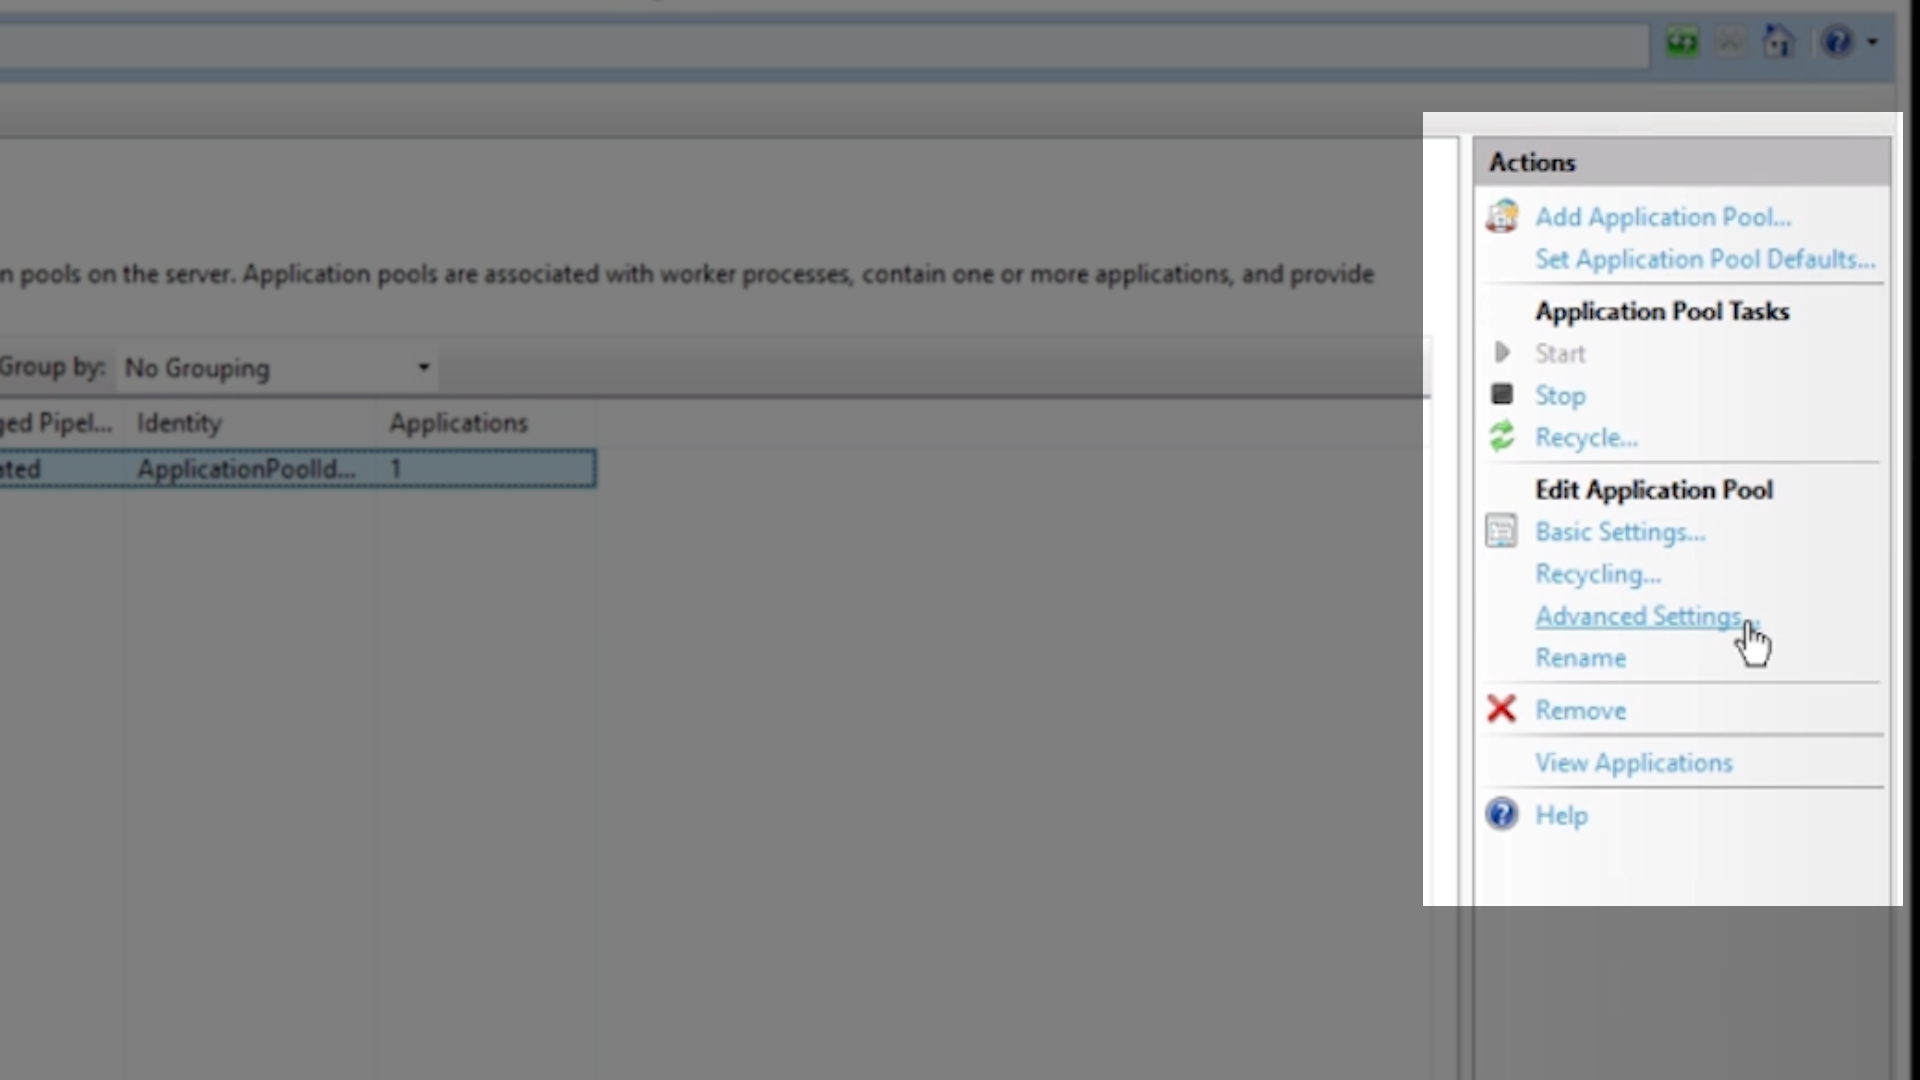
- Select “Advanced Settings…” from the menu on the right
- From the windows that appears, double click on “Enable 32-Bit Applications” to change it to TRUE
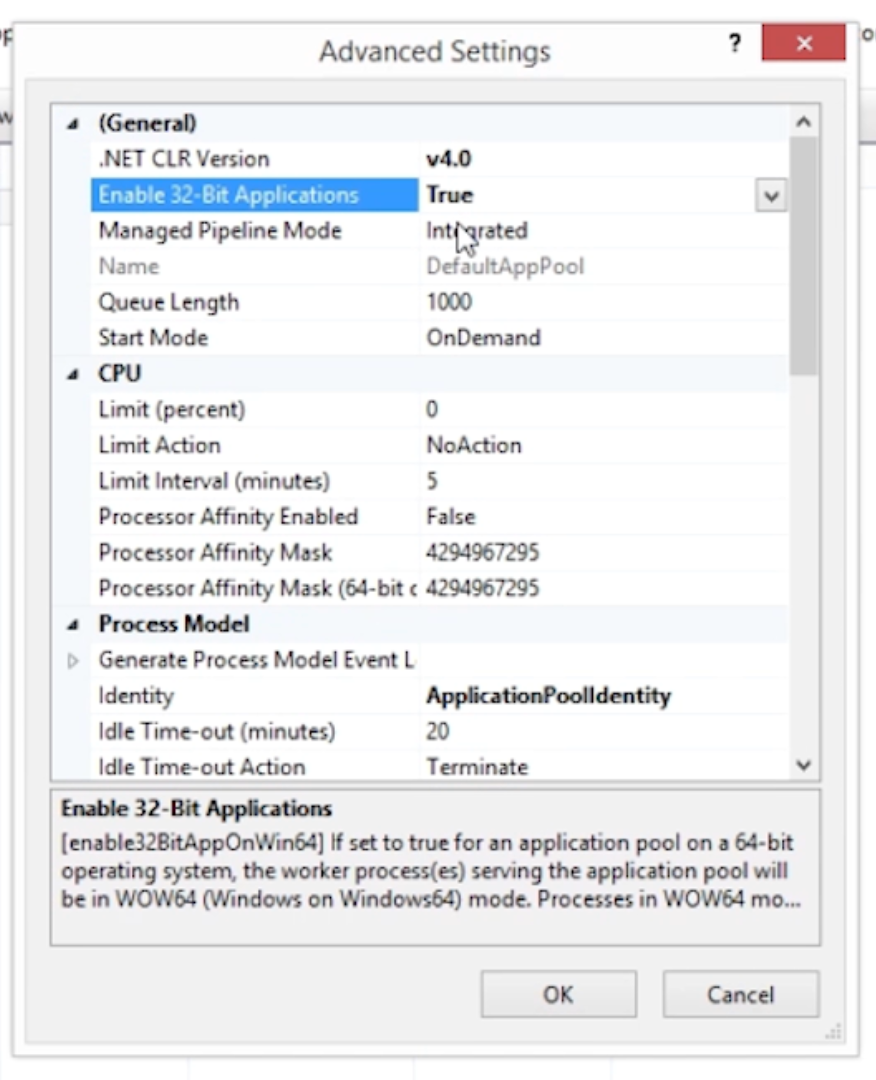
- Press OK to close the window
- Exit out of IIS Manager
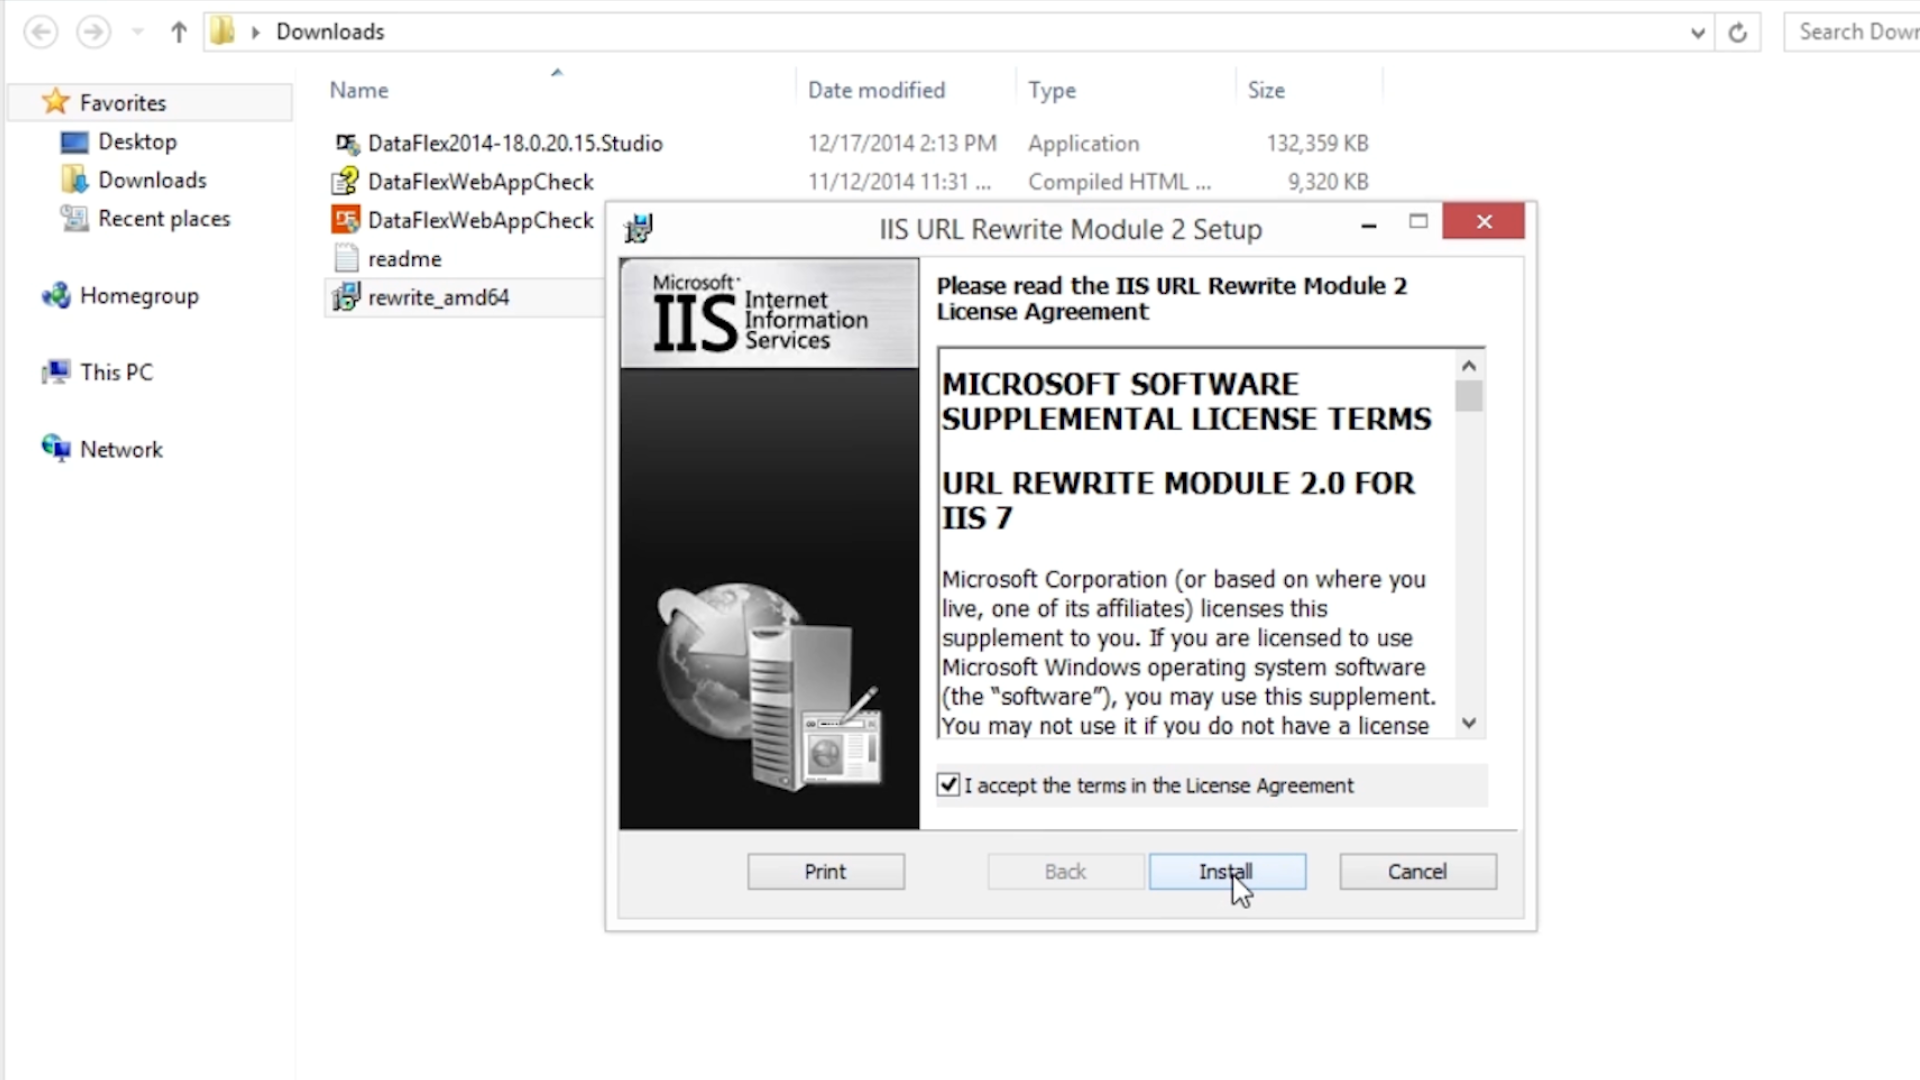
- Install the Rewrite Module
- Open the Rewrite Module download (rewrite_amd64) and complete the necessary steps for installation.
- This module makes it possible for web administrators and developers to create rules that are easier for users remember and increases visibility to search engines.
- Open the Registry Editor (regedit) to adjust the size of the desktop heap
- Note: doing this will limit the total number of processes that can be run on a single server. Though, 768kB is generally enough for a desktop system, it is beneficial to increase the non-interactive desktop heap size on a web services system to allow for more processes.
- Change the Windows registry…
- Navigate to the following branch: Computer\HKEY_LOCAL_MACHINE\SYSTEM\CurrentControlSet\Control\SessionManager\SubSystems
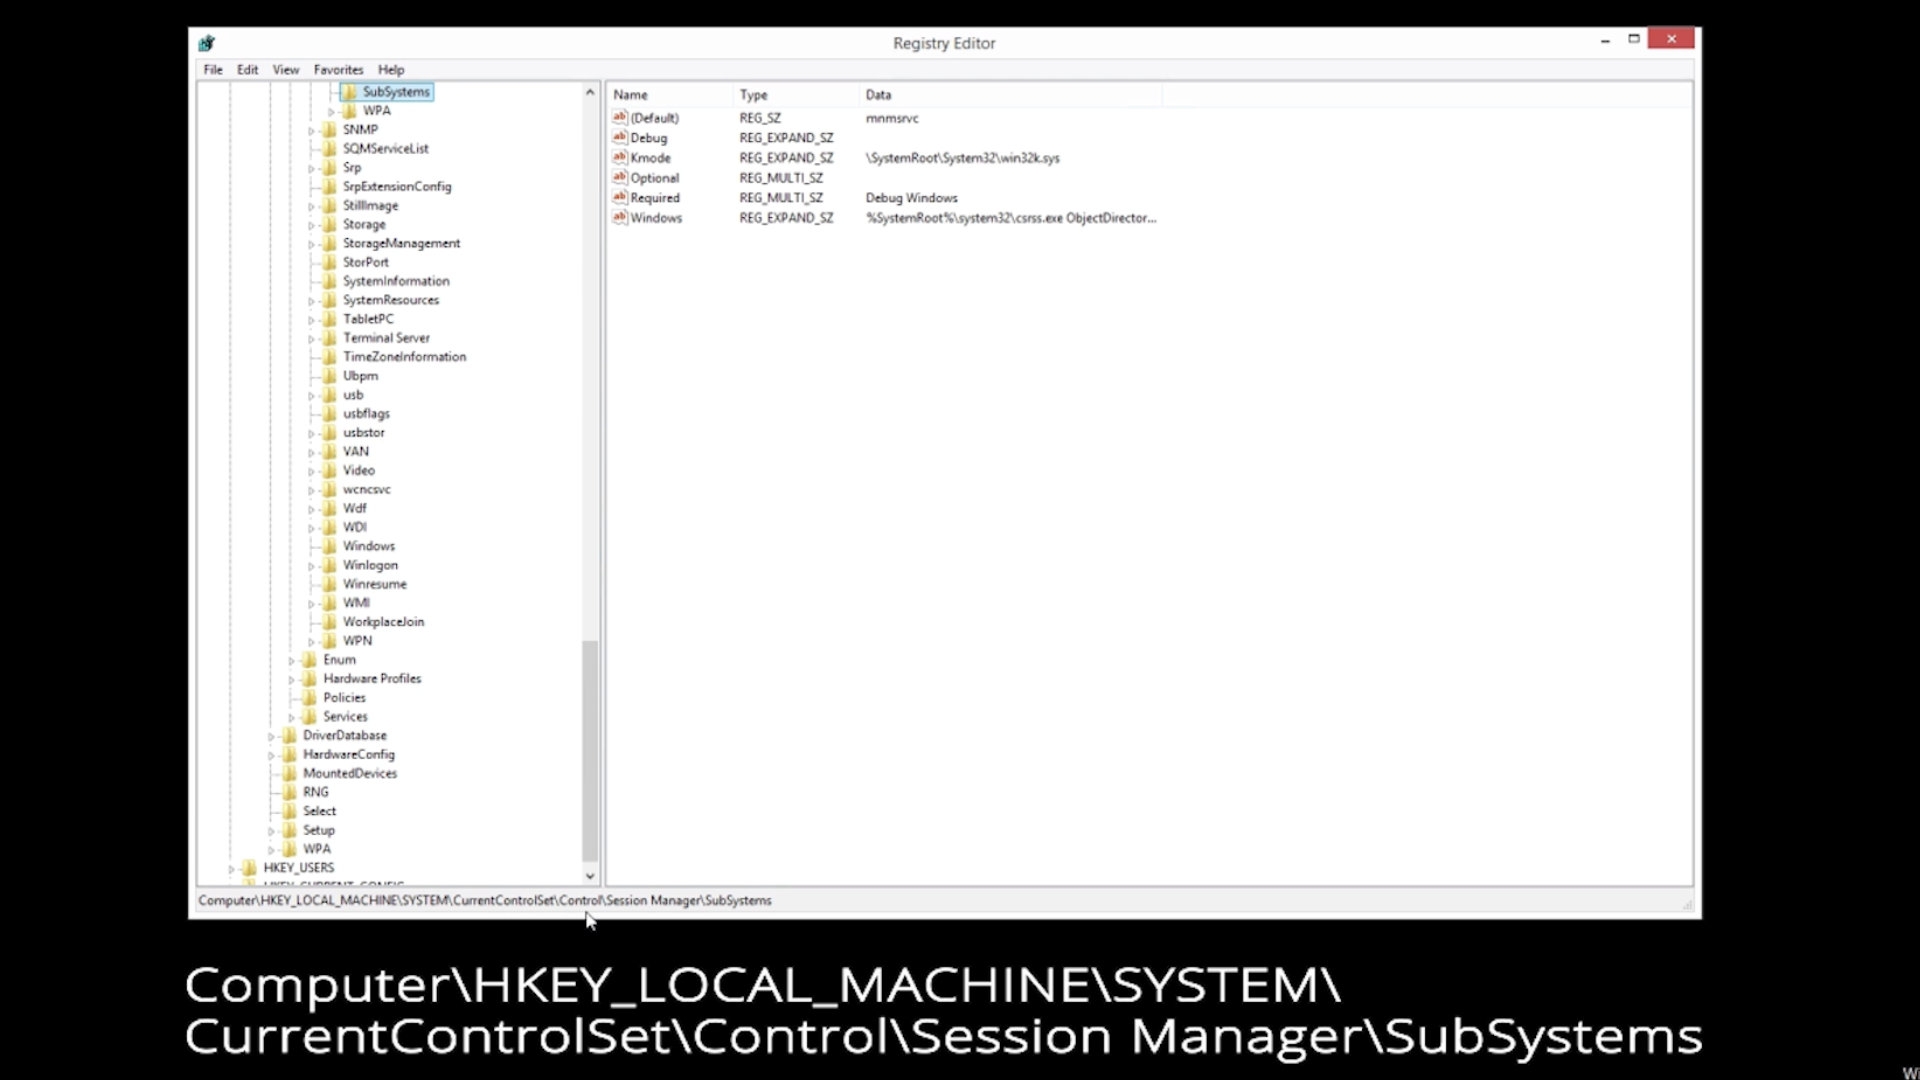
- Select, open, and edit the “Windows” key by following the directions found in Knowledge Base article #1158, INFO: Session Limit Encountered When Running WebApp Server
- Run the DataFlex Studio Installer. Select NEXT.
- Rerun the WebApp Check
- All items are GREEN, and DataFlex Studio is ready to be installed!
- Complete installation of DataFlex
- To confirm all the setting…
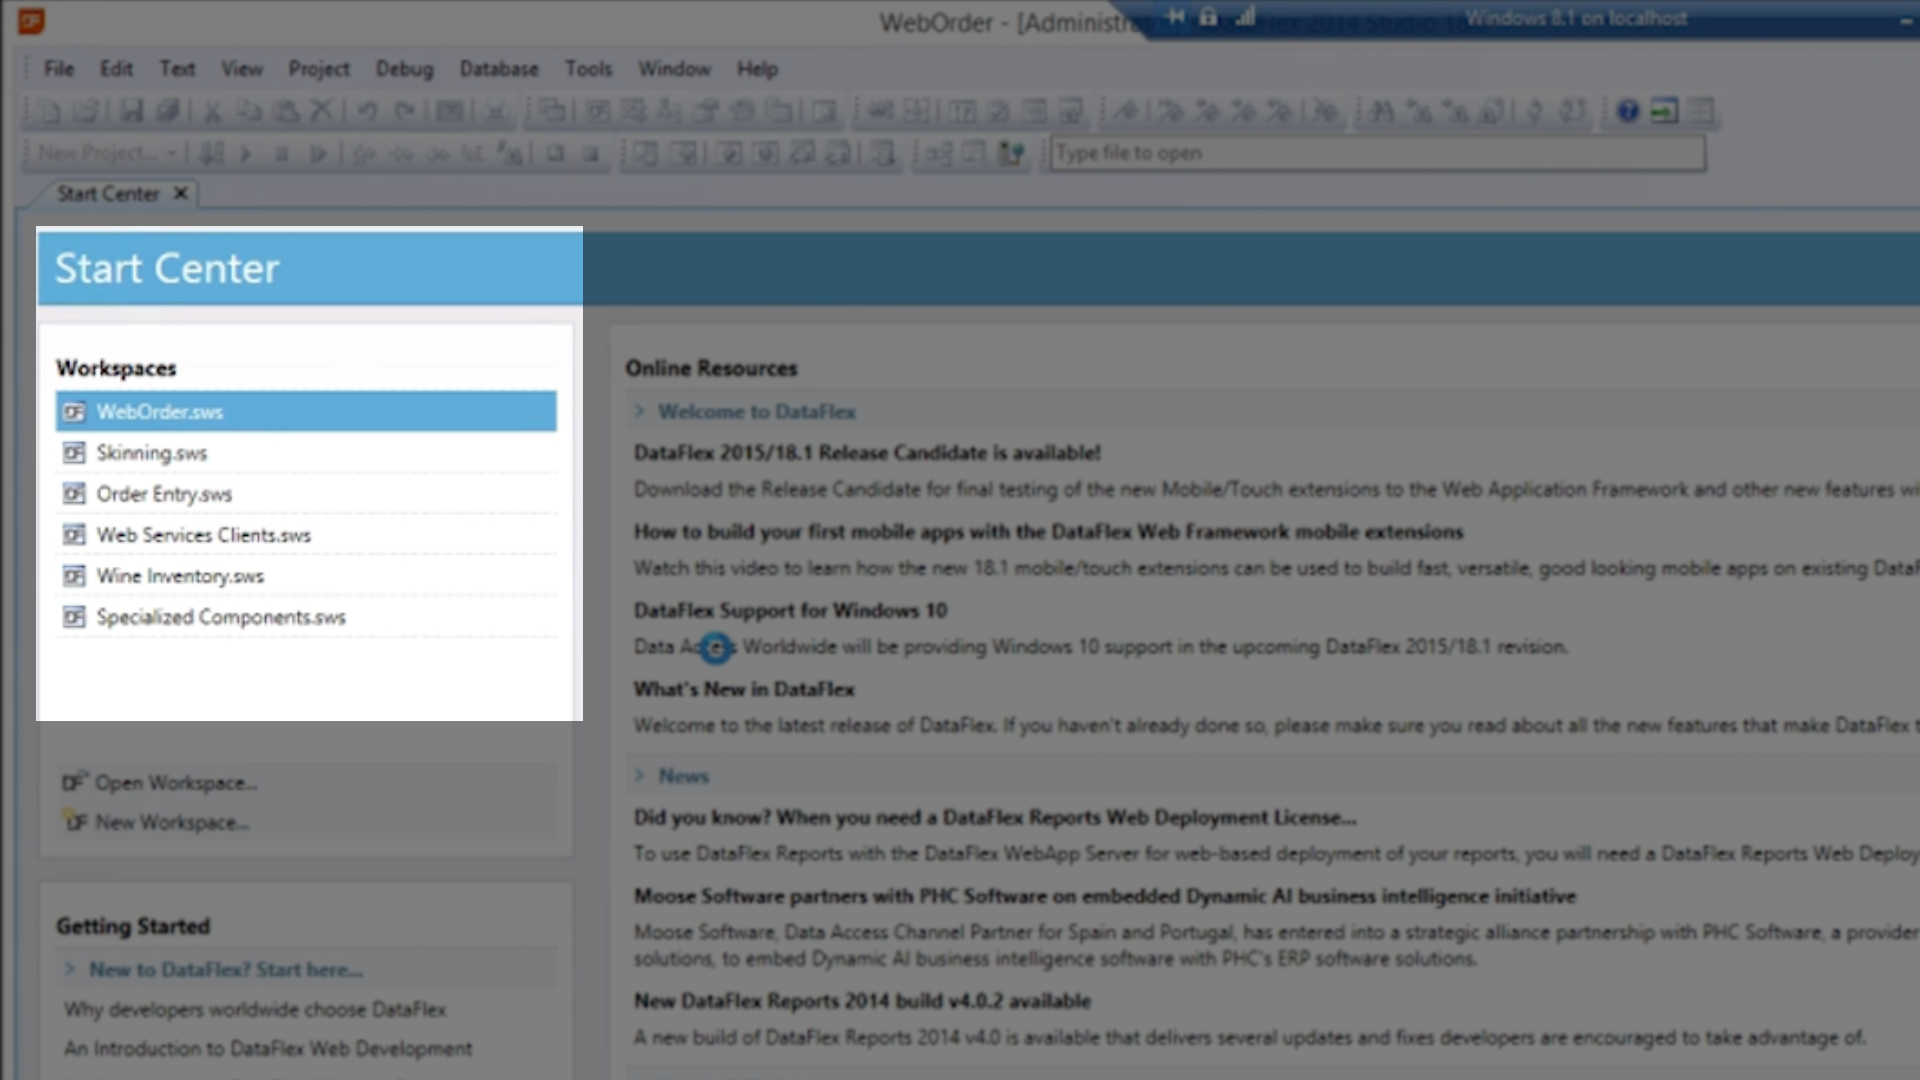
- Open the DataFlex Studio
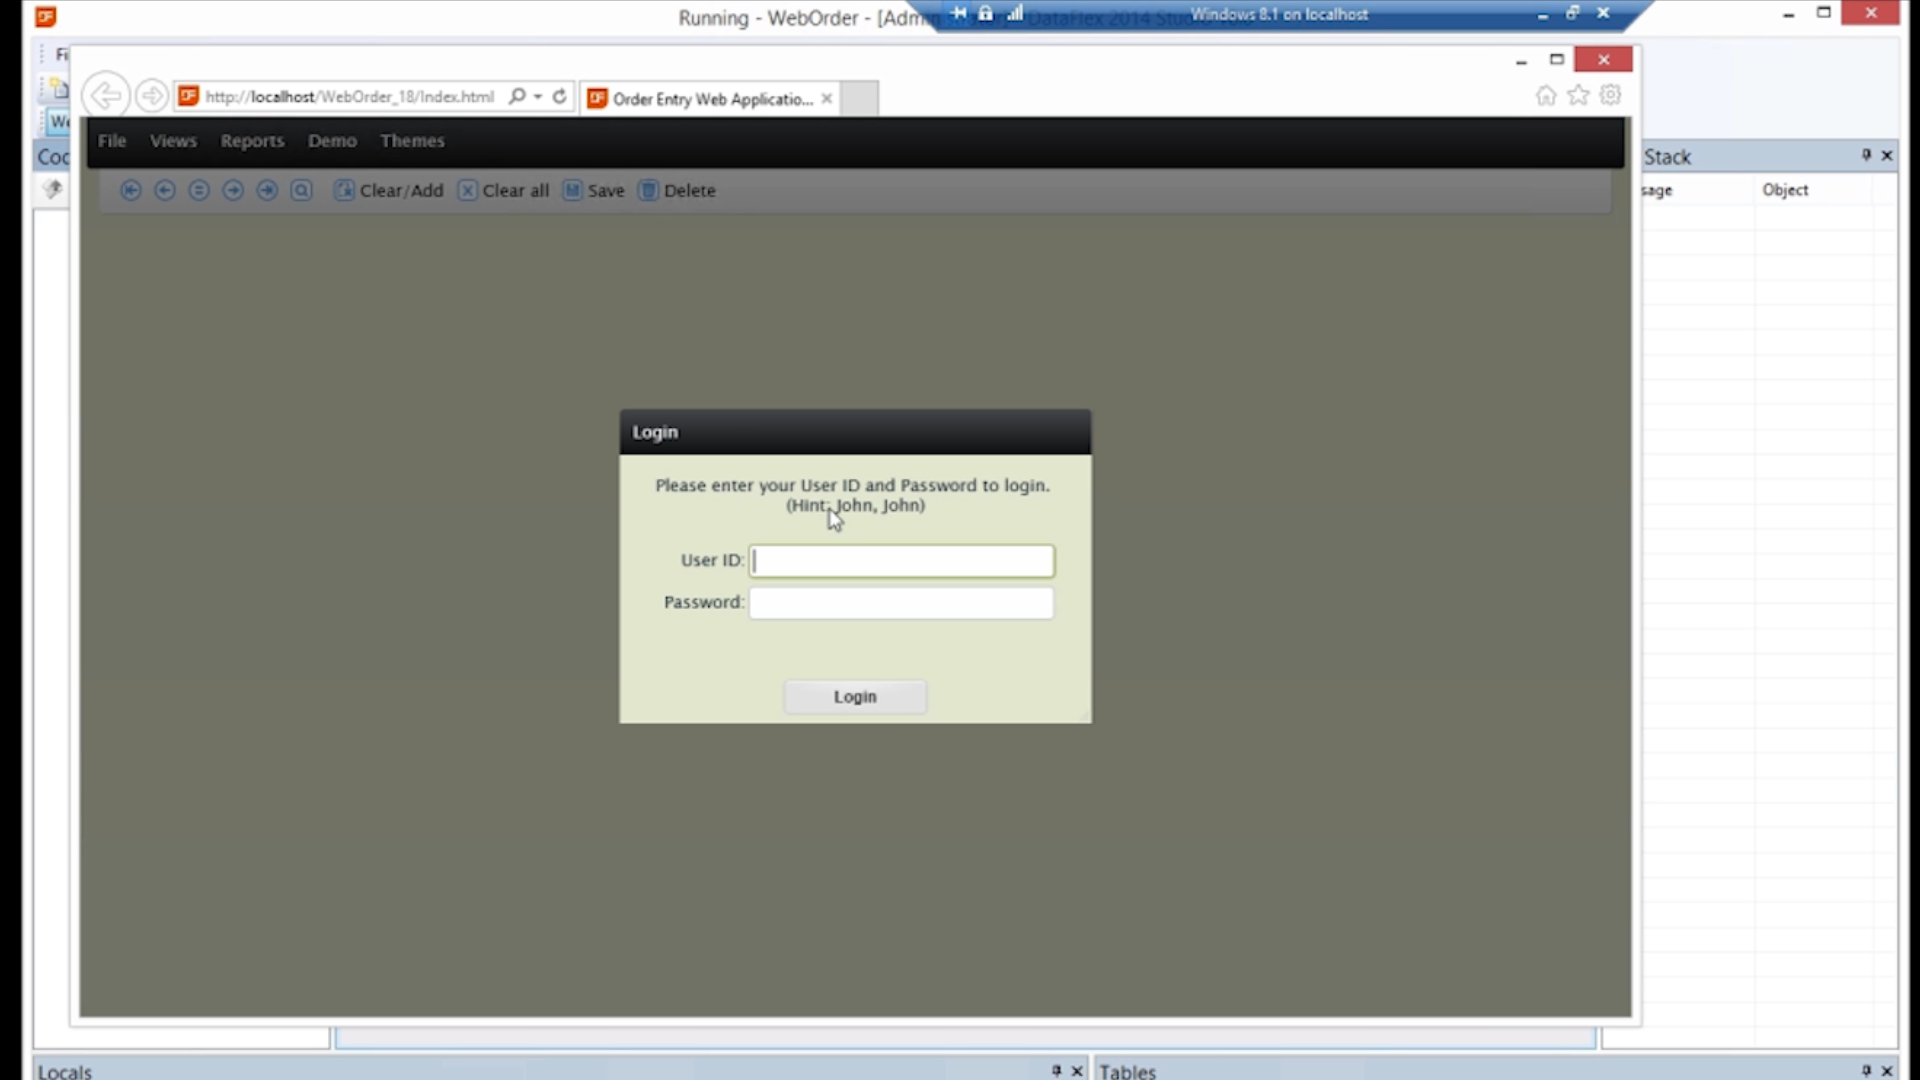
- Select “WebOrder.sws” from menu on the left of the Start Center to test a sample application
- Select the COMPILE icon from the top toolbar
- SUCCESS!