Build your own Search Engine
Lesson 3: How to create select type and zoom views
How to create select-type and zoom views
- To create a select-type view…
- Select the CREATE NEW icon from the top toolbar.
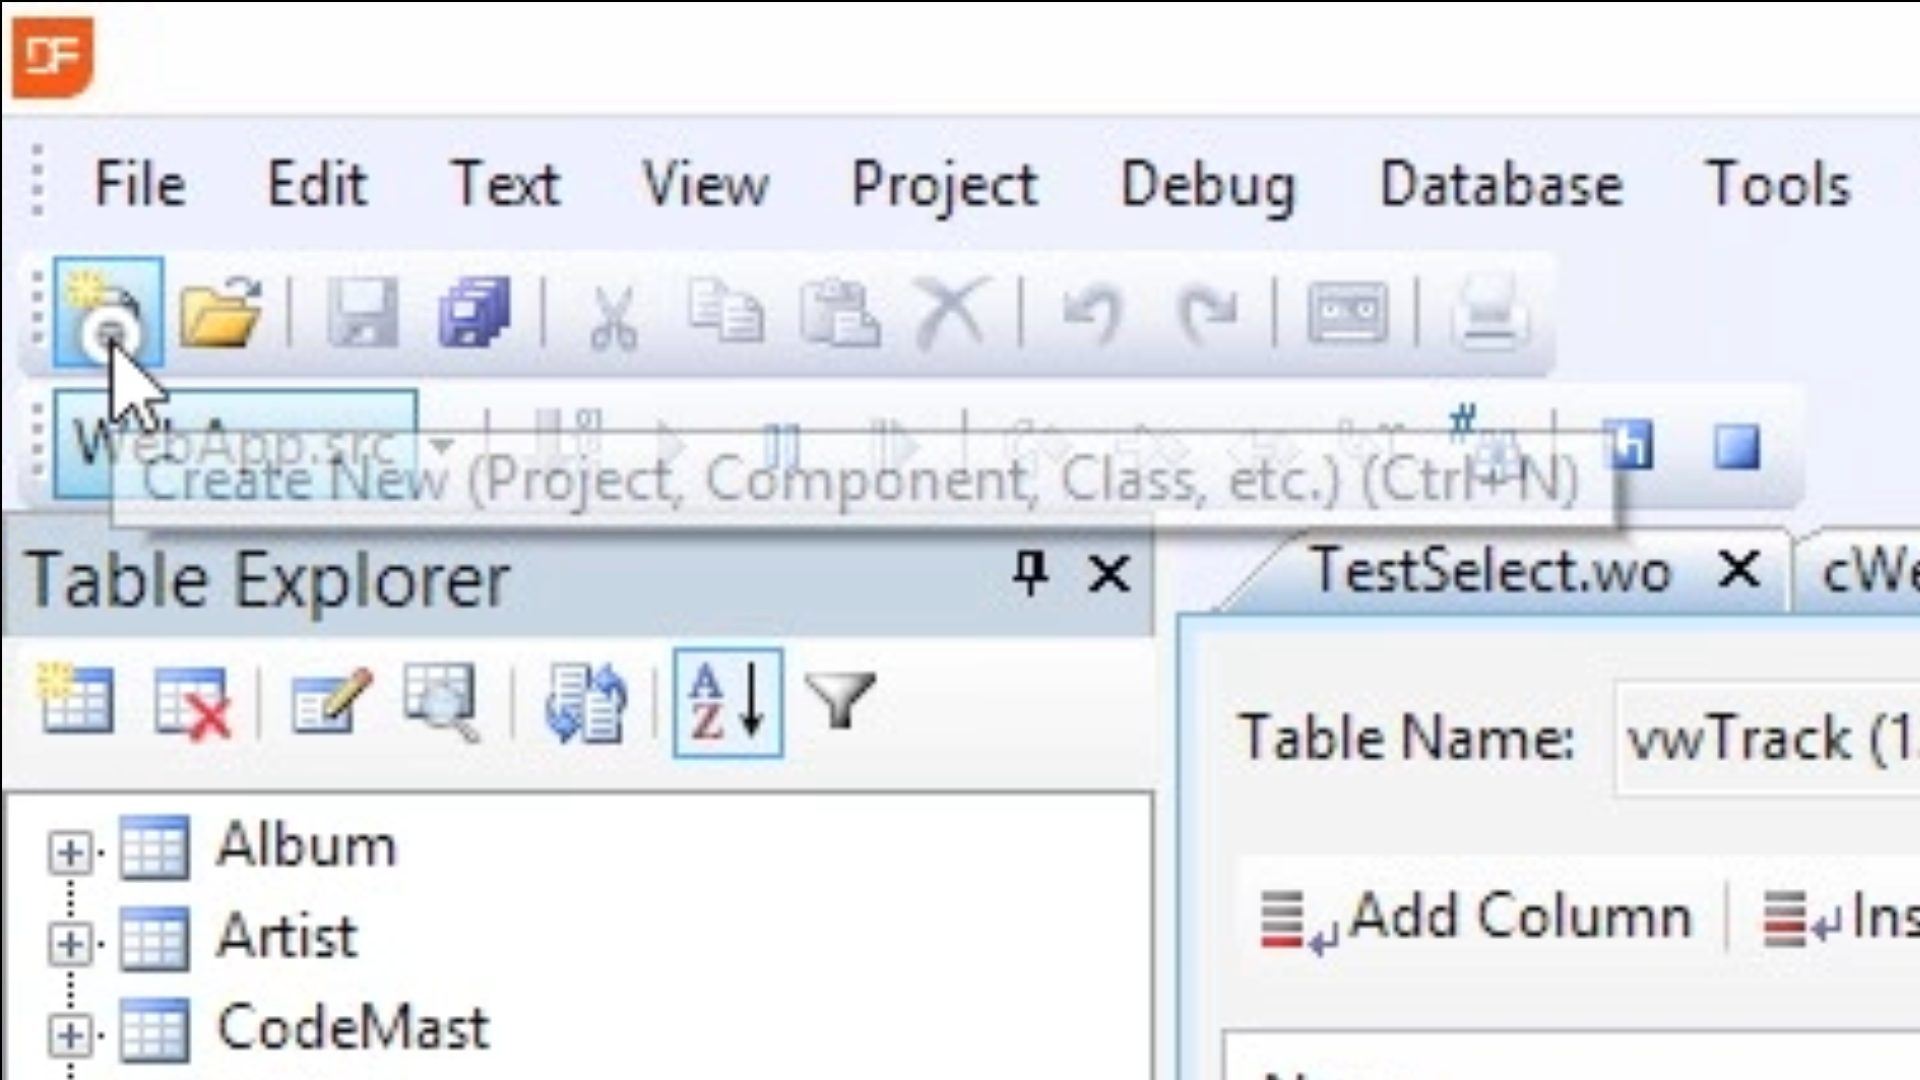
- Select the WEB MOBILE SELECT VIEW WIZARD and press OK.
- Select NEXT twice.
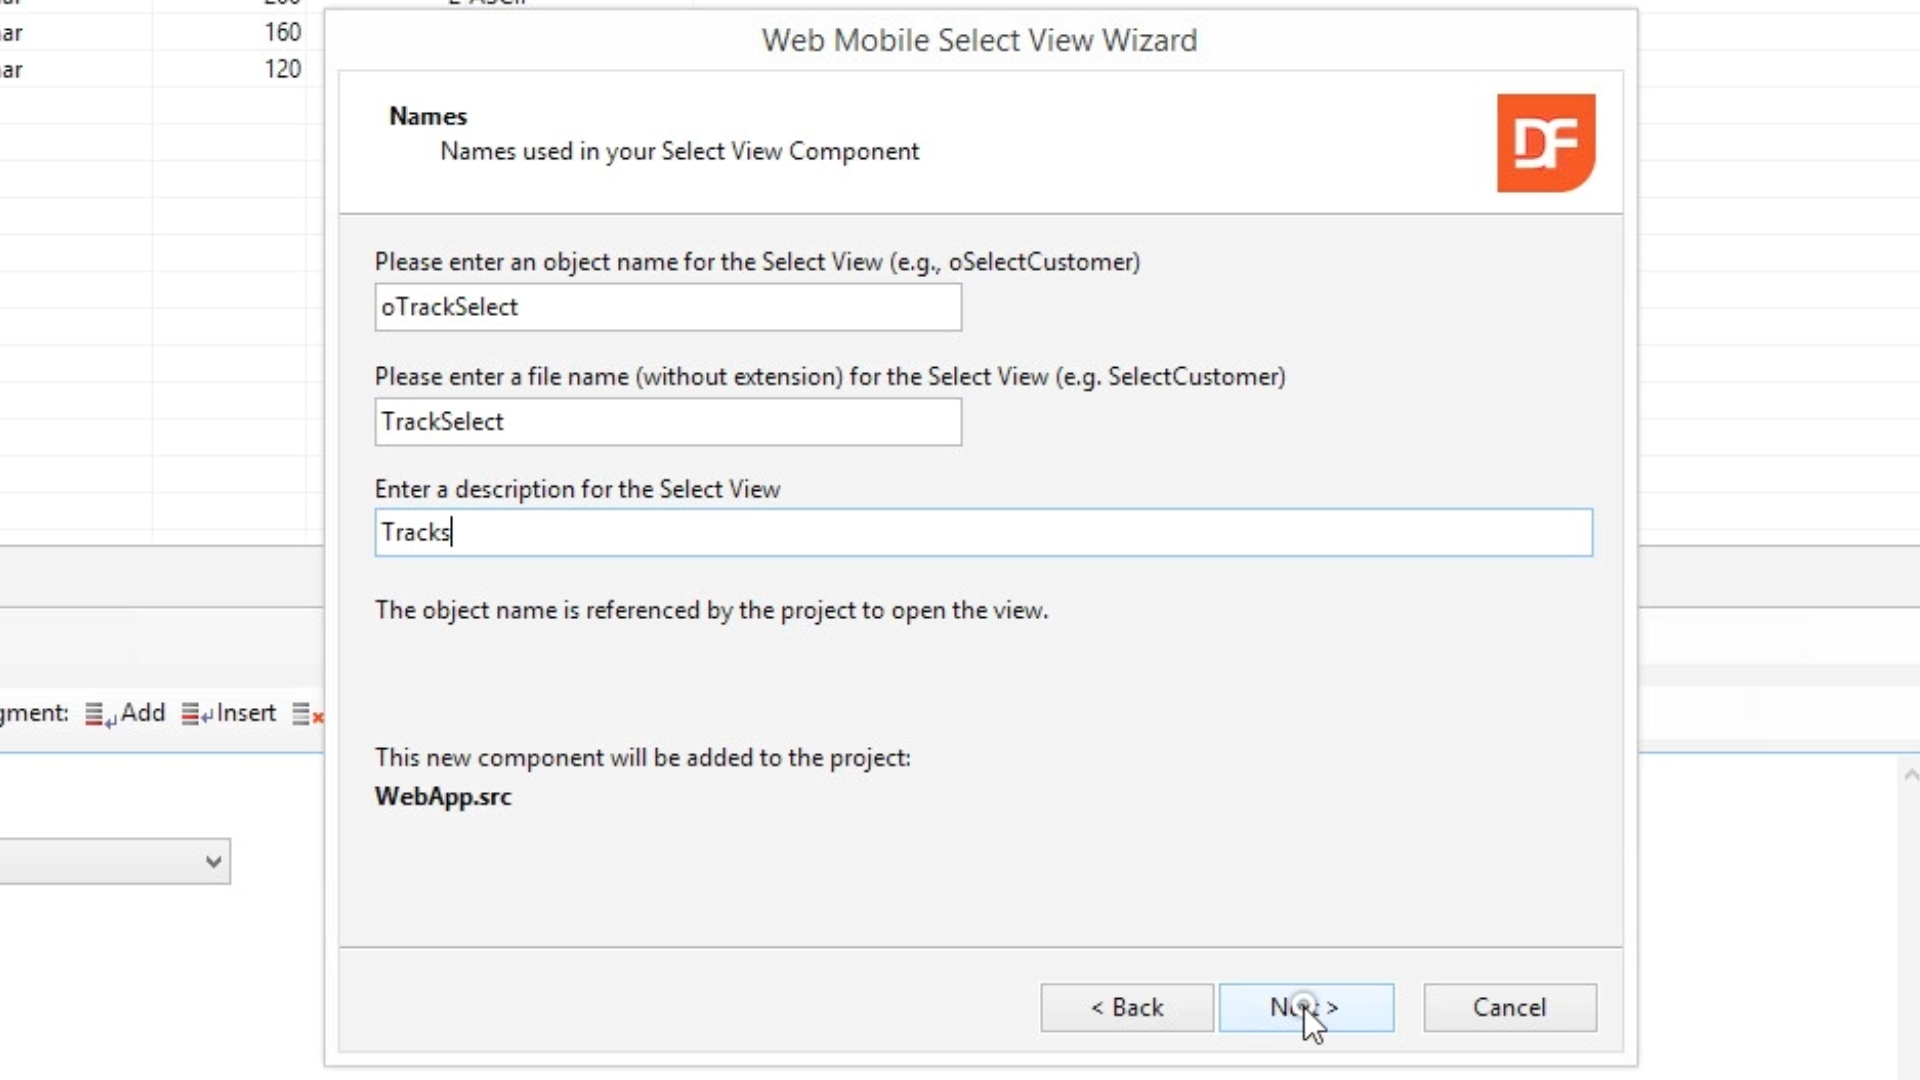
- On the Names screen add object name and select NEXT.
- oTrackSelect has been used for this example. The remaining fields are propagated with the name, but the description for the Select View is shortened to just ‘View.’
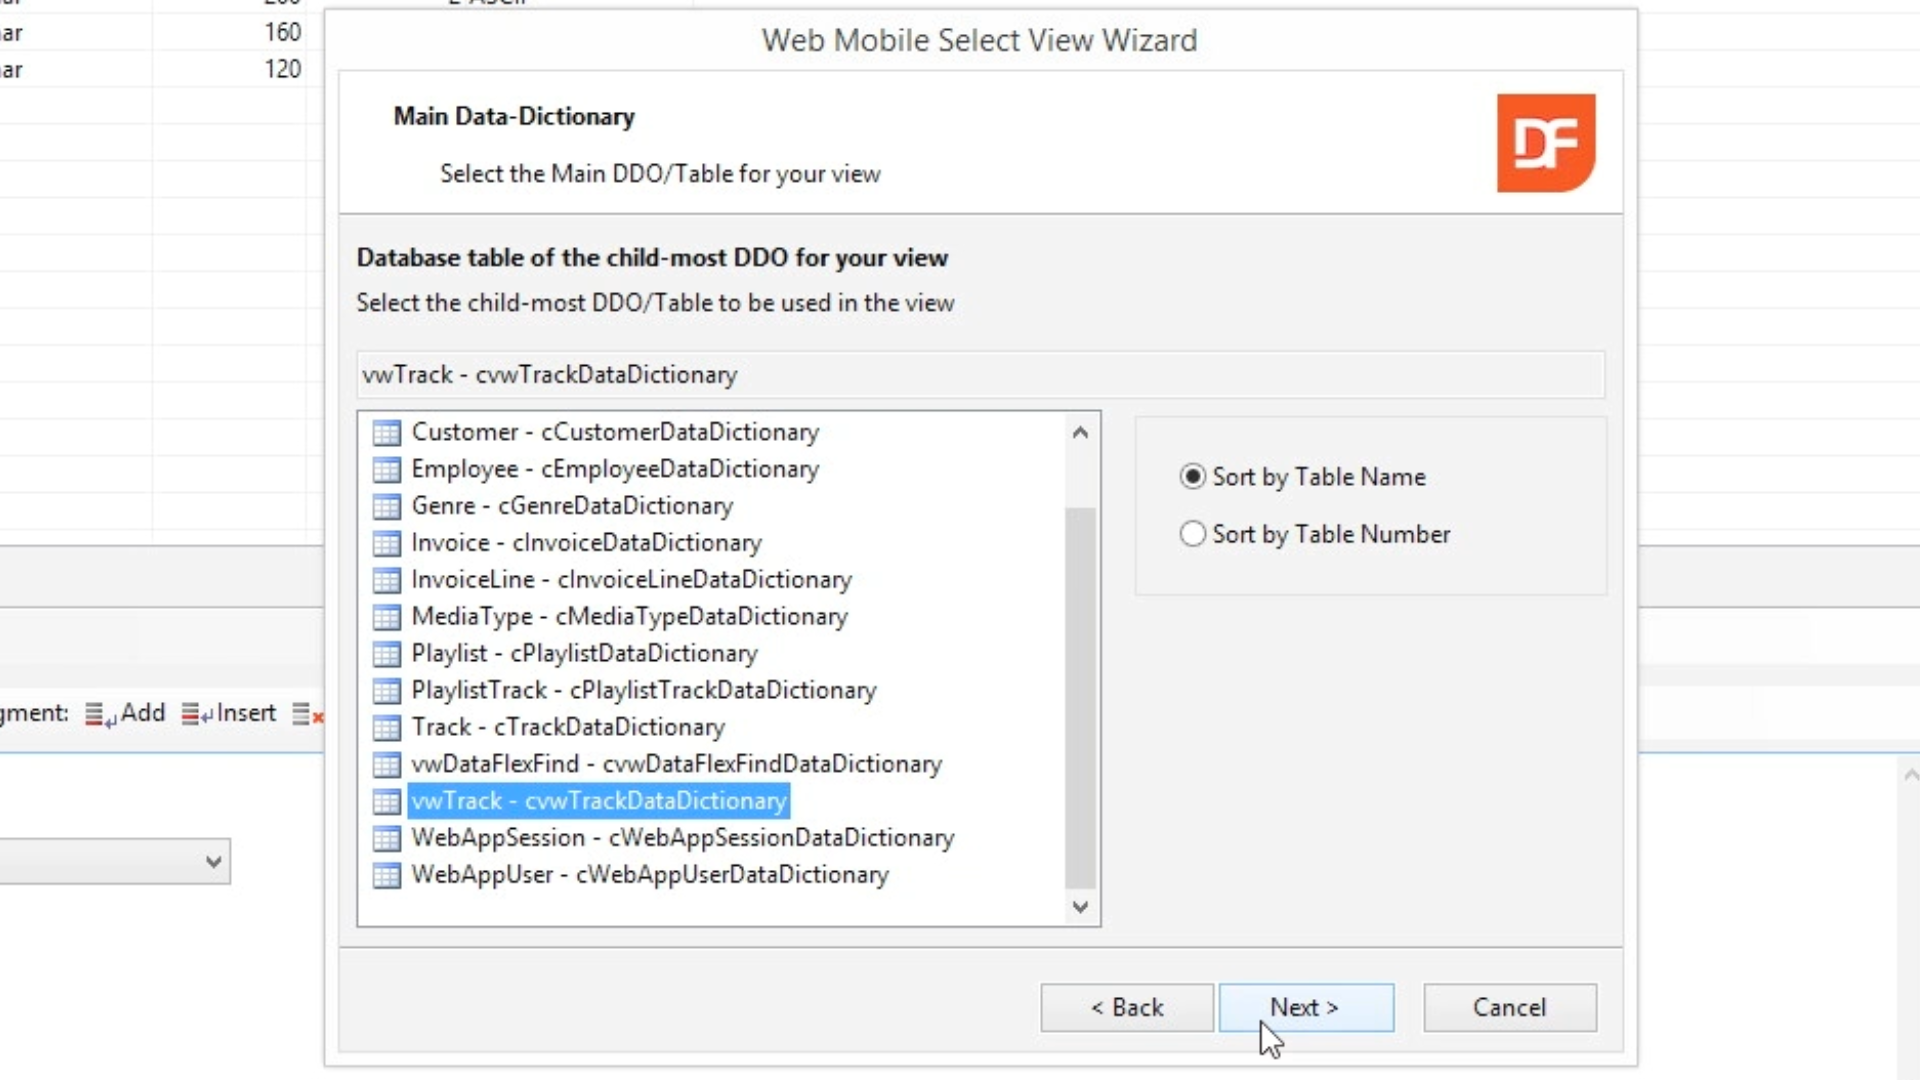
- On the Main Data-Dictionary screen highlight the desired view (vwTrack – cvwTrackDataDictionary), and select NEXT.
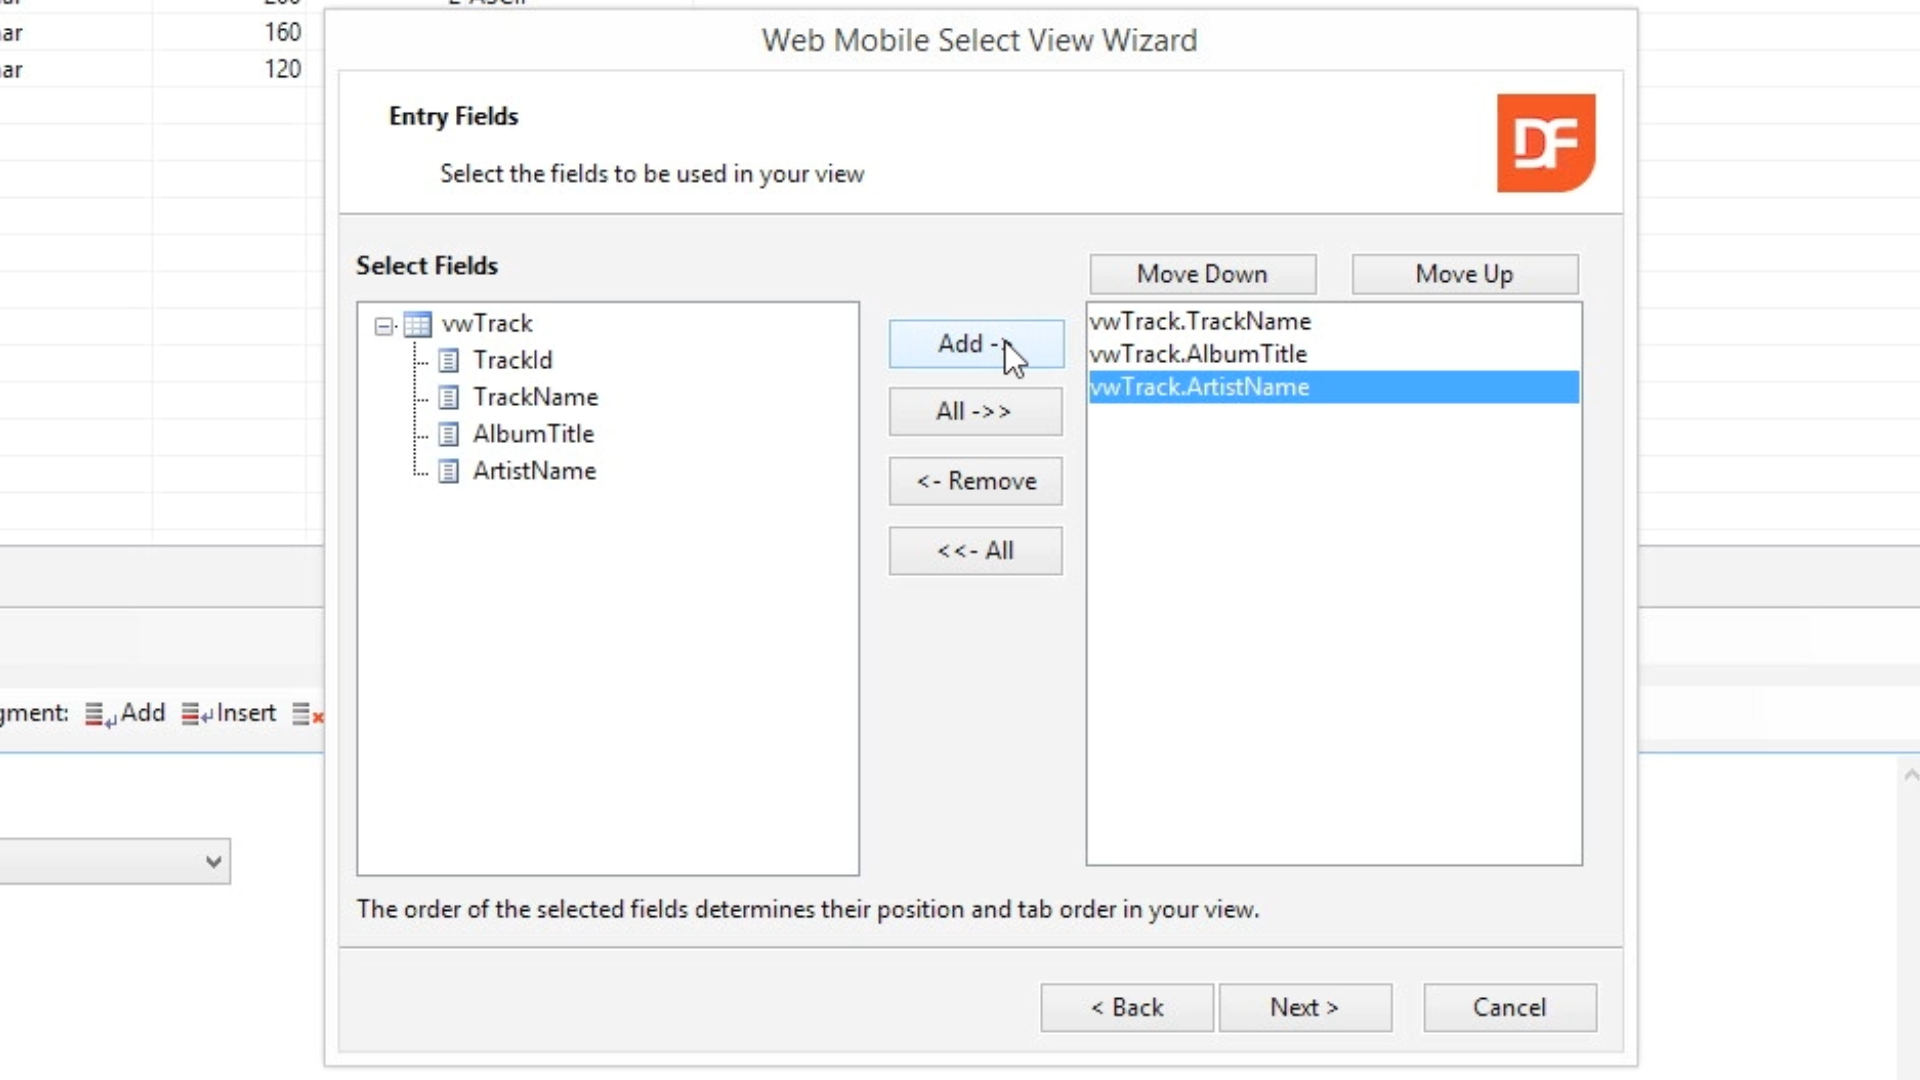
- On the Entry Fields screen highlight fields on the left that you’d like to be used in your view (TrackName, AlbumTitle, ArtistName), select ADD, and select NEXT.
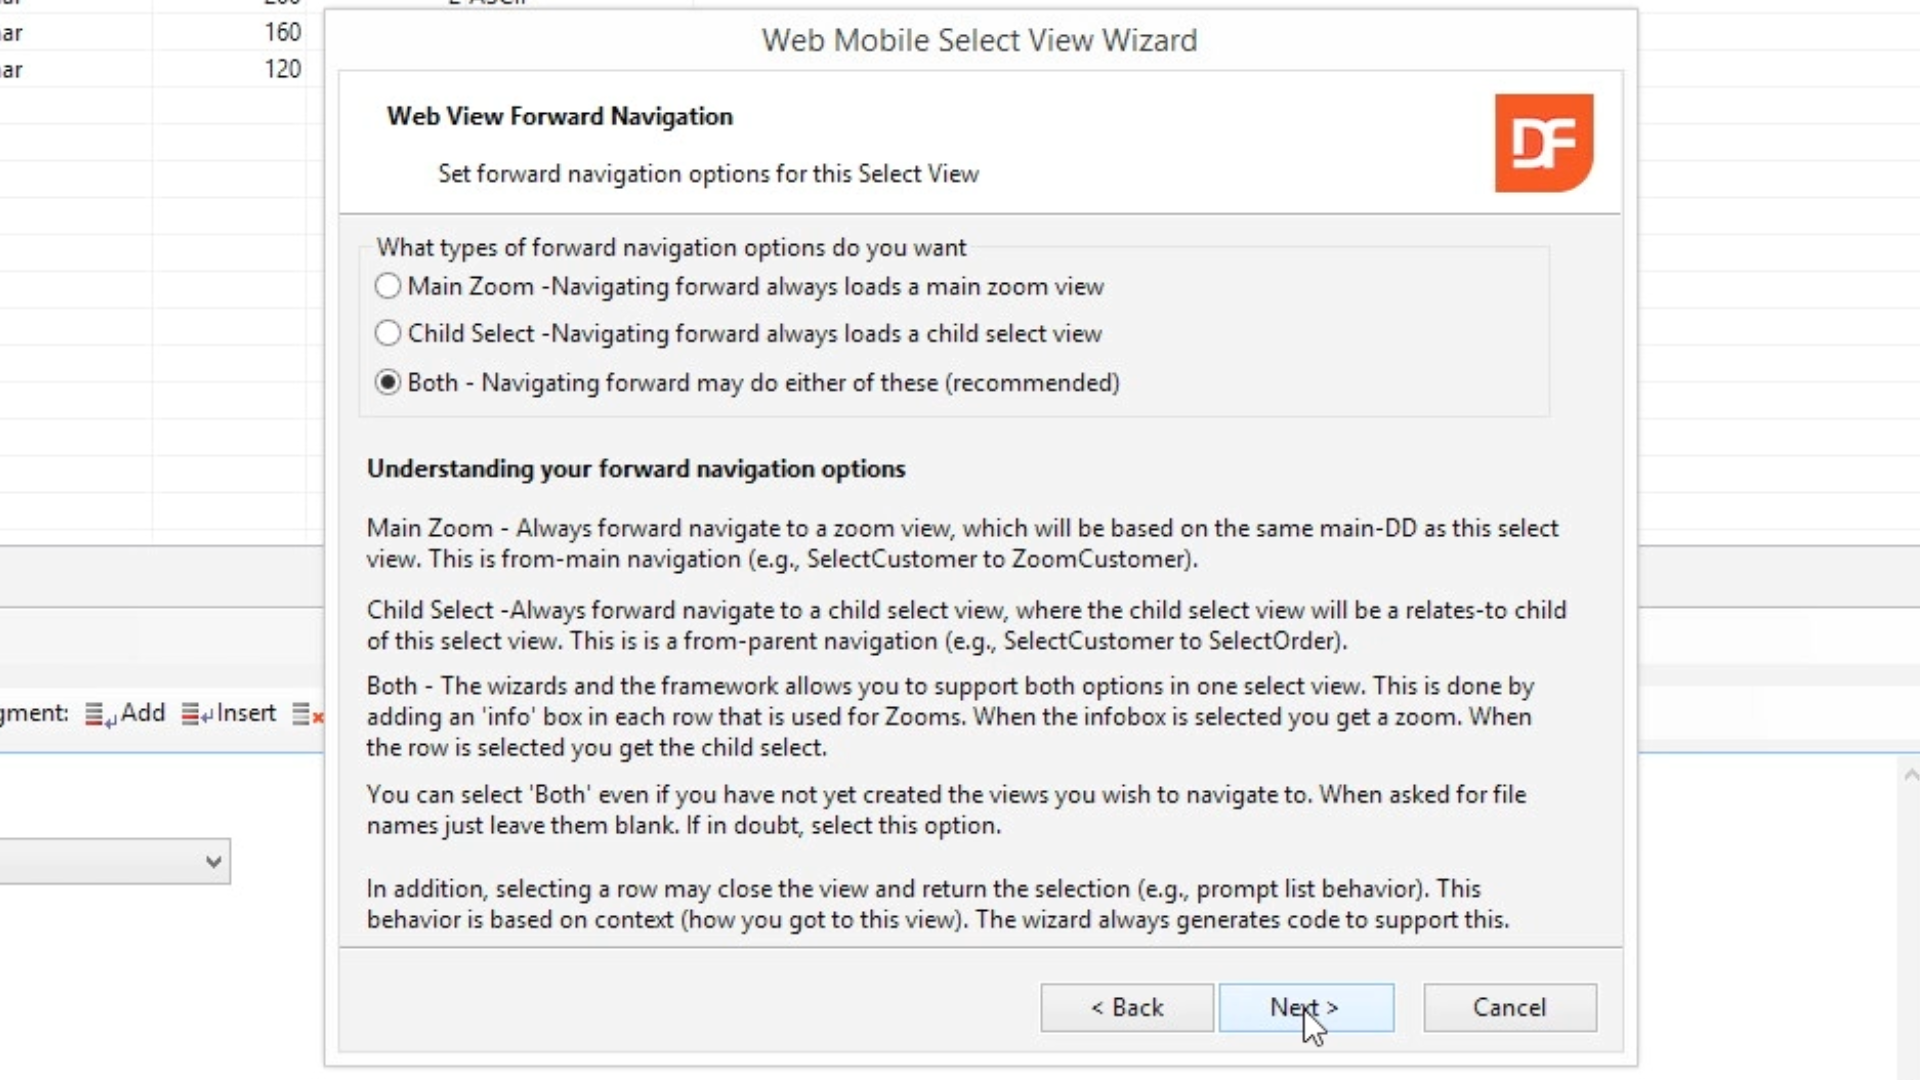
- On the Web View Forward Navigation screen choose desired type of navigation. BOTH is selected for this example. Select NEXT.
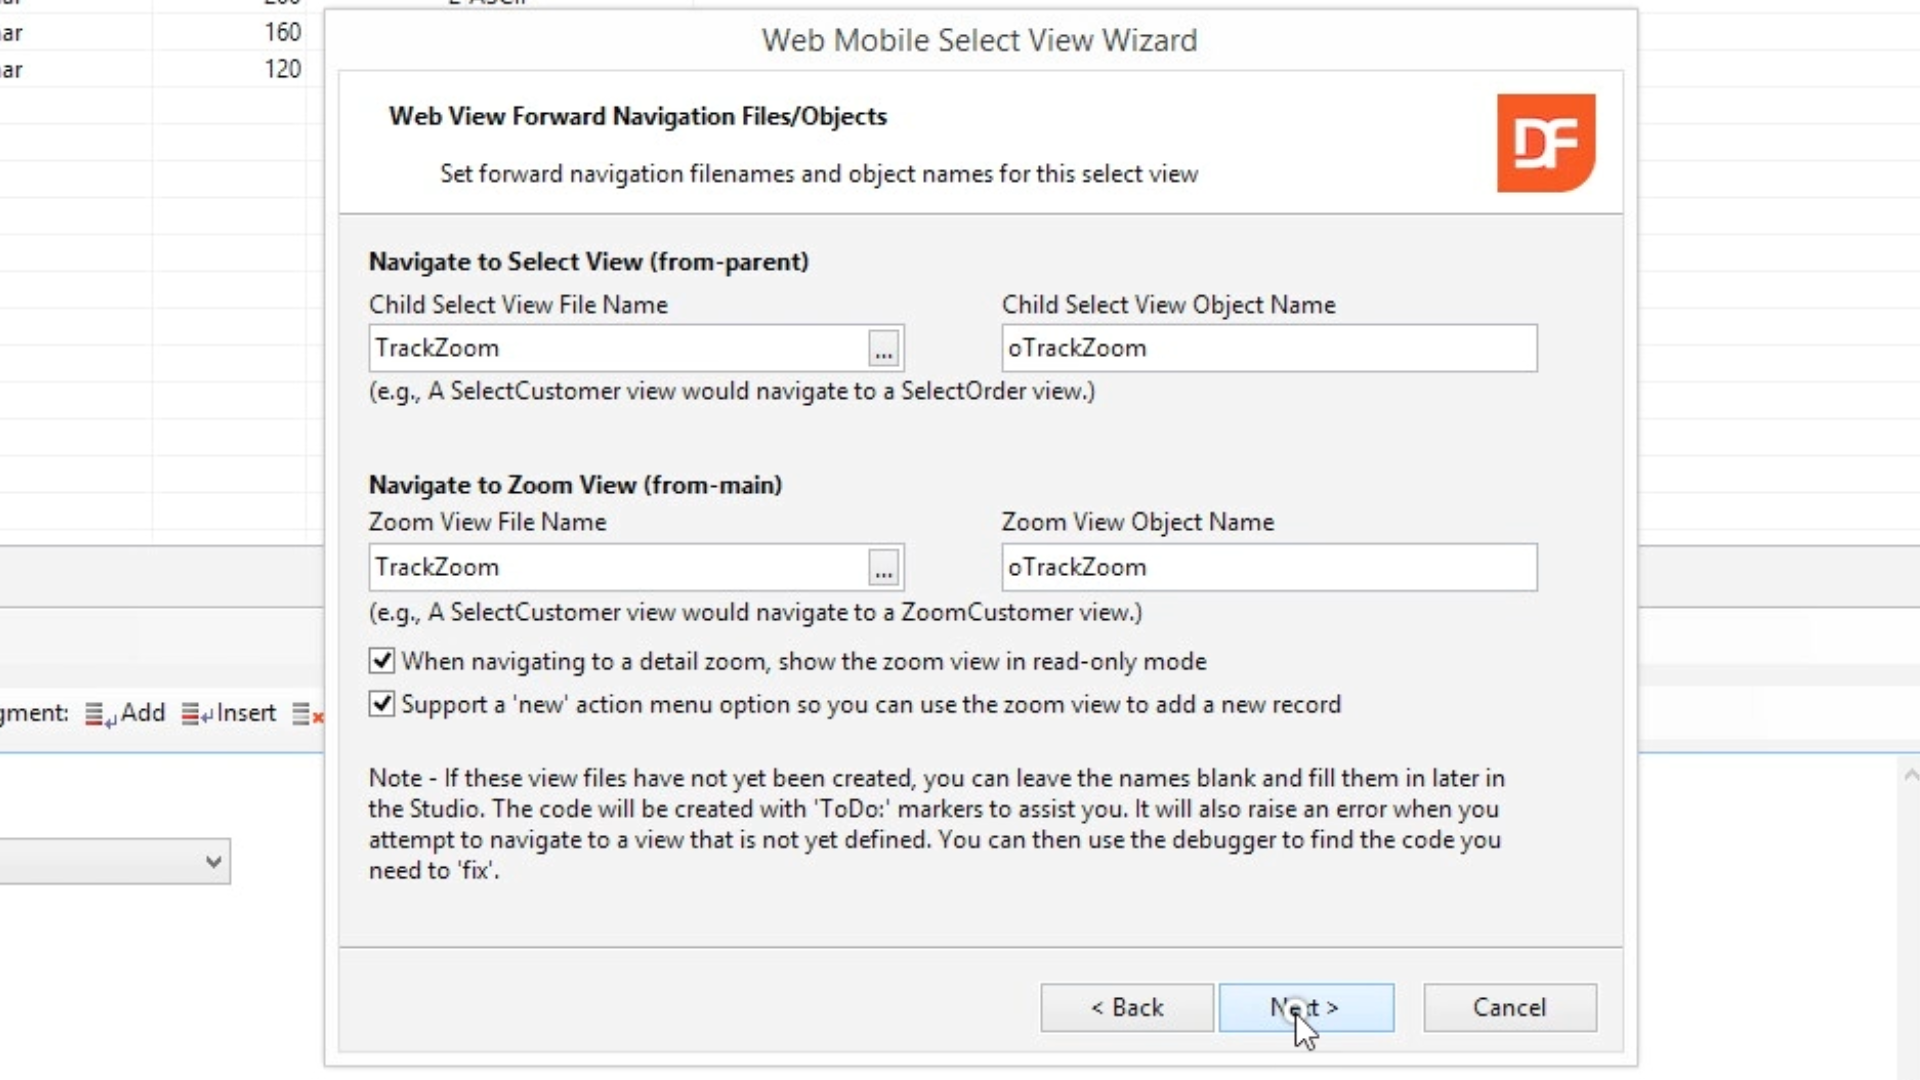
- On the Web View Forward Navigation Files/Objects screen add names for the Select View and Zoom View. TrackZoom and oTrackZoom are used in this example. Select NEXT.
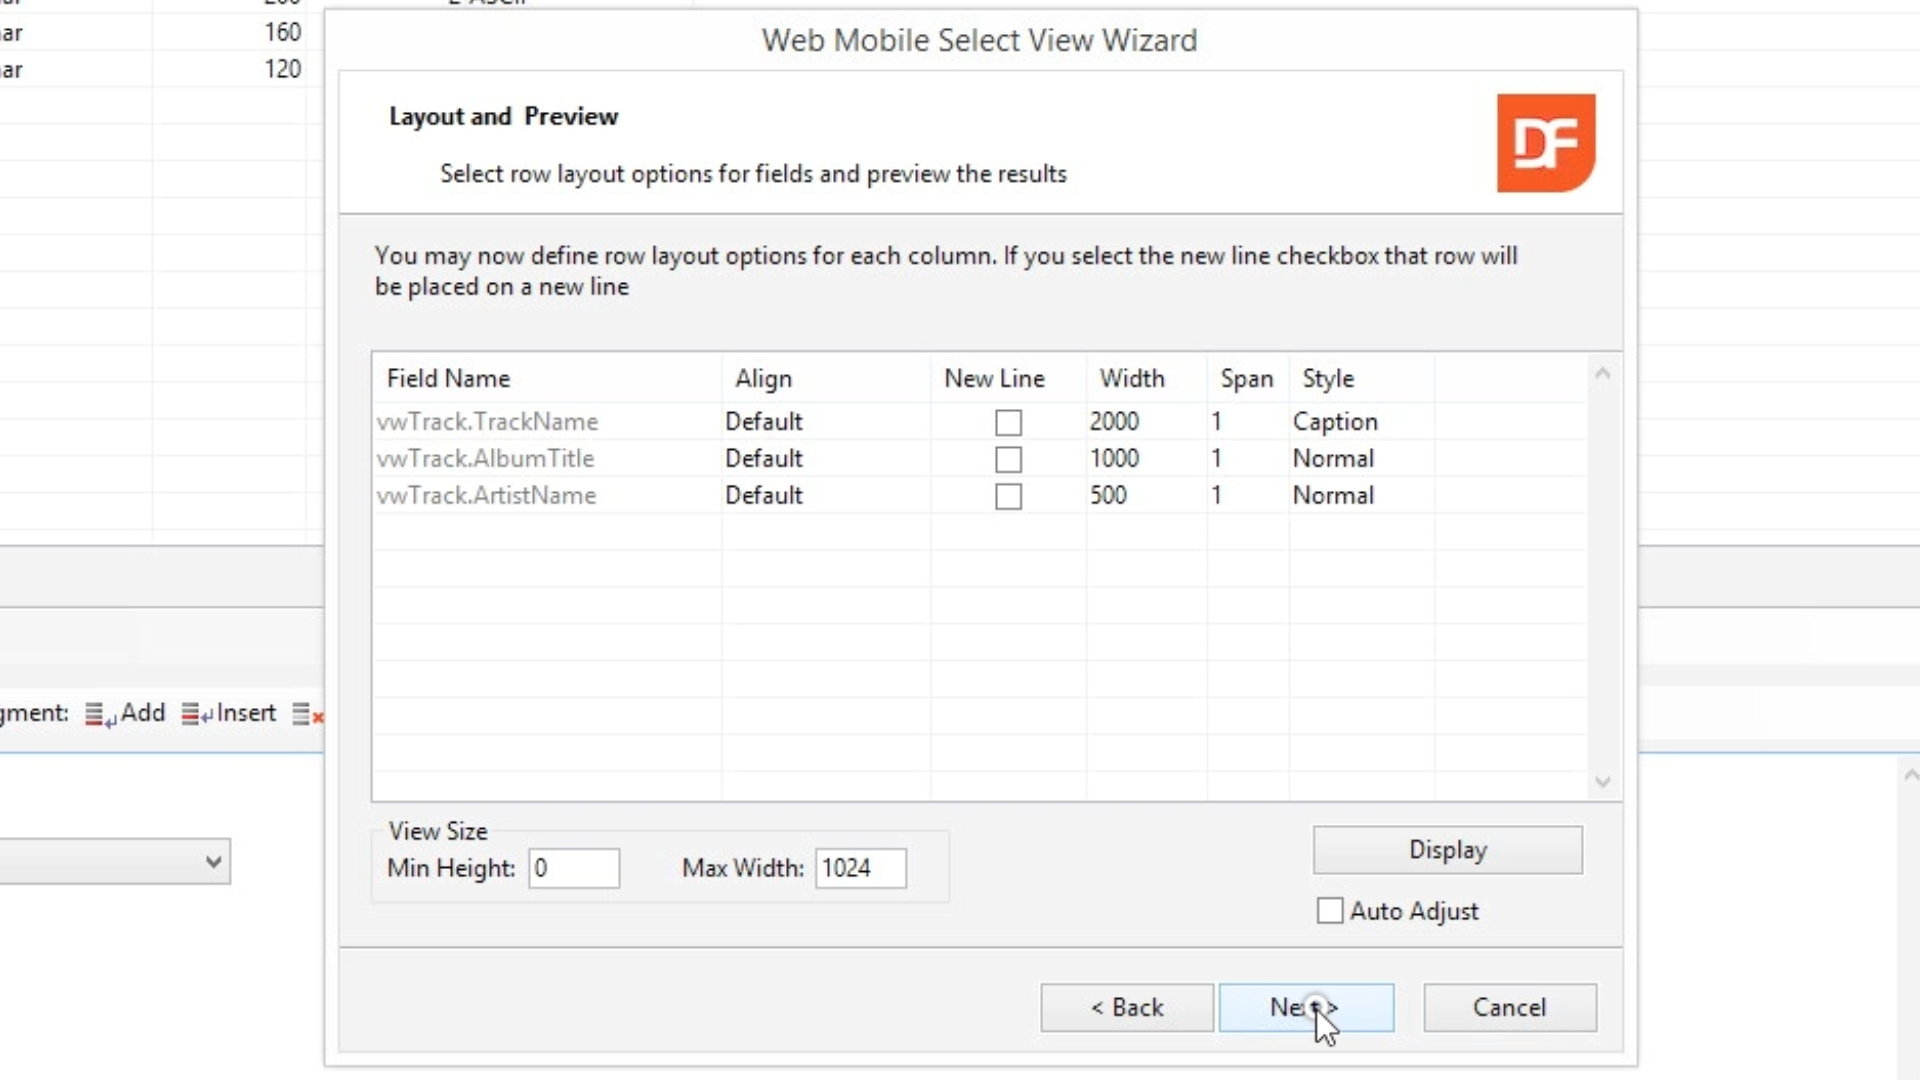
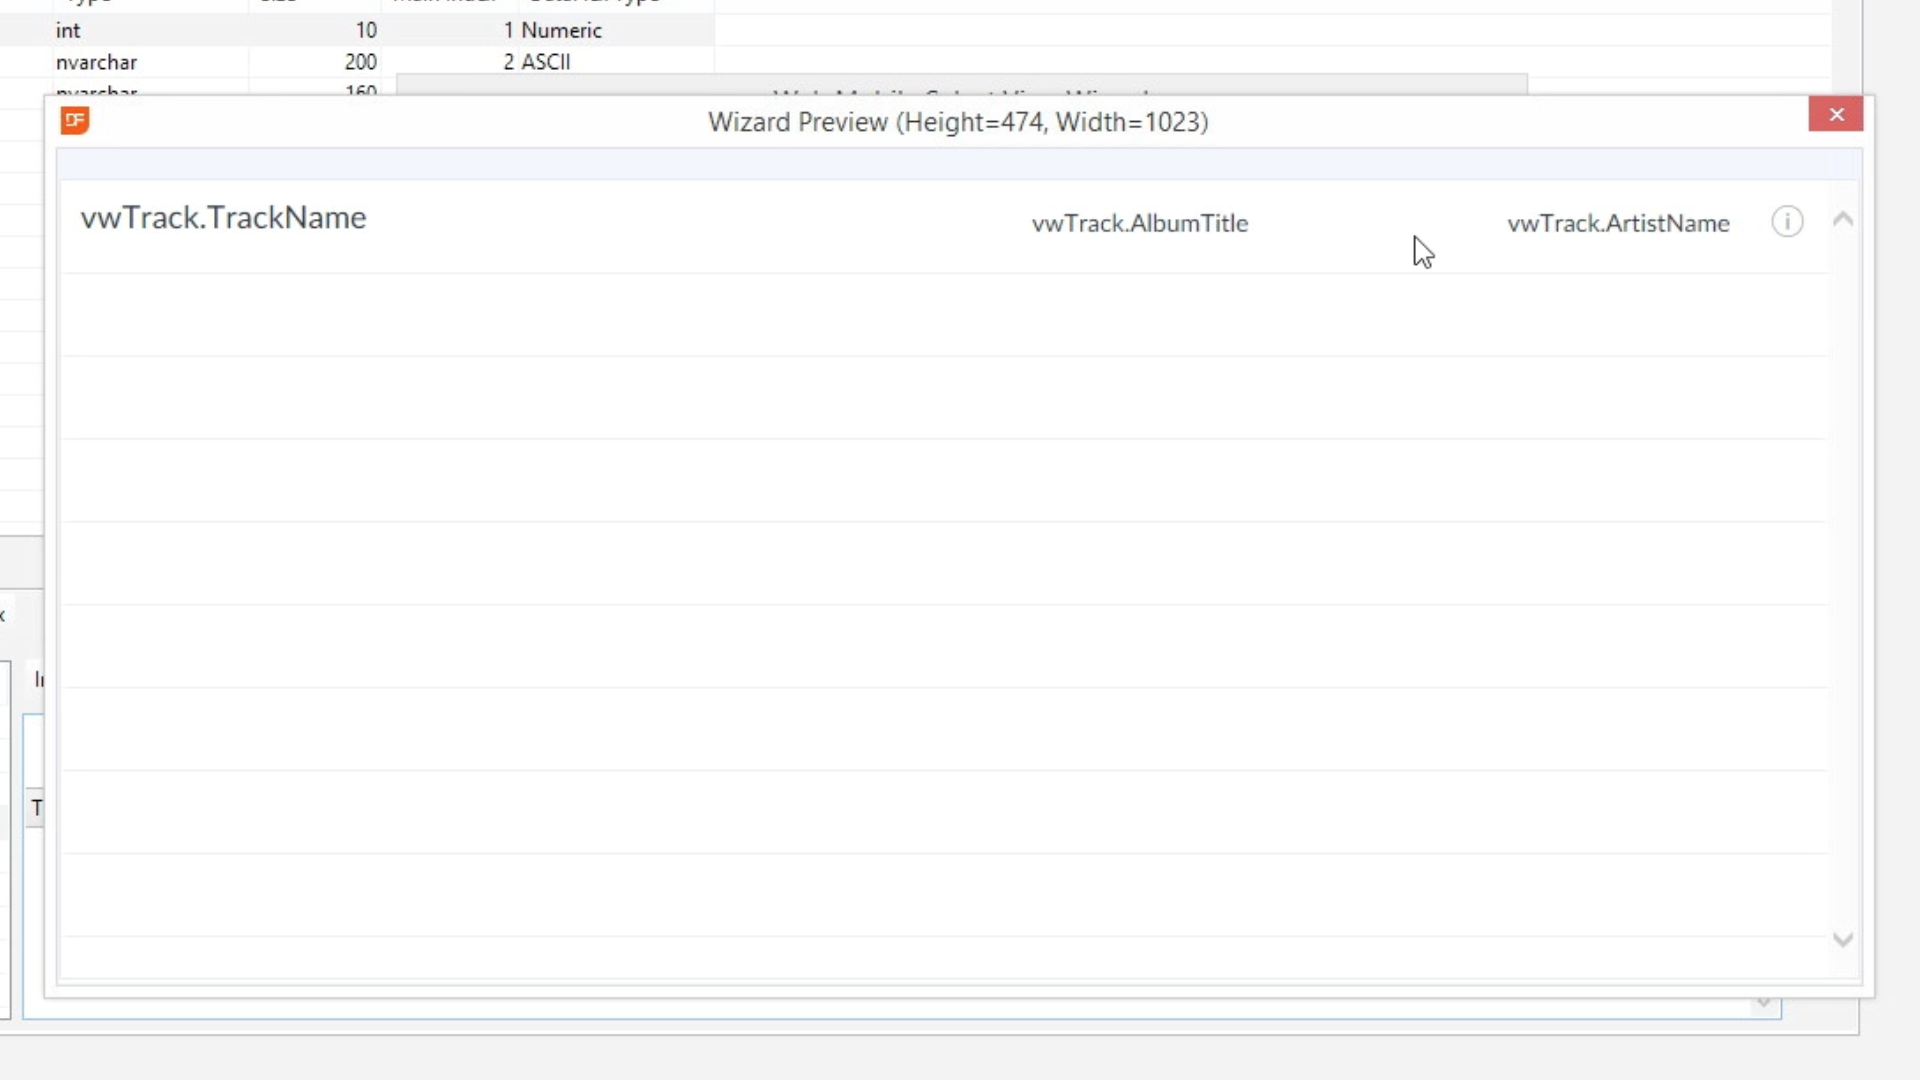
- On the Layout and Preview screen highlight the most important field as “Caption,” (TrackName here). If desired, deselect AUTO ADJUST, and edit column widths as necessary. Select NEXT.
- Use the ADJUST AND DISPLAY/DISPLAY button to view your changes until you’re happy with the results.
- Select FINISH.
- To create a zoom views, which is very similar to creating a select view…
- Select the CREATE NEW icon from the top toolbar.
- Select the WEB MOBILE ZOOM VIEW WIZARD, and press OK.
- Select NEXT twice.
- Add object name, and select NEXT.
- oTrackZoom has been used for this example. The remaining fields are propagated with the name.
- Select NEXT on the Web Zoom View Style page confirming that you’re creating a simple form web zoom view.
- Highlight desired view (vwTrack – cvwTrackDataDictionary), and select NEXT.
- Highlight fields on the left that you’d like to be used in your select ADD (All ->> for the example), and select NEXT.
- Confirm fields on the page, select NEXT two more times, and then FINISH.
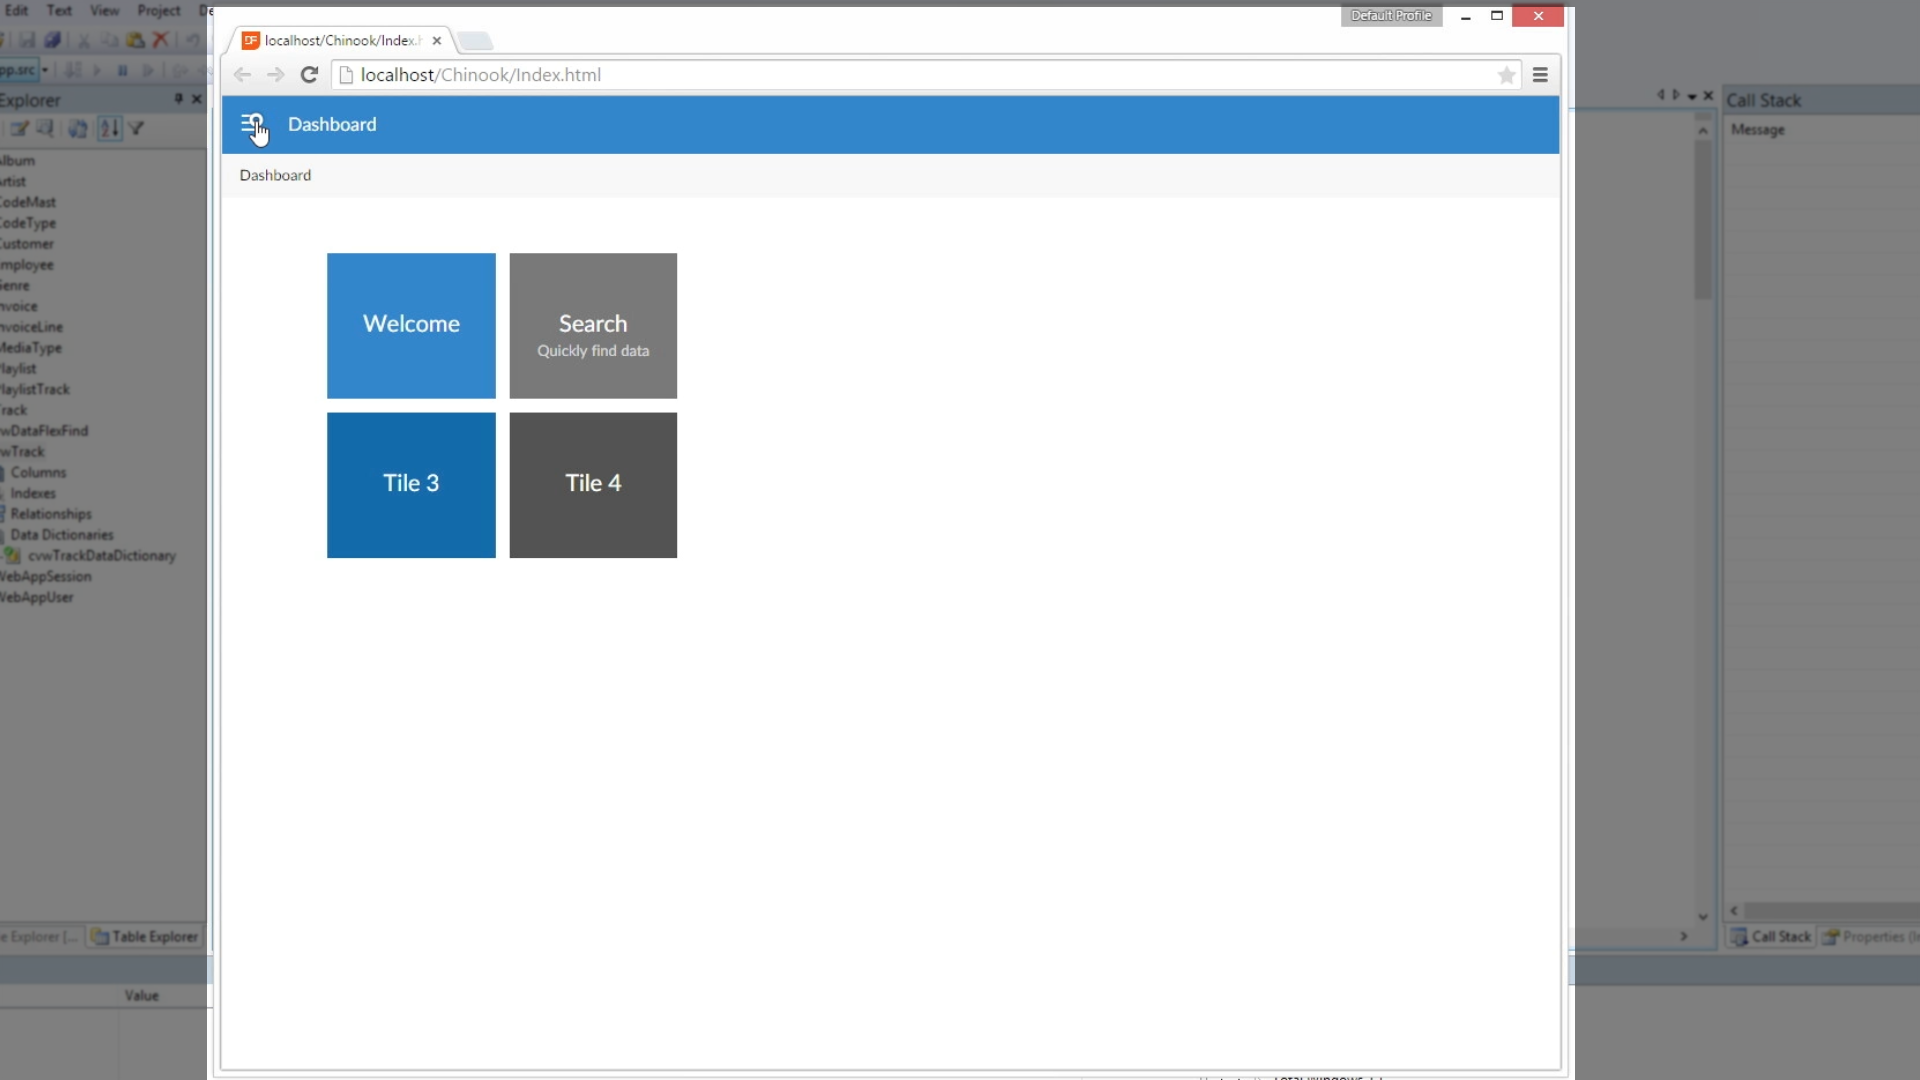
- Press the COMPILE icon on the top toolbar to see the live view in a browser page.
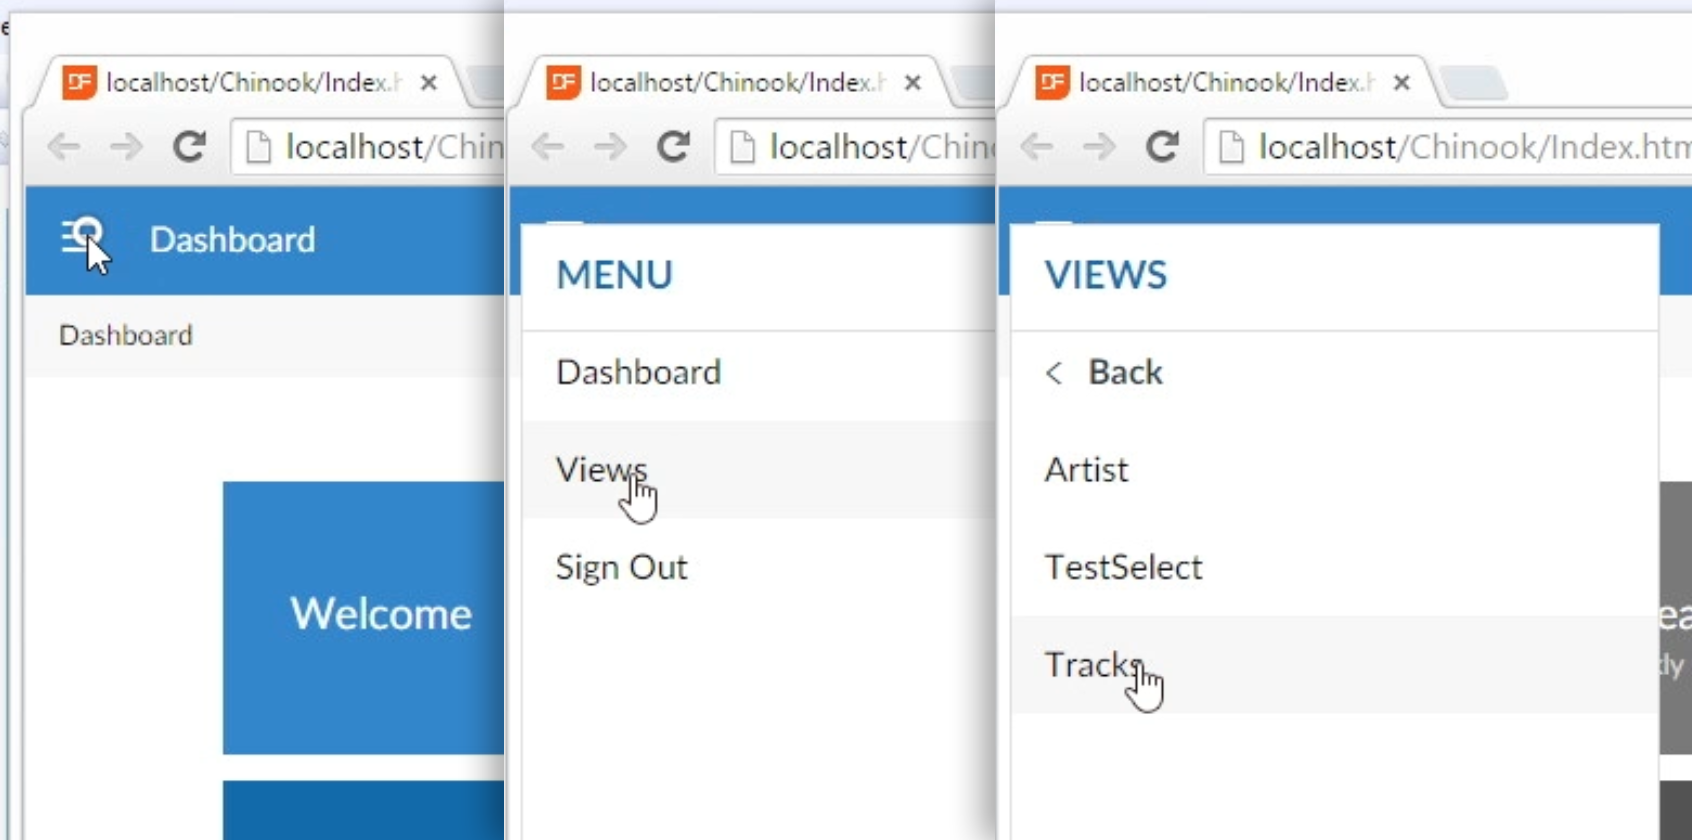
- To view the newly built view, select the HAMBURGER MENU >> VIEWS >> TRACK
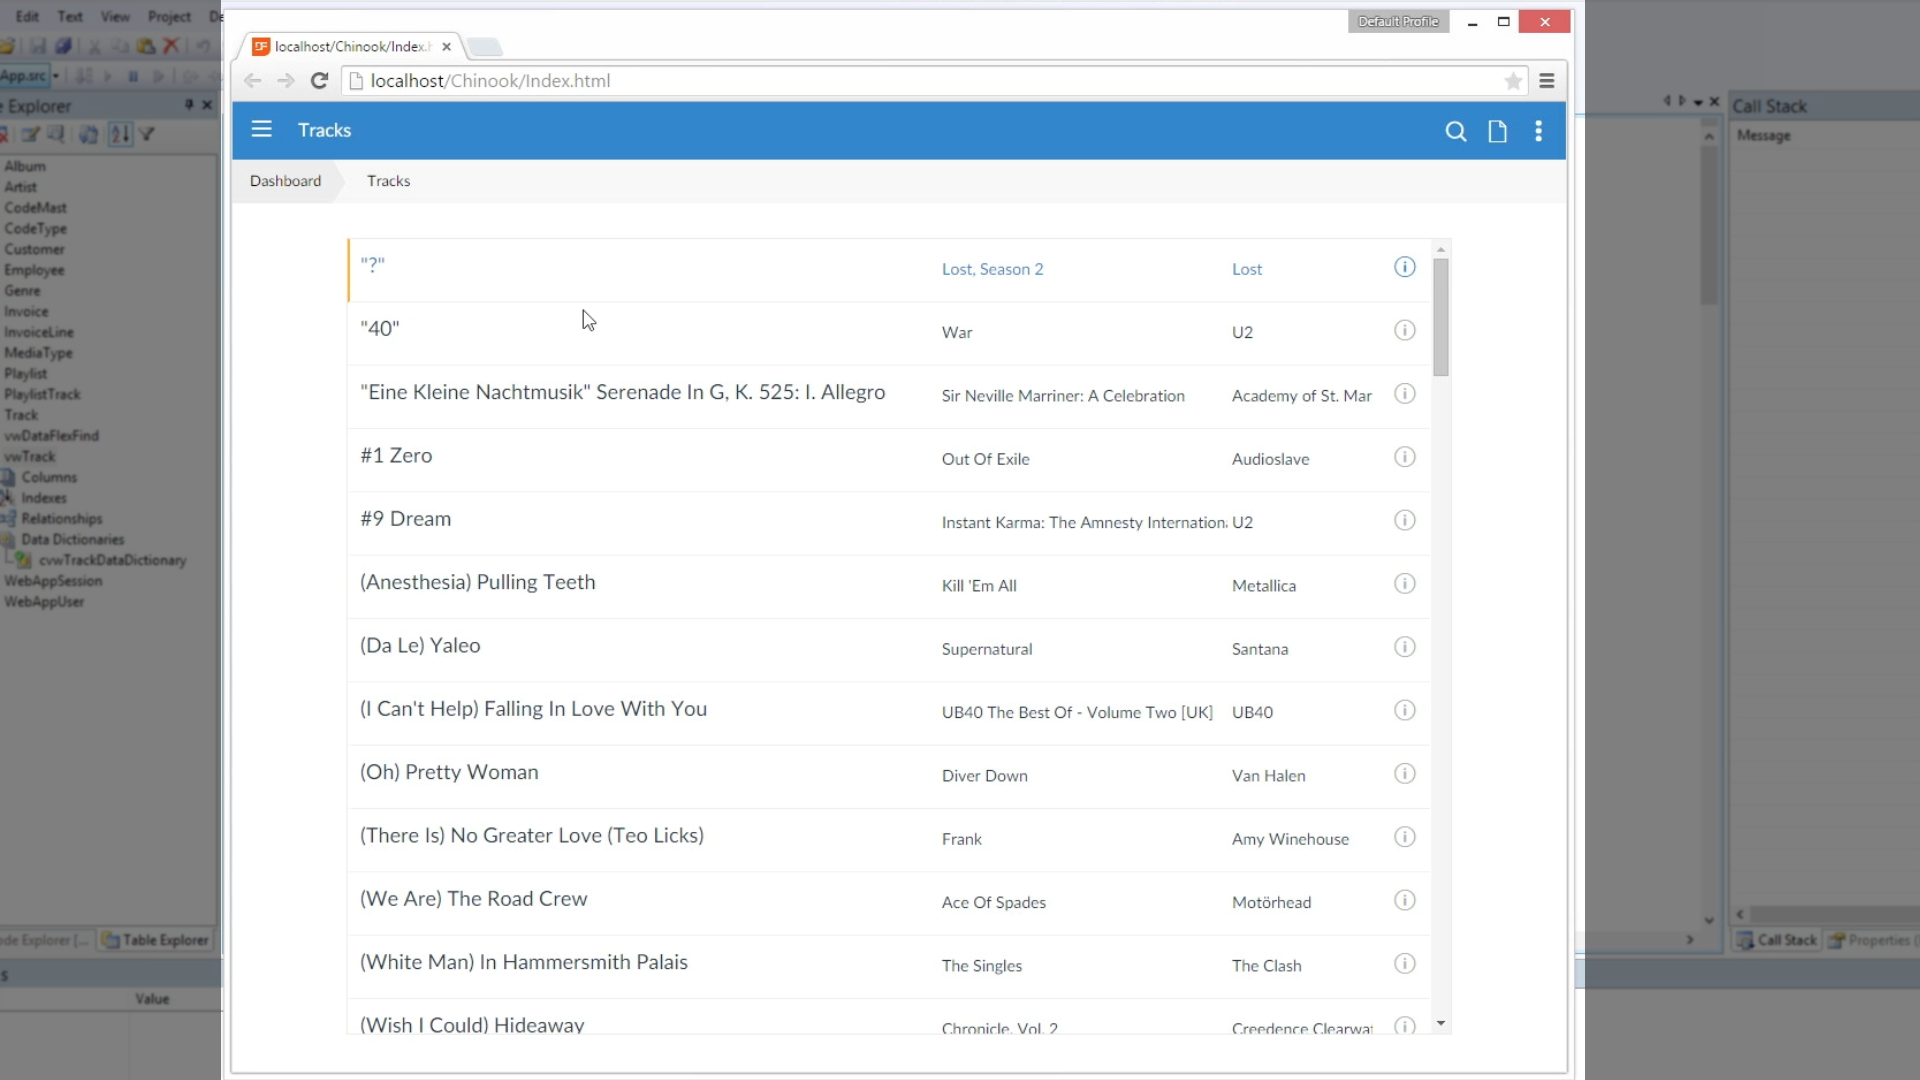
19. Click on an item to drill down to see more detail.


