Making a data source sortable by specific column indexes
Cancel
Build Your Own Search Engine
Lesson 1: Building a Database View
The technique used are called Database views. The views created will be used as if they are tables and are seen as such by DataFlex. The benefits of doing so are:
Use Views as if they are tables in DataFlex. They are a representation of a real table or of multiple tables.
You can look through them.
You can find records.
You can create data dictionaries for them.
You can update them.
You can add a view to your filelist as if it is a table. Also allows for abstraction of your tables.
Create indexes on the file using DataFlex Studio. Indexes will not be created physically but will be available for sorting and finding. This is referred to as a virtual index
If the database table has physical indexes, the SQL server will use those as well.
You can update views! When related tables are used, make sure you only update fields from the same table.
IMPORTANT: when updating a view, only use columns from one table. You cannot use columns from multiple tables.
Great for Select type of lists! Database view is easy to create but might take longer to execute. This is especially so on larger tables.
Let’s build a database view
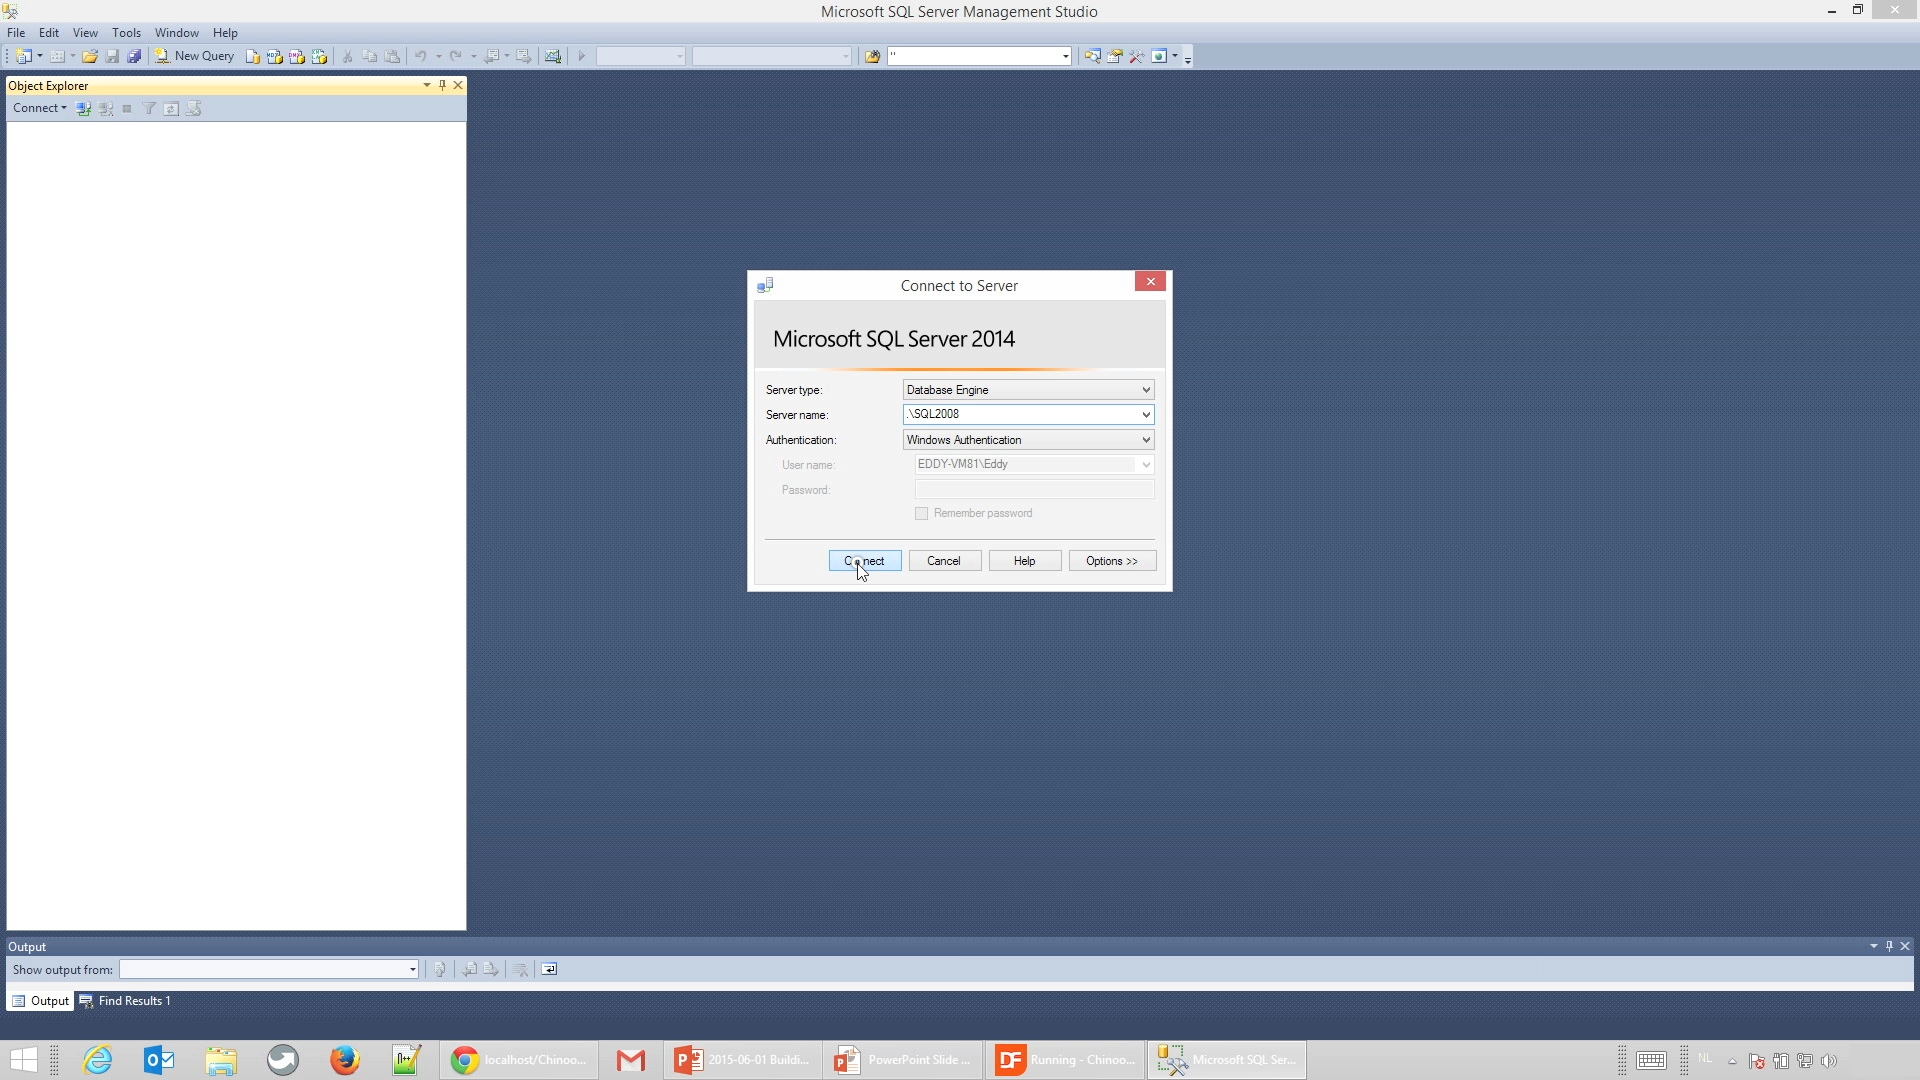
Open “SQL Server Management Studio”
Enter credentials to login to your database and select CONNECT.
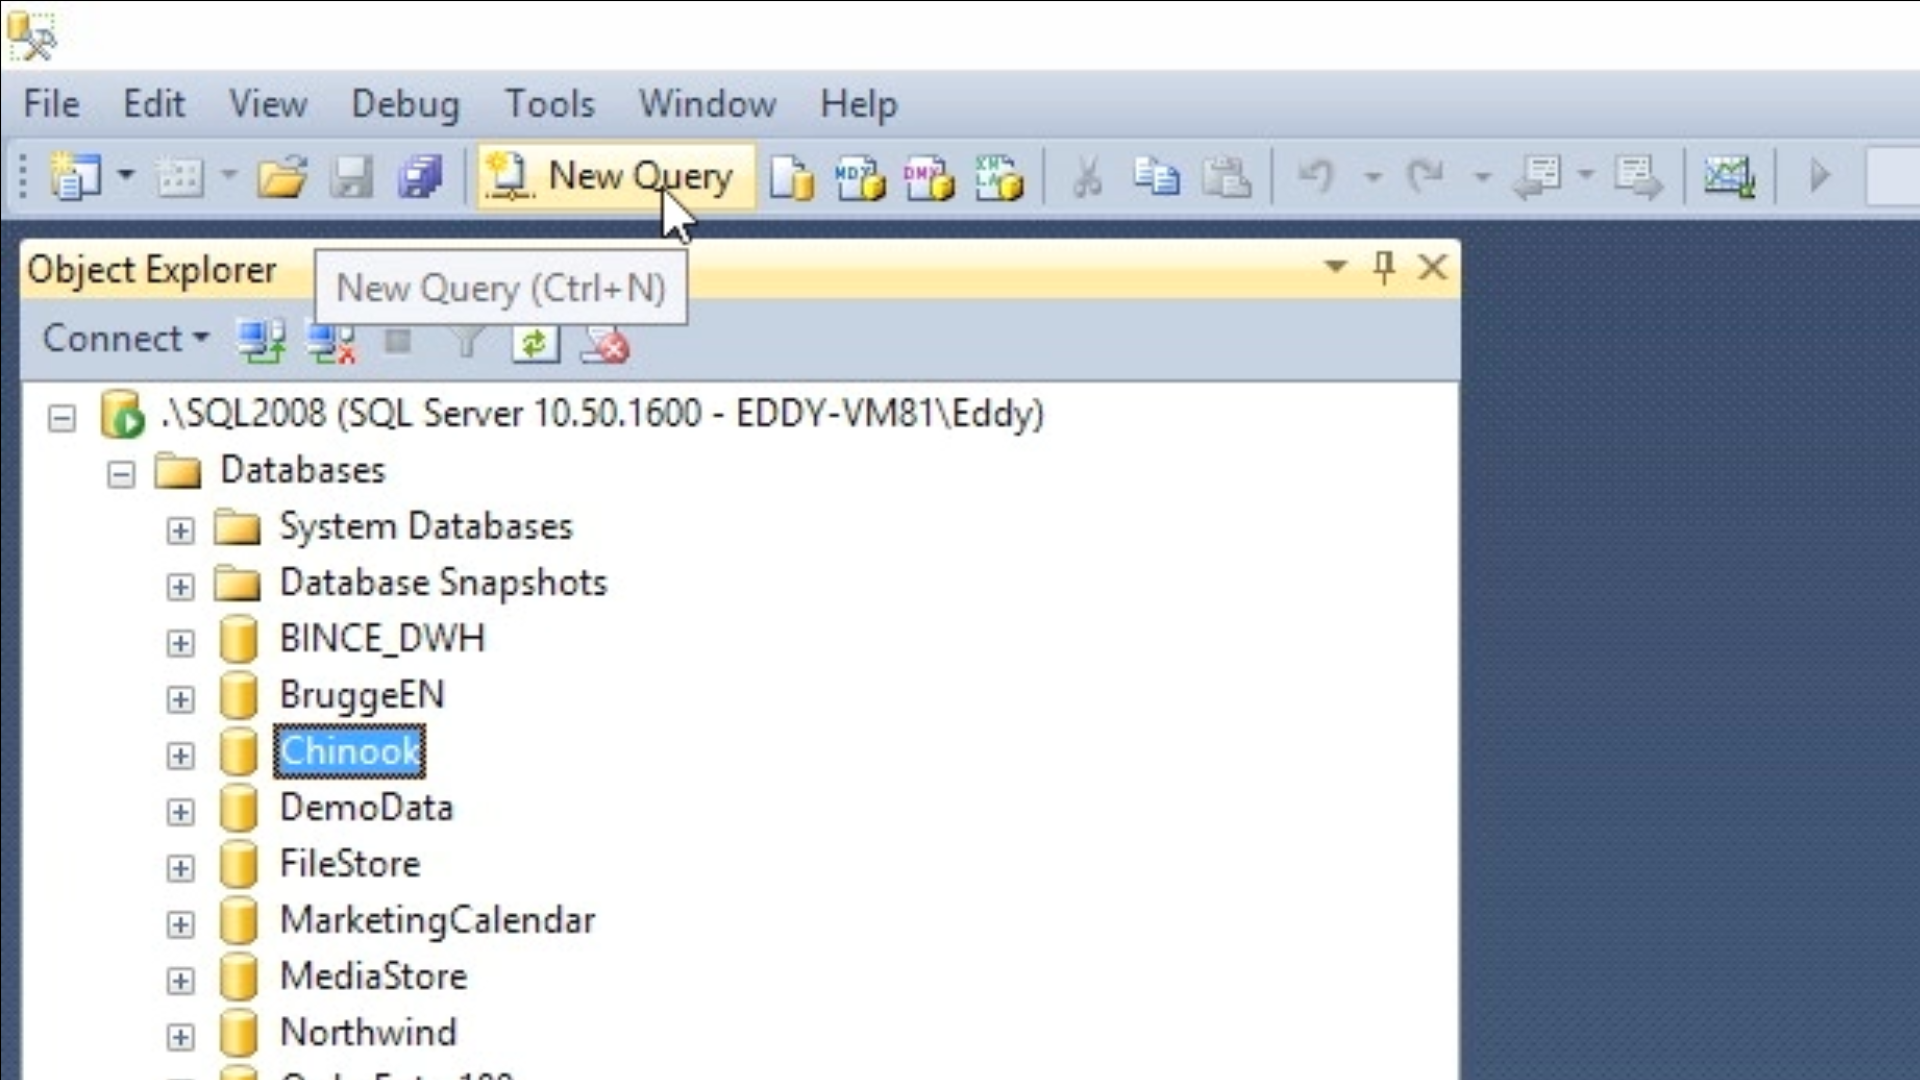
Expand the DATABASE directory in the Object Explorer on the left.
Highlight the database you will be working with. Again, “Chinook” will be used for this example.
After highlighting the database choose NEW QUERY from the top toolbar.
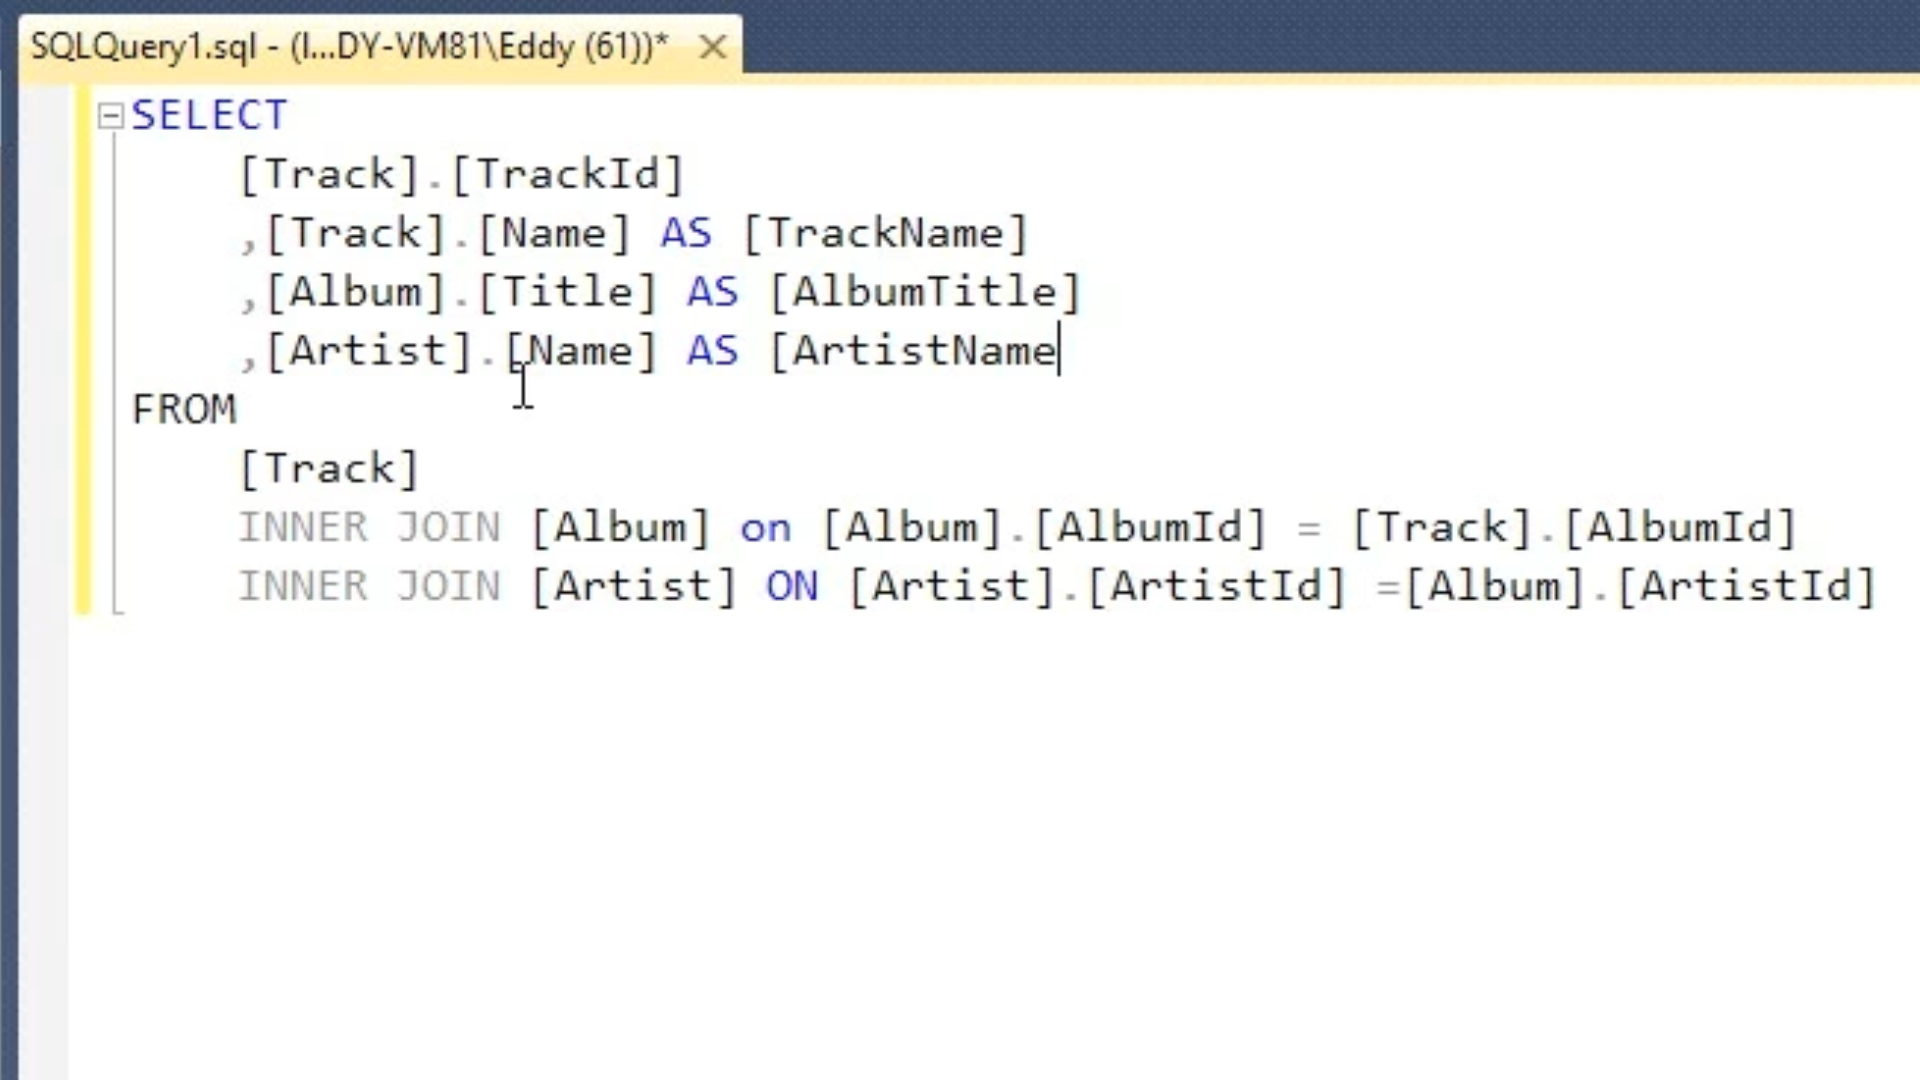
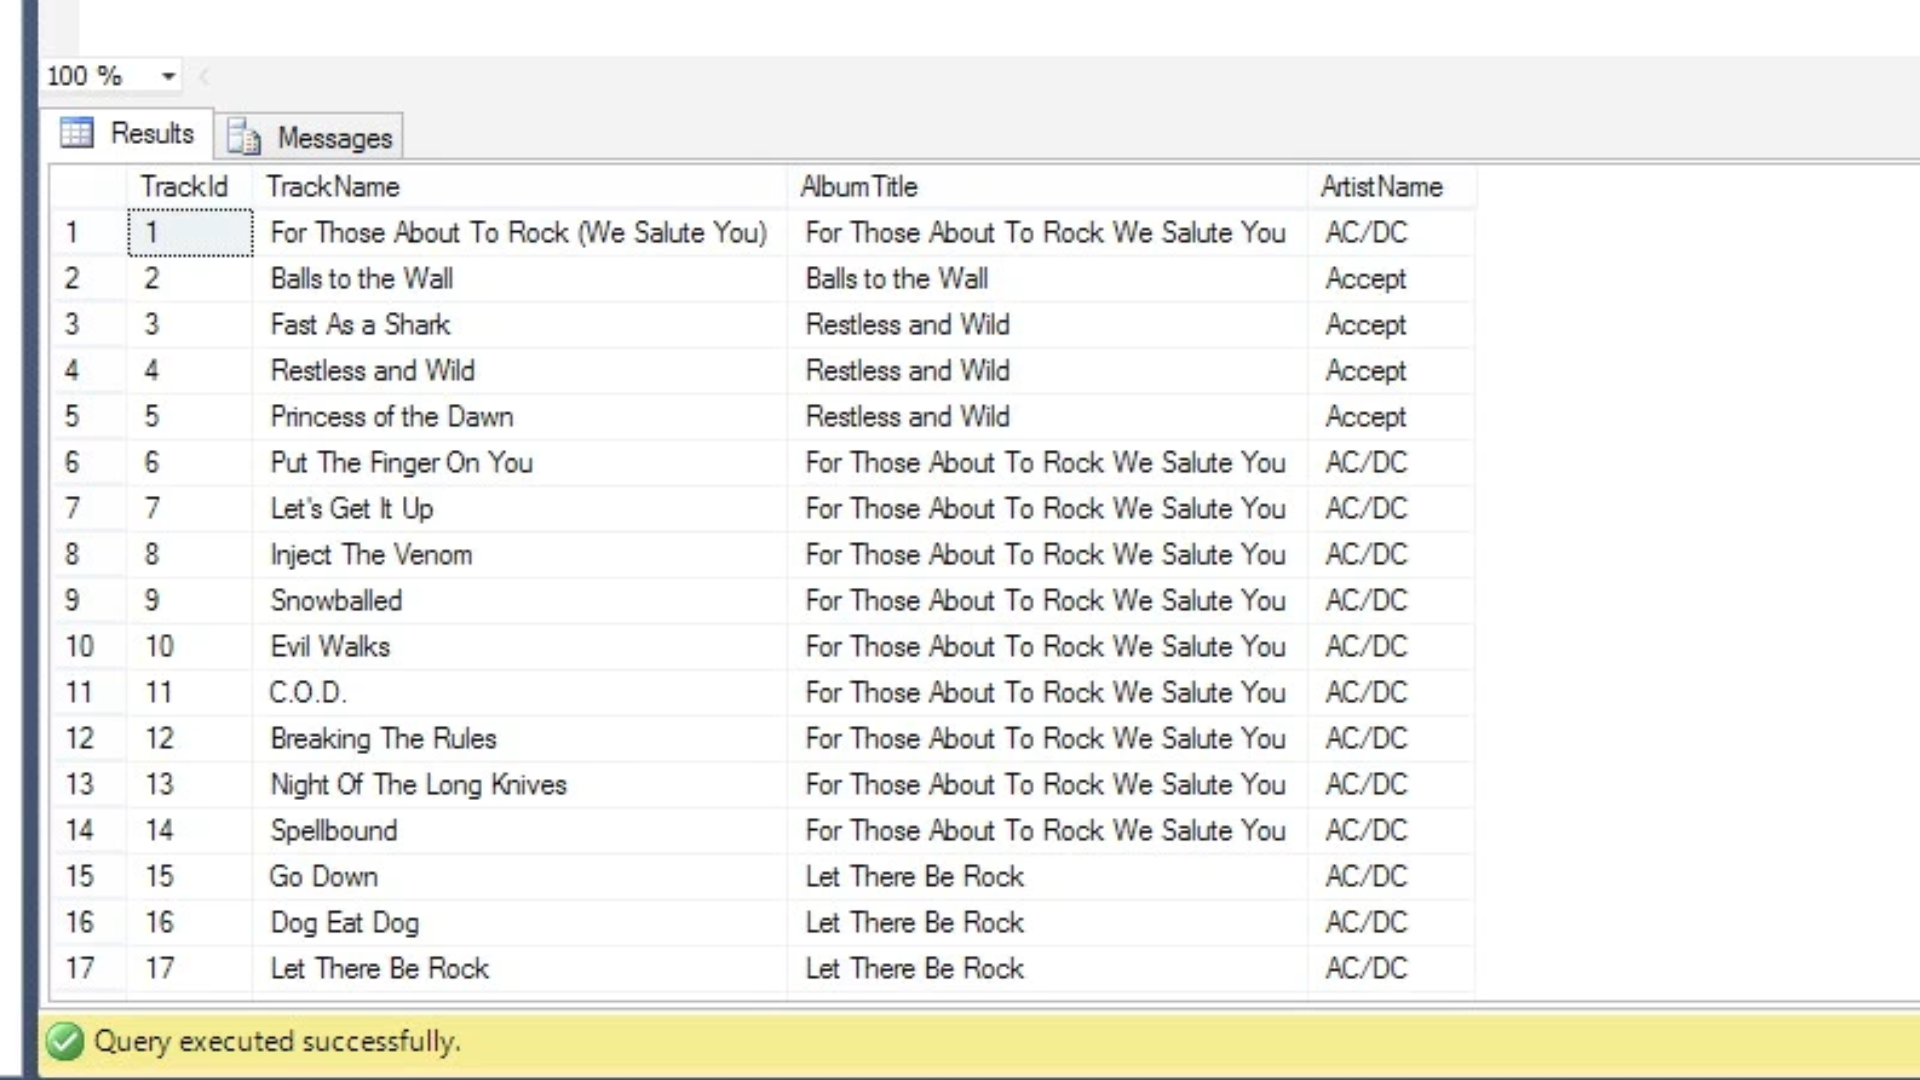
Create a query that will representative for the view by selecting columns from the database and adding joins.
Chosen columns should have unique fields or fields that uniquely identify each row.
Each column needs to have a unique name.
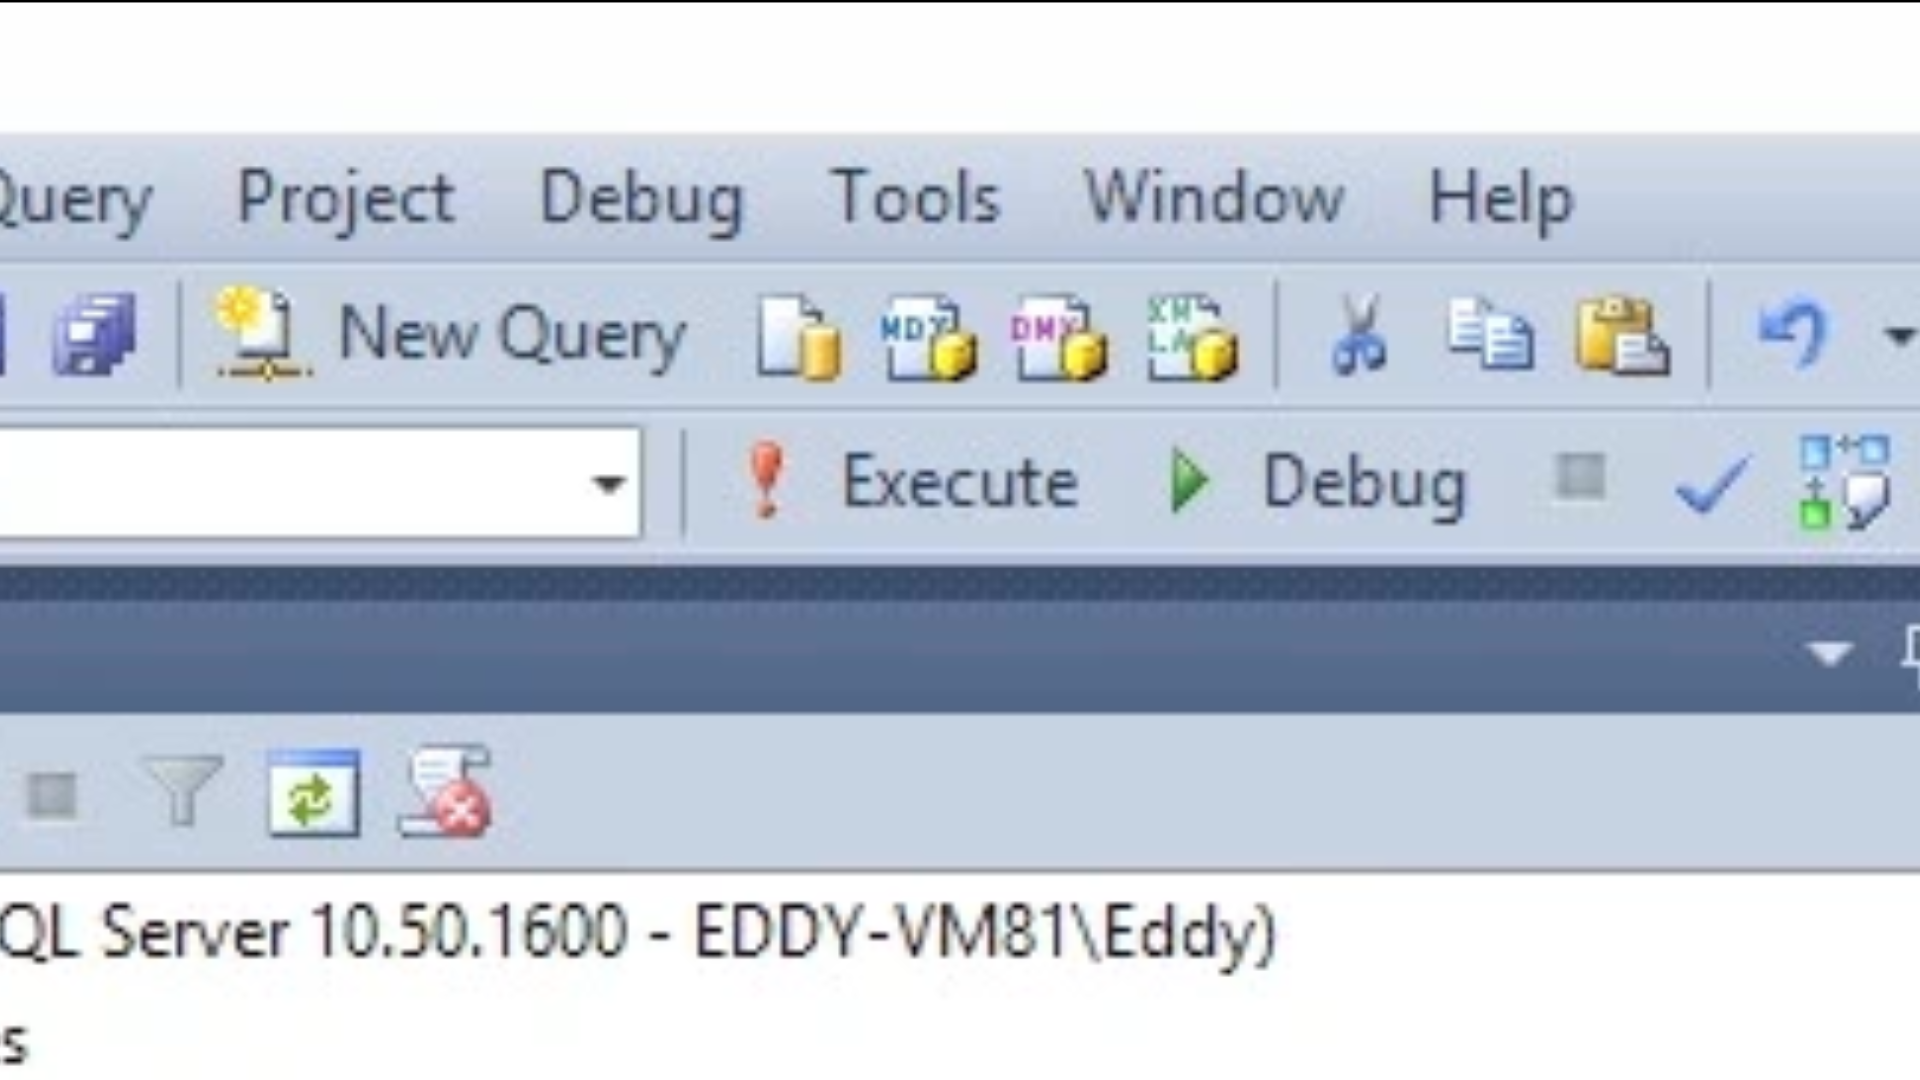
Select EXECUTE from the top toolbar to see the results below in the Results tab.
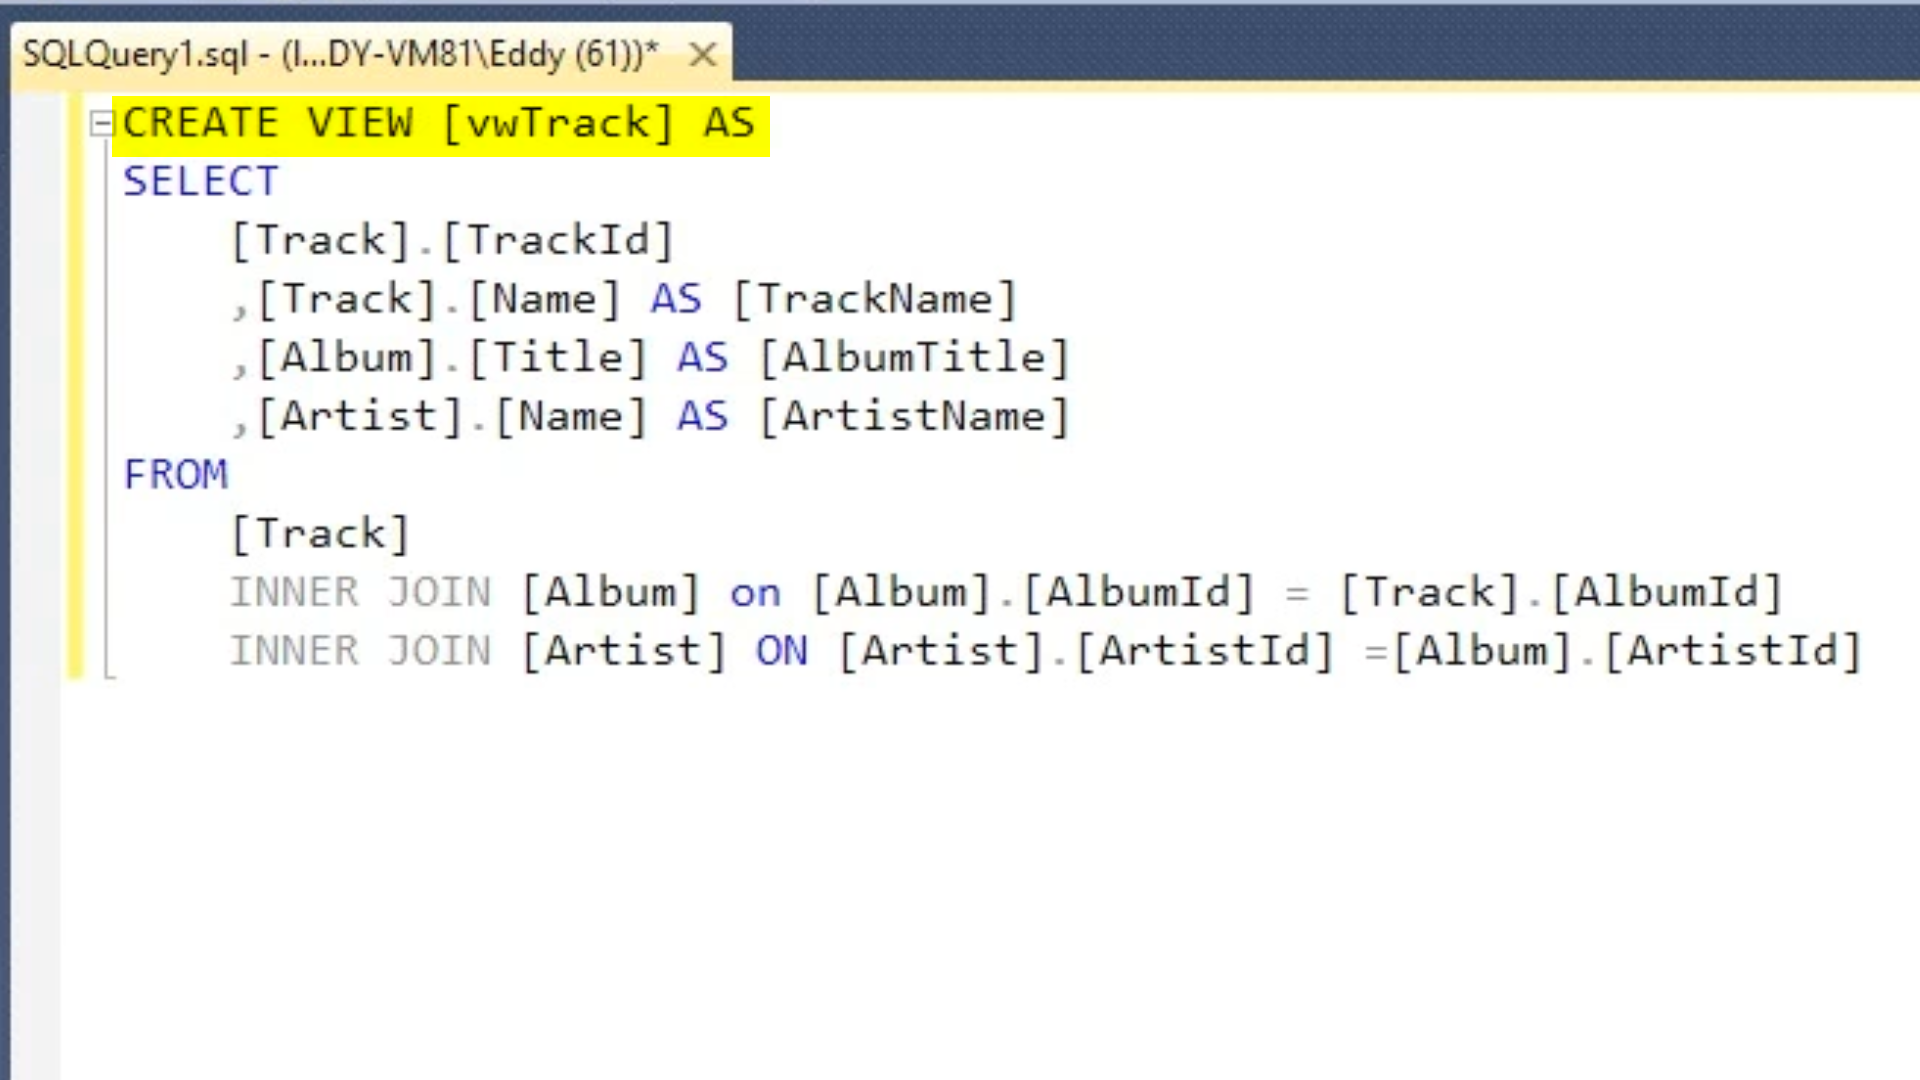
To turn the SQL statement into a view insert CREATE VIEW [vwNAME] AS at the top of the code block. vwTrack is the chosen name for this example.
Select EXECUTE from the top toolbar to complete the command.
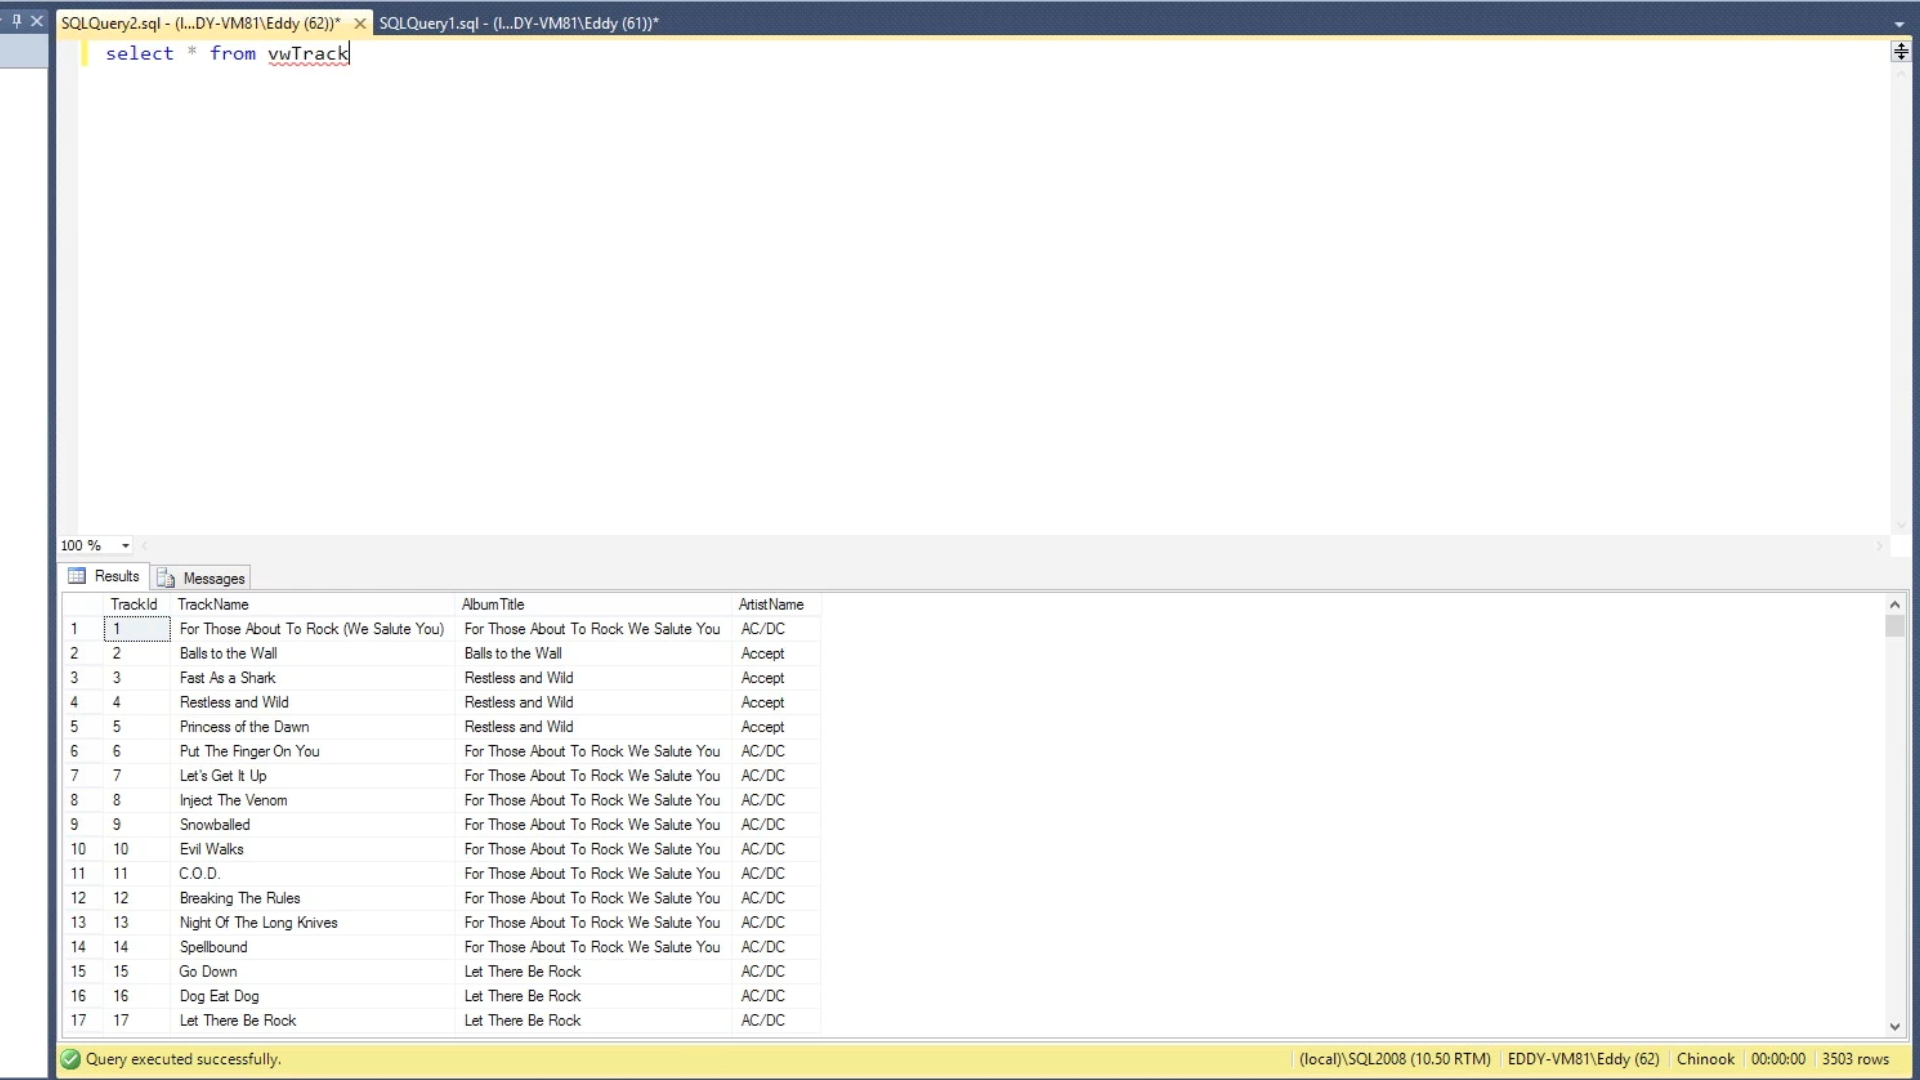
To test the successful creation of the view…
Select NEW QUERY from the top toolbar
Call the view by name – select * from vwTrack
Select EXECUTE from the top toolbar, and the view should show in the Results panel below.