Advanced Dynamic Objects
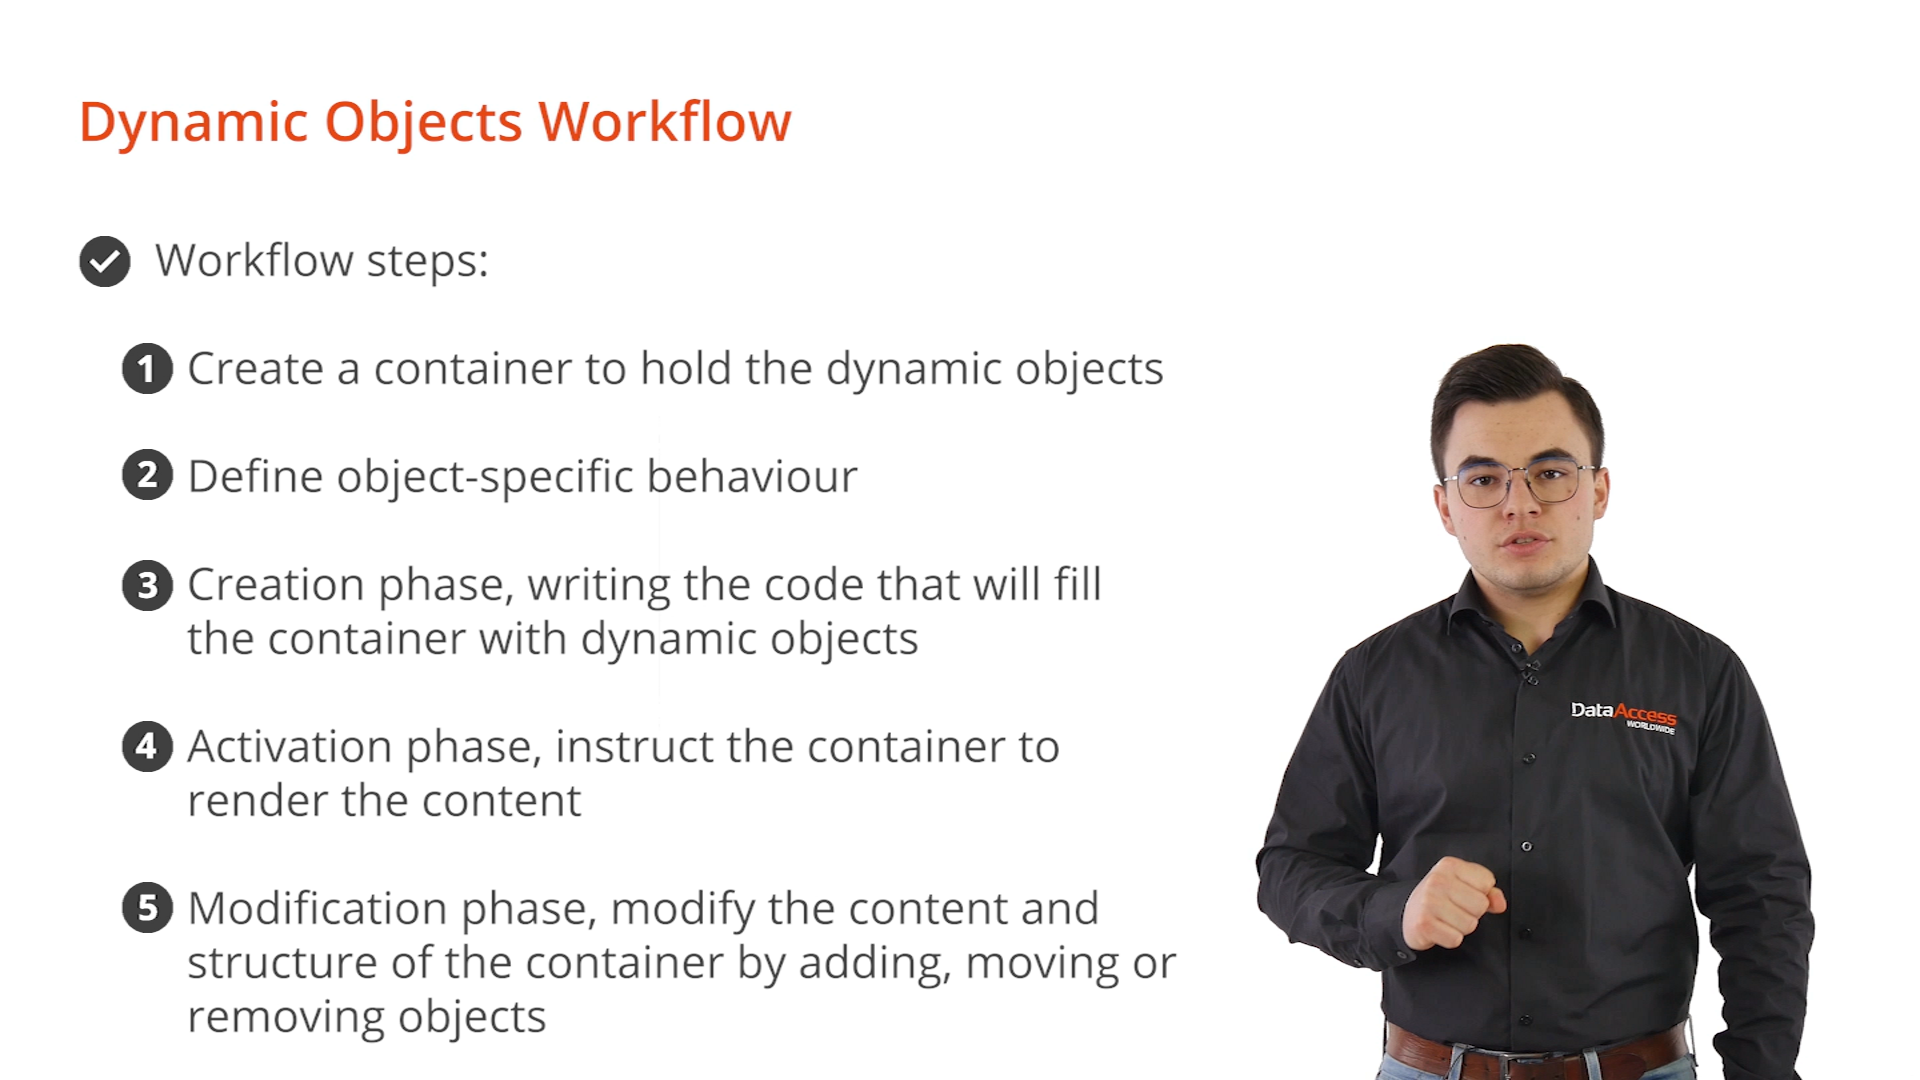
Dynamic Objects Workflow
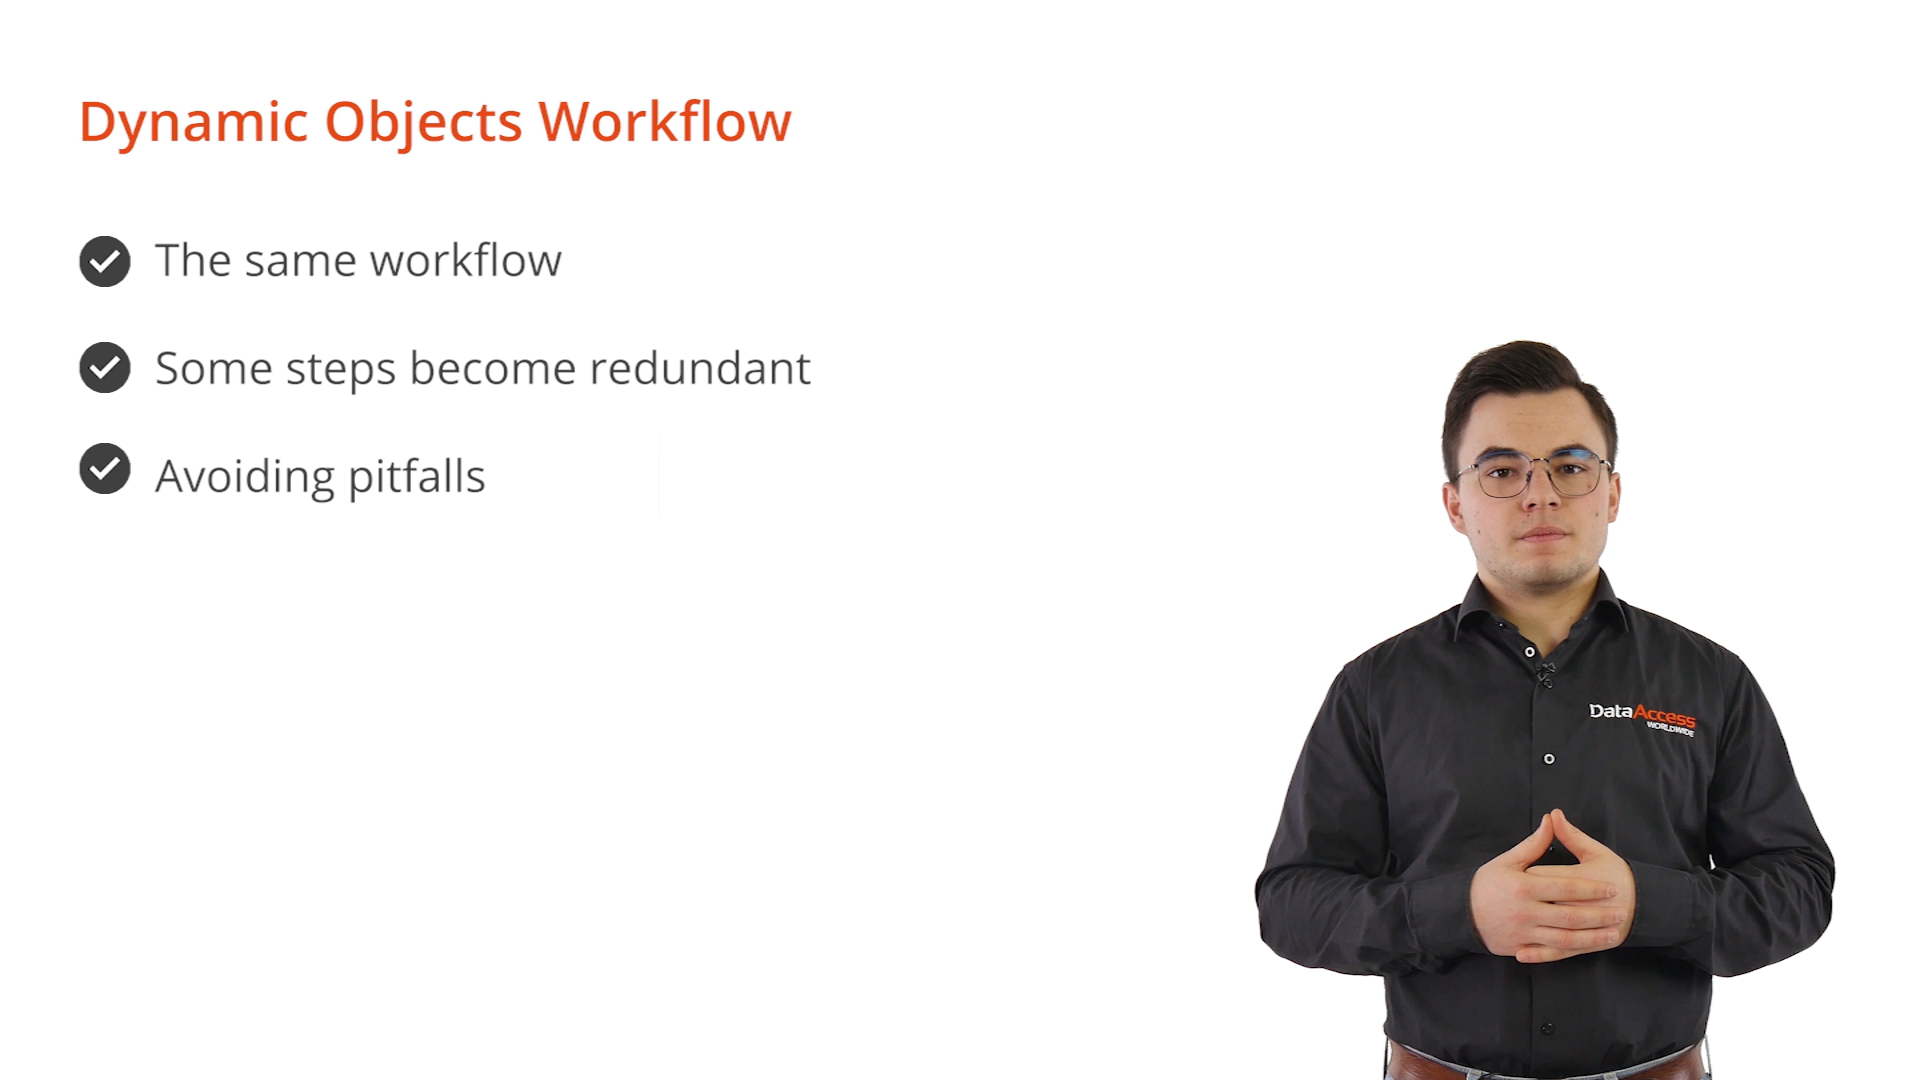
Generally, the same workflow is always used when creating an application with dynamic objects. This lesson discusses all of the steps in the workflow and why the exist. Over time, some of the steps may become redundant or were completed during earlier steps. Nevertheless, it is recommended to follow this workflow to ensure that common mistakes are avoided during the early of development.
- Step One - Create an instance of the dynamic container class: Dynamic objects must always be placed inside a dynamic container object. This dynamic container is an instance of the cWebDynamicObjectContainer class.
- Step Two - Defining an object-specific behavior for dynamic objects: object-specific behaviors, such as procedures, functions and event handling, are essentially how an object in an application should behave and interact with other objects.
- Step Three - Creation Phase: in this phase, the initial set of dynamic objects are added to the container. The container automatically displays all objects when it is activated. This step is optional, because the container can remain empty.
- Step Four - Activation Phase: activate the container. This short step marks the end of the creation phase, signaling to the client that all objects are registered, rendered and displayed.
- Step Five - Modification Phase: the final step. This phase is the end-state of the container. It always remains in this phase, unless otherwise specified. During the modification phase, new dynamic objects can be inserted or exiting ones can be modified.